With the first month of the year a little over halfway done, we all hopefully have a pretty good idea of our “plan” for 2013 and are starting to implement those thing to make our year successful. That is no … Continue reading →
The post 2013 – What’s New and Exciting at Coastal? appeared first on Blogging with Coastal – Transfer Paper, Sublimation, Heat Press, Vinyl and More!.
With the first month of the year a little over halfway done, we all hopefully have a pretty good idea of our “plan” for 2013 and are starting to implement those thing to make our year successful. That is no different at Coastal. We have spent time budgeting, planning and just making sure we know where we are going. Pretty exciting times for sure.
I want to share a few of the things we are doing at Coastal that I am very excited about for 2013. I’d love to hear the new things you are excited about in your business in the comments section.
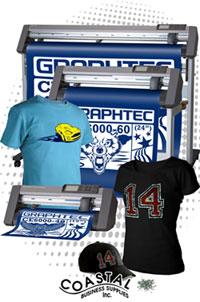 1) One of the first real new products of the year for us, is the new Graphtec CE6000 series of cutters. I have seen this machine in action and while it still brings you the same great product you expect out of a Graphtec machine. It also has a cool new look and some great new features, including what James from Graphtec called an “Easy” button. On top of the new hardware, Graphtec is releasing new software called Graphtec Studio that comes with the machines. It is easy to use and has a wonderful new look. This software will also be available for download sometime soon for those of you with the CE5000 series machines.
2) Some of you may or may not know, but at Coastal we have been involved with wide format professional solutions for about 4 years now. We have helped many companies achieve a very professional level of production with items like Mutoh printers and AIT large format heat presses and much more. We also have a line of wide format sublimation inks, a nice offering of solvent printable media, solvent inks and more. Again, as I said, only some of you have probably heard about that as it seems to be a pretty well-kept secret. In 2013 we have vowed to make that less of a secret and have already changed the name of the division to our “Professional Solutions” division. Rich Foltz is heading up this division and has been involved from the start. Rich has many years of experience in the industry and is an expert in sublimation and digital decoration. Our plans this year are to revamp our Professional Solution portion of the website to make it easier to use and understand, bring you more training videos and webinars on wide format production and to get on the road and show off our stuff. Rich and I will be in Orlando at the end of February at the Graphics of the America’s show bringing you great solutions for high volume production. The best part is these solutions are much more affordable than you might think. Ask us how we can help.
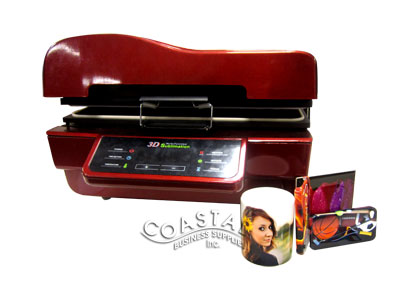 3) We have been testing several new 3D heat press machines over the last 6 months. We are excited about the possibilities here and plan to have a full line of products that work with these cool new units. These machines will allow you to press things like plates, crystal, phone cases without metal and many other cool things. We actually have the smaller “Briefcase” model online now with more to come. Keep an eye on our site for these as they should hit our warehouse soon.
4) We have planned out our 2013 trade show schedule and have already hit the road for our first event, the ISS Long Beach Trade Show. This year we have committed to a few more shows, and have downsized the booth a little to do so. This will give us a better opportunity to meet more people and have better intimate conversations with our friends (customers) throughout the country. This will be my 13th year of traveling to these shows, and I’m still very excited to see everyone. I also expect this year to bring new innovations as we seem to be climbing out of the economic hole. This will help manufacturers loosen their wallets a bit and start developing again. Will the ink manufacturers finally start developing again, and how about the heat press equipment guys? I’m looking forward to checking it all out and showing off what we can offer. If you are at a show please make sure you come by and say hello. I want to meet you!
Coastal is committed to our customers and to helping them succeed. Our company motto and the philosophy we live by is “To the extent we serve…We succeed”. That motto drives our business and therefore many of these exciting new things are driven by you. Please make sure you let us know how we can help you. Check out our hot products for 2013 and let us know how we can help your business.
 On my own personal side, I’m pretty excited to be starting a podcast with a really good friend of mine, Terry Combs. Planning is still in the works so our schedule is not set yet, but we will most likely be getting together on the podcast twice a month to talk all kinds of topics related to personalization (and probably others that are not). We are open for ideas and will talk about subjects you guys want us to talk about. Things like marketing, decorating techniques, pricing, where to find customers and most likely beer, chicken wings, college basketball and other fun topics. We might have a special guest every now and again and will probably open up the lines to callers. There will be an online chat available and some other fun stuff. It will be called “2 Regular Guys Radio Podcast”. We are set up on Twitter, so let’s start interacting there – www.twitter.com/2RGsPodcast and let us know what you want us to talk about.
The post 2013 – What’s New and Exciting at Coastal? appeared first on Blogging with Coastal – Transfer Paper, Sublimation, Heat Press, Vinyl and More!.
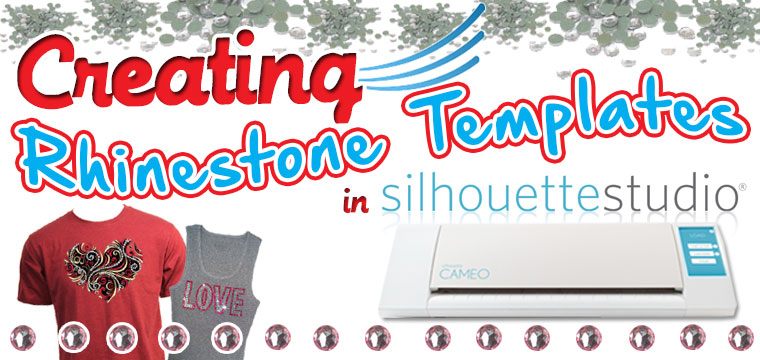
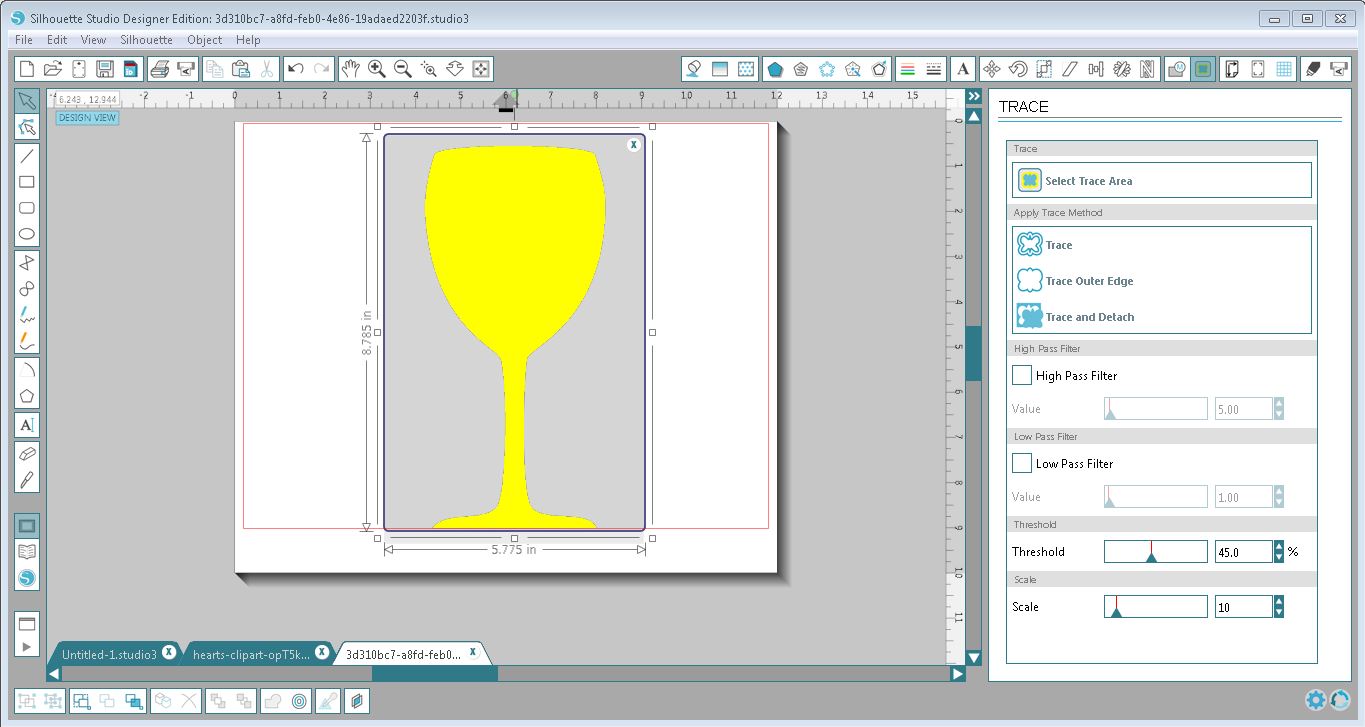
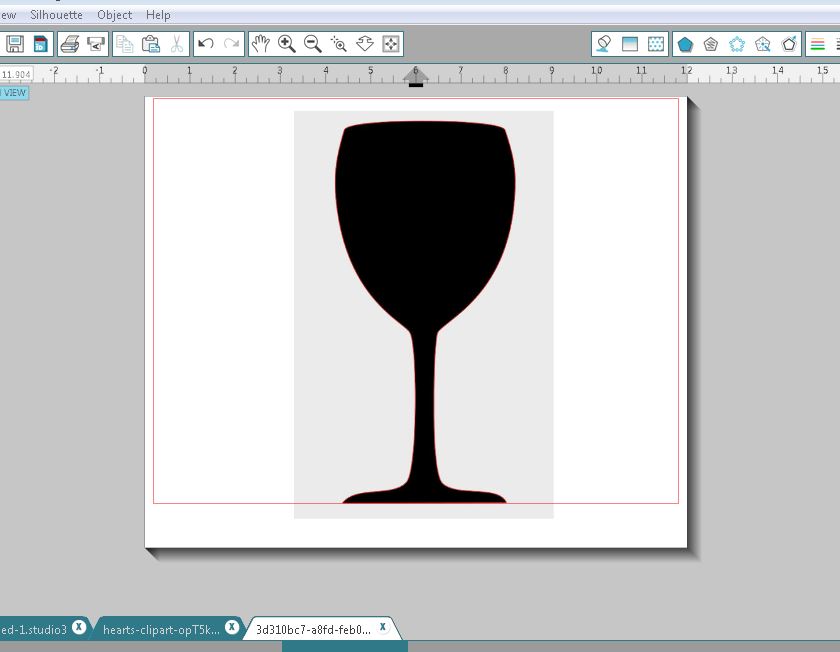
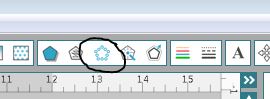
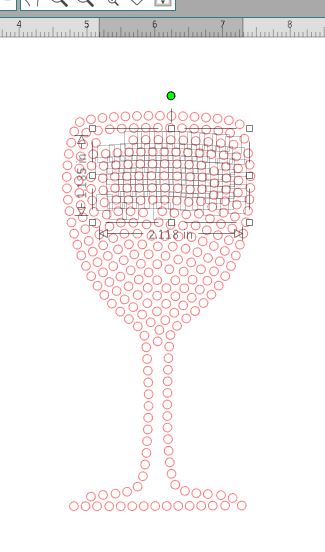
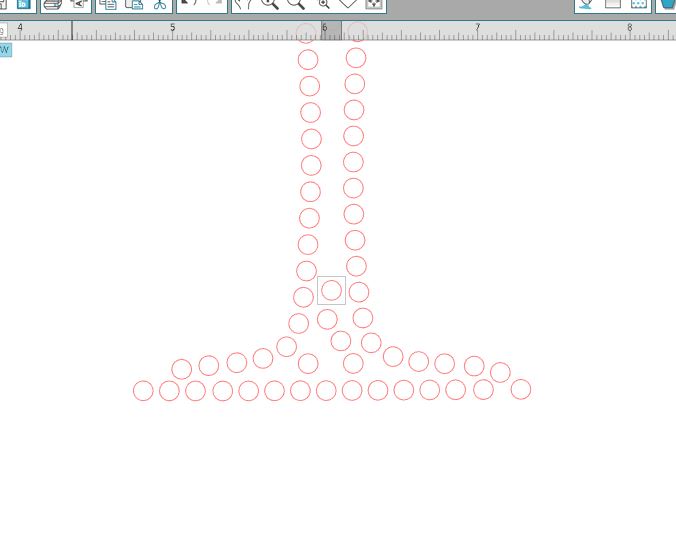
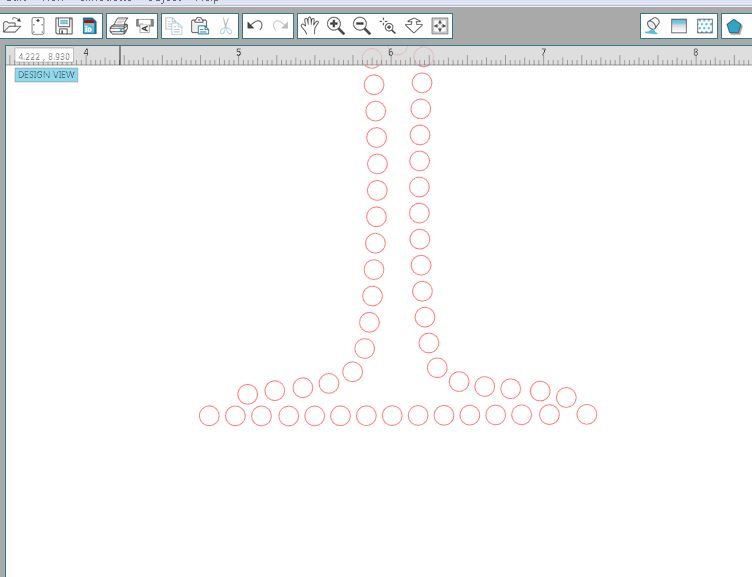
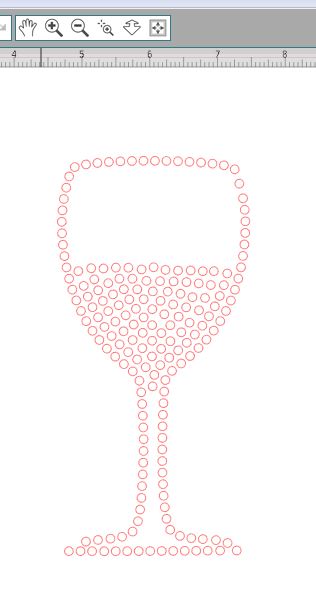
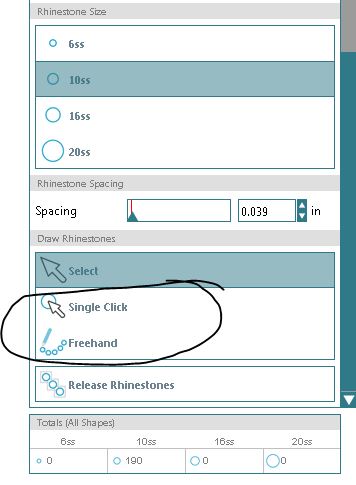
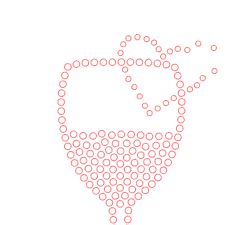
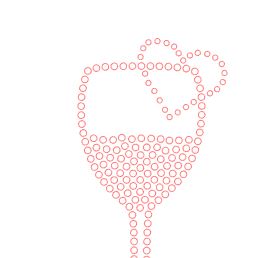
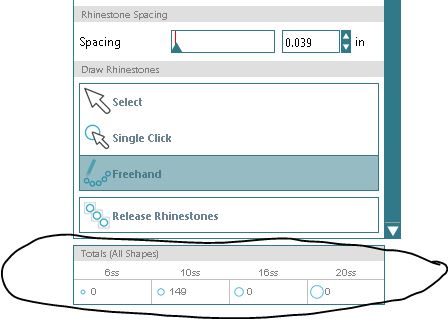
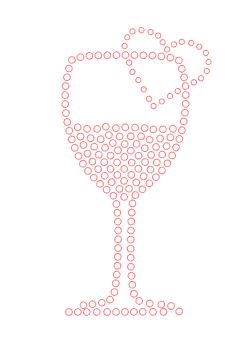
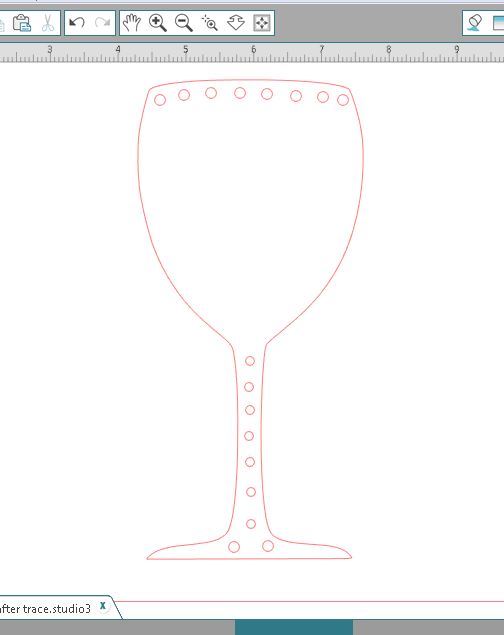
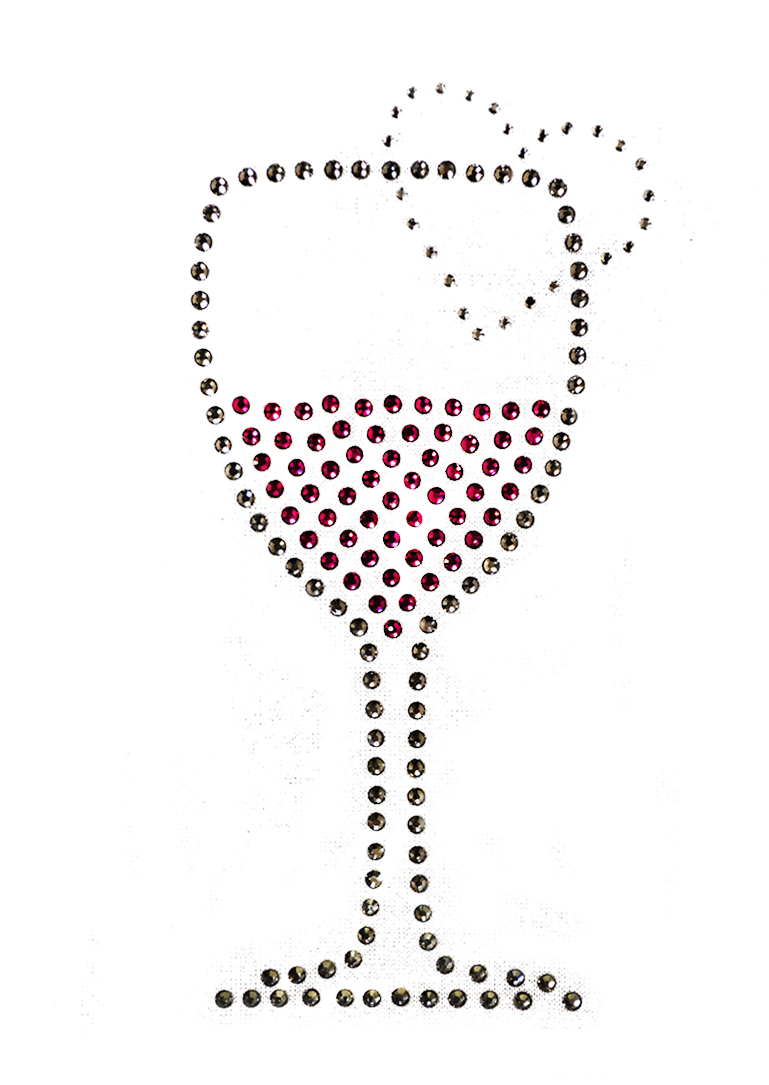 It is February and Valentine’s theme is all around us. With that in mind, we are bringing you detailed instructions on customizing and creating your own rhinestone template designs that you can fall in love with! All you need is the Cameo, Silhouette Studio Designer edition, Sticky Flock, and of course – rhinestones!