How To Cut and Apply Removable Wall Vinyl

As soon as we heard about our new FDC 4301 series removable vinyl, we couldn’t wait to try it out! Wall vinyl can be applied to any flat surface and removed much easier than normal sign vinyl. It’s our preferred way to decorate interior spaces, phone cases, notebooks, etc. with original designs or pre-made vectors found online, and some wall vinyl. It’s perfect for creating profitable decals for any room!

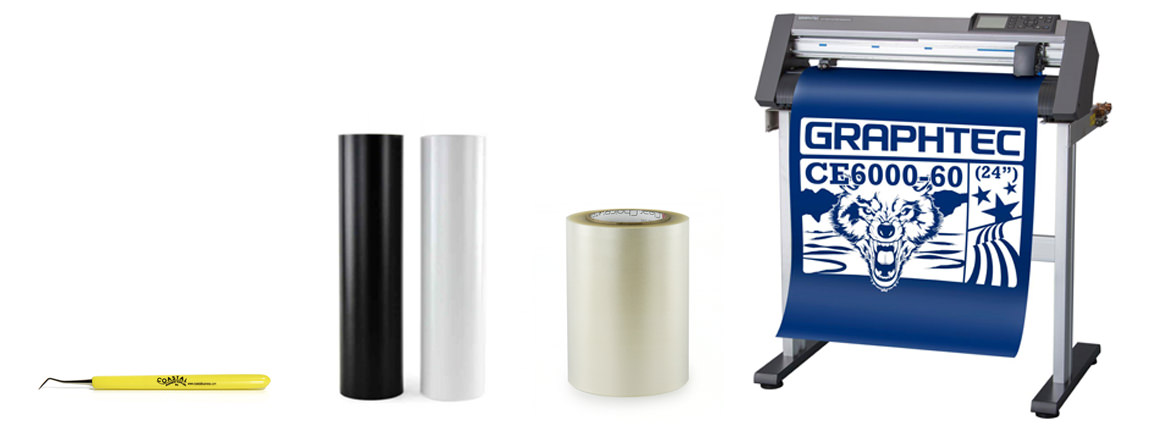
All you need is a roll of vinyl (offered in black or white), a masking tape and a vinyl cutter. For our project, we used a Graphtec CE 6000 vinyl cutter and medium tack masking tape. 

Start designing!

Unique, original designs are best, but something as simple as text or a quote can be just as effective! Just make sure that your lines are solid. This is typically a project for single color designs using either black or white. Since we are placing our design on a light-colored wall, we are going with black vinyl.

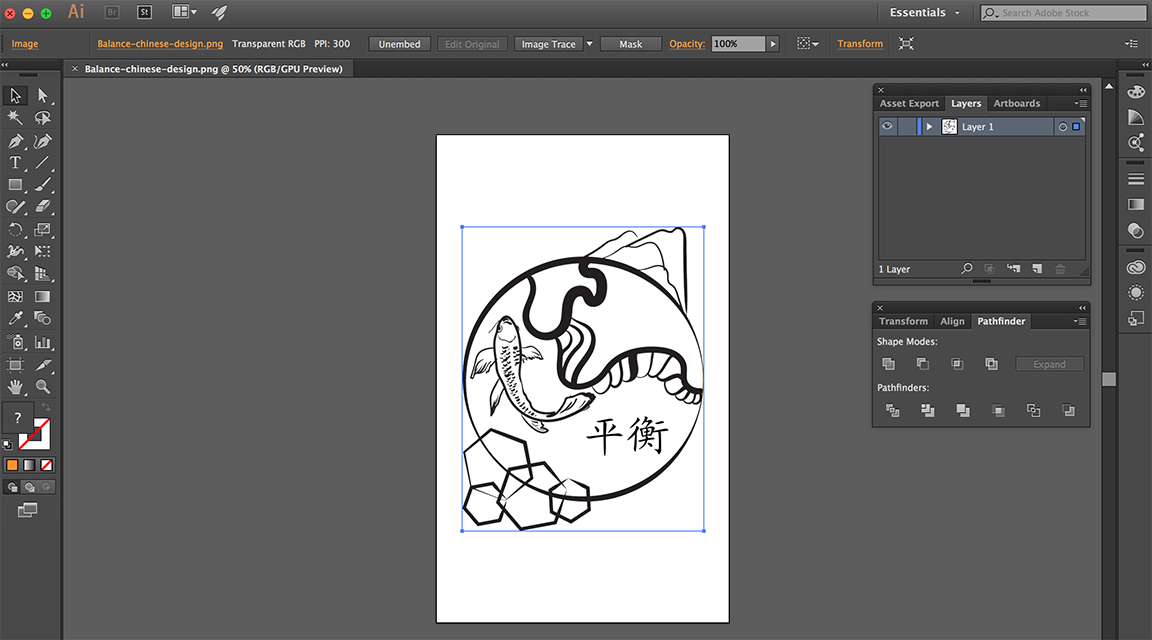
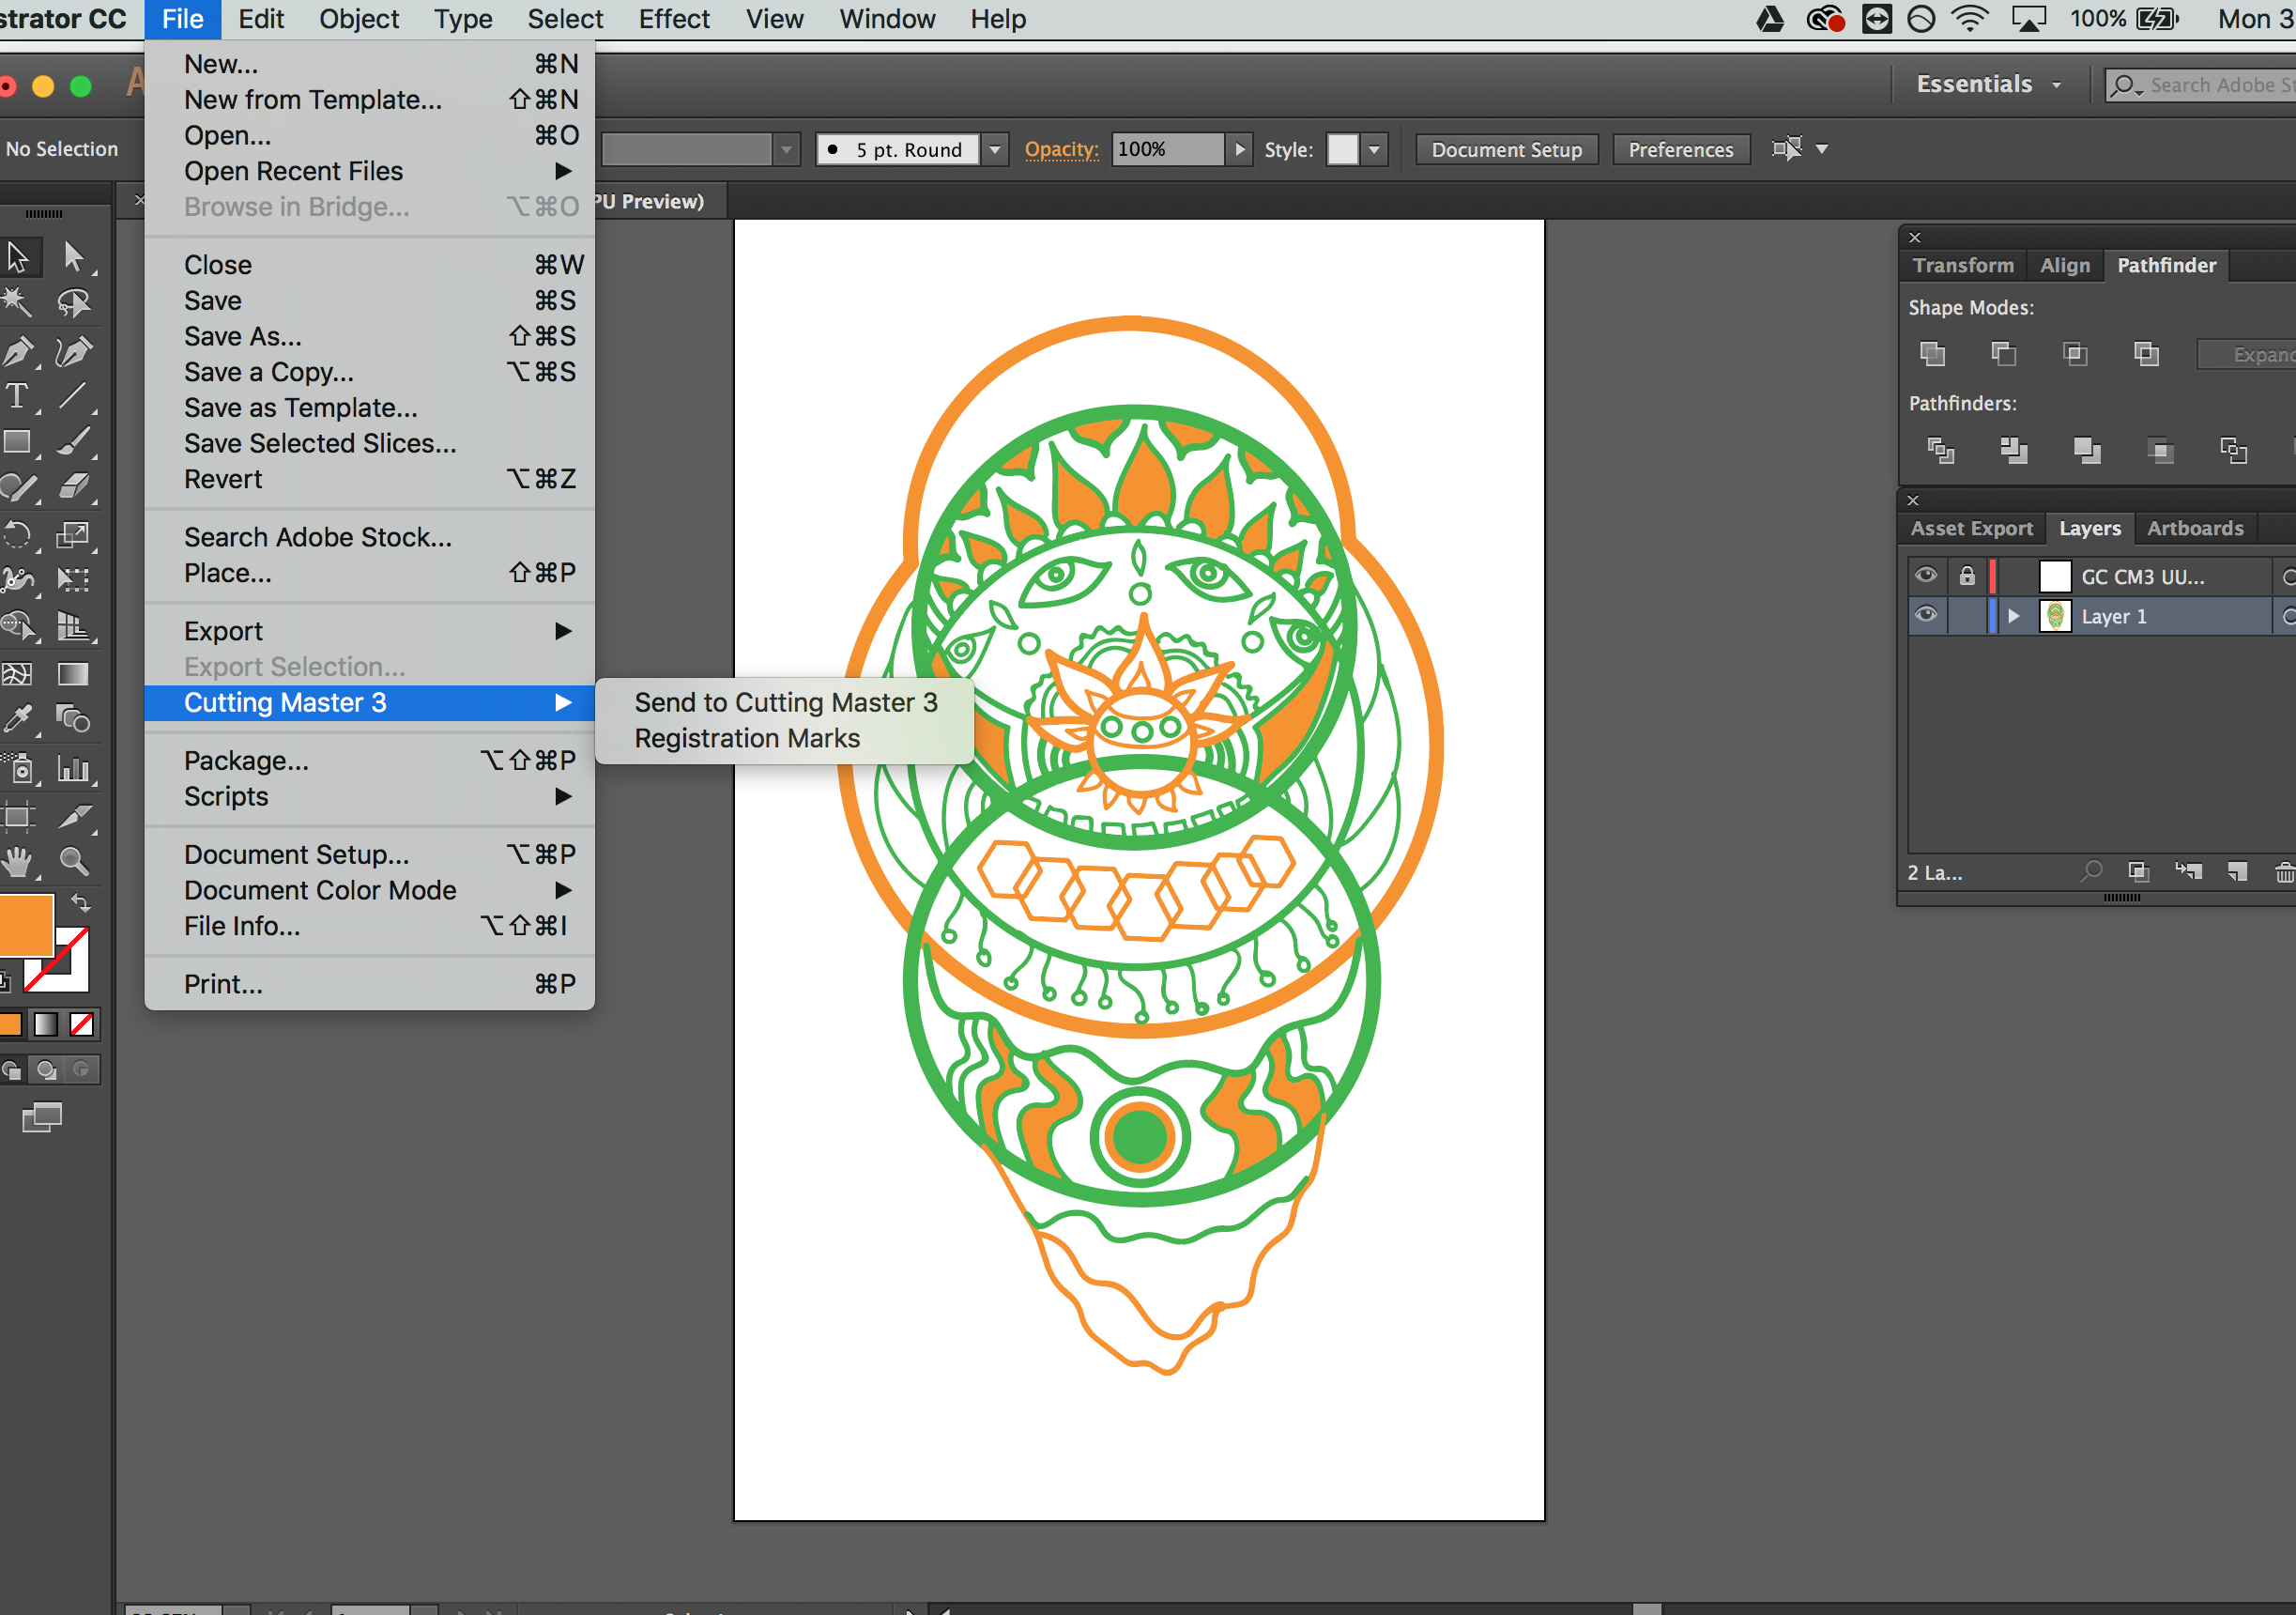
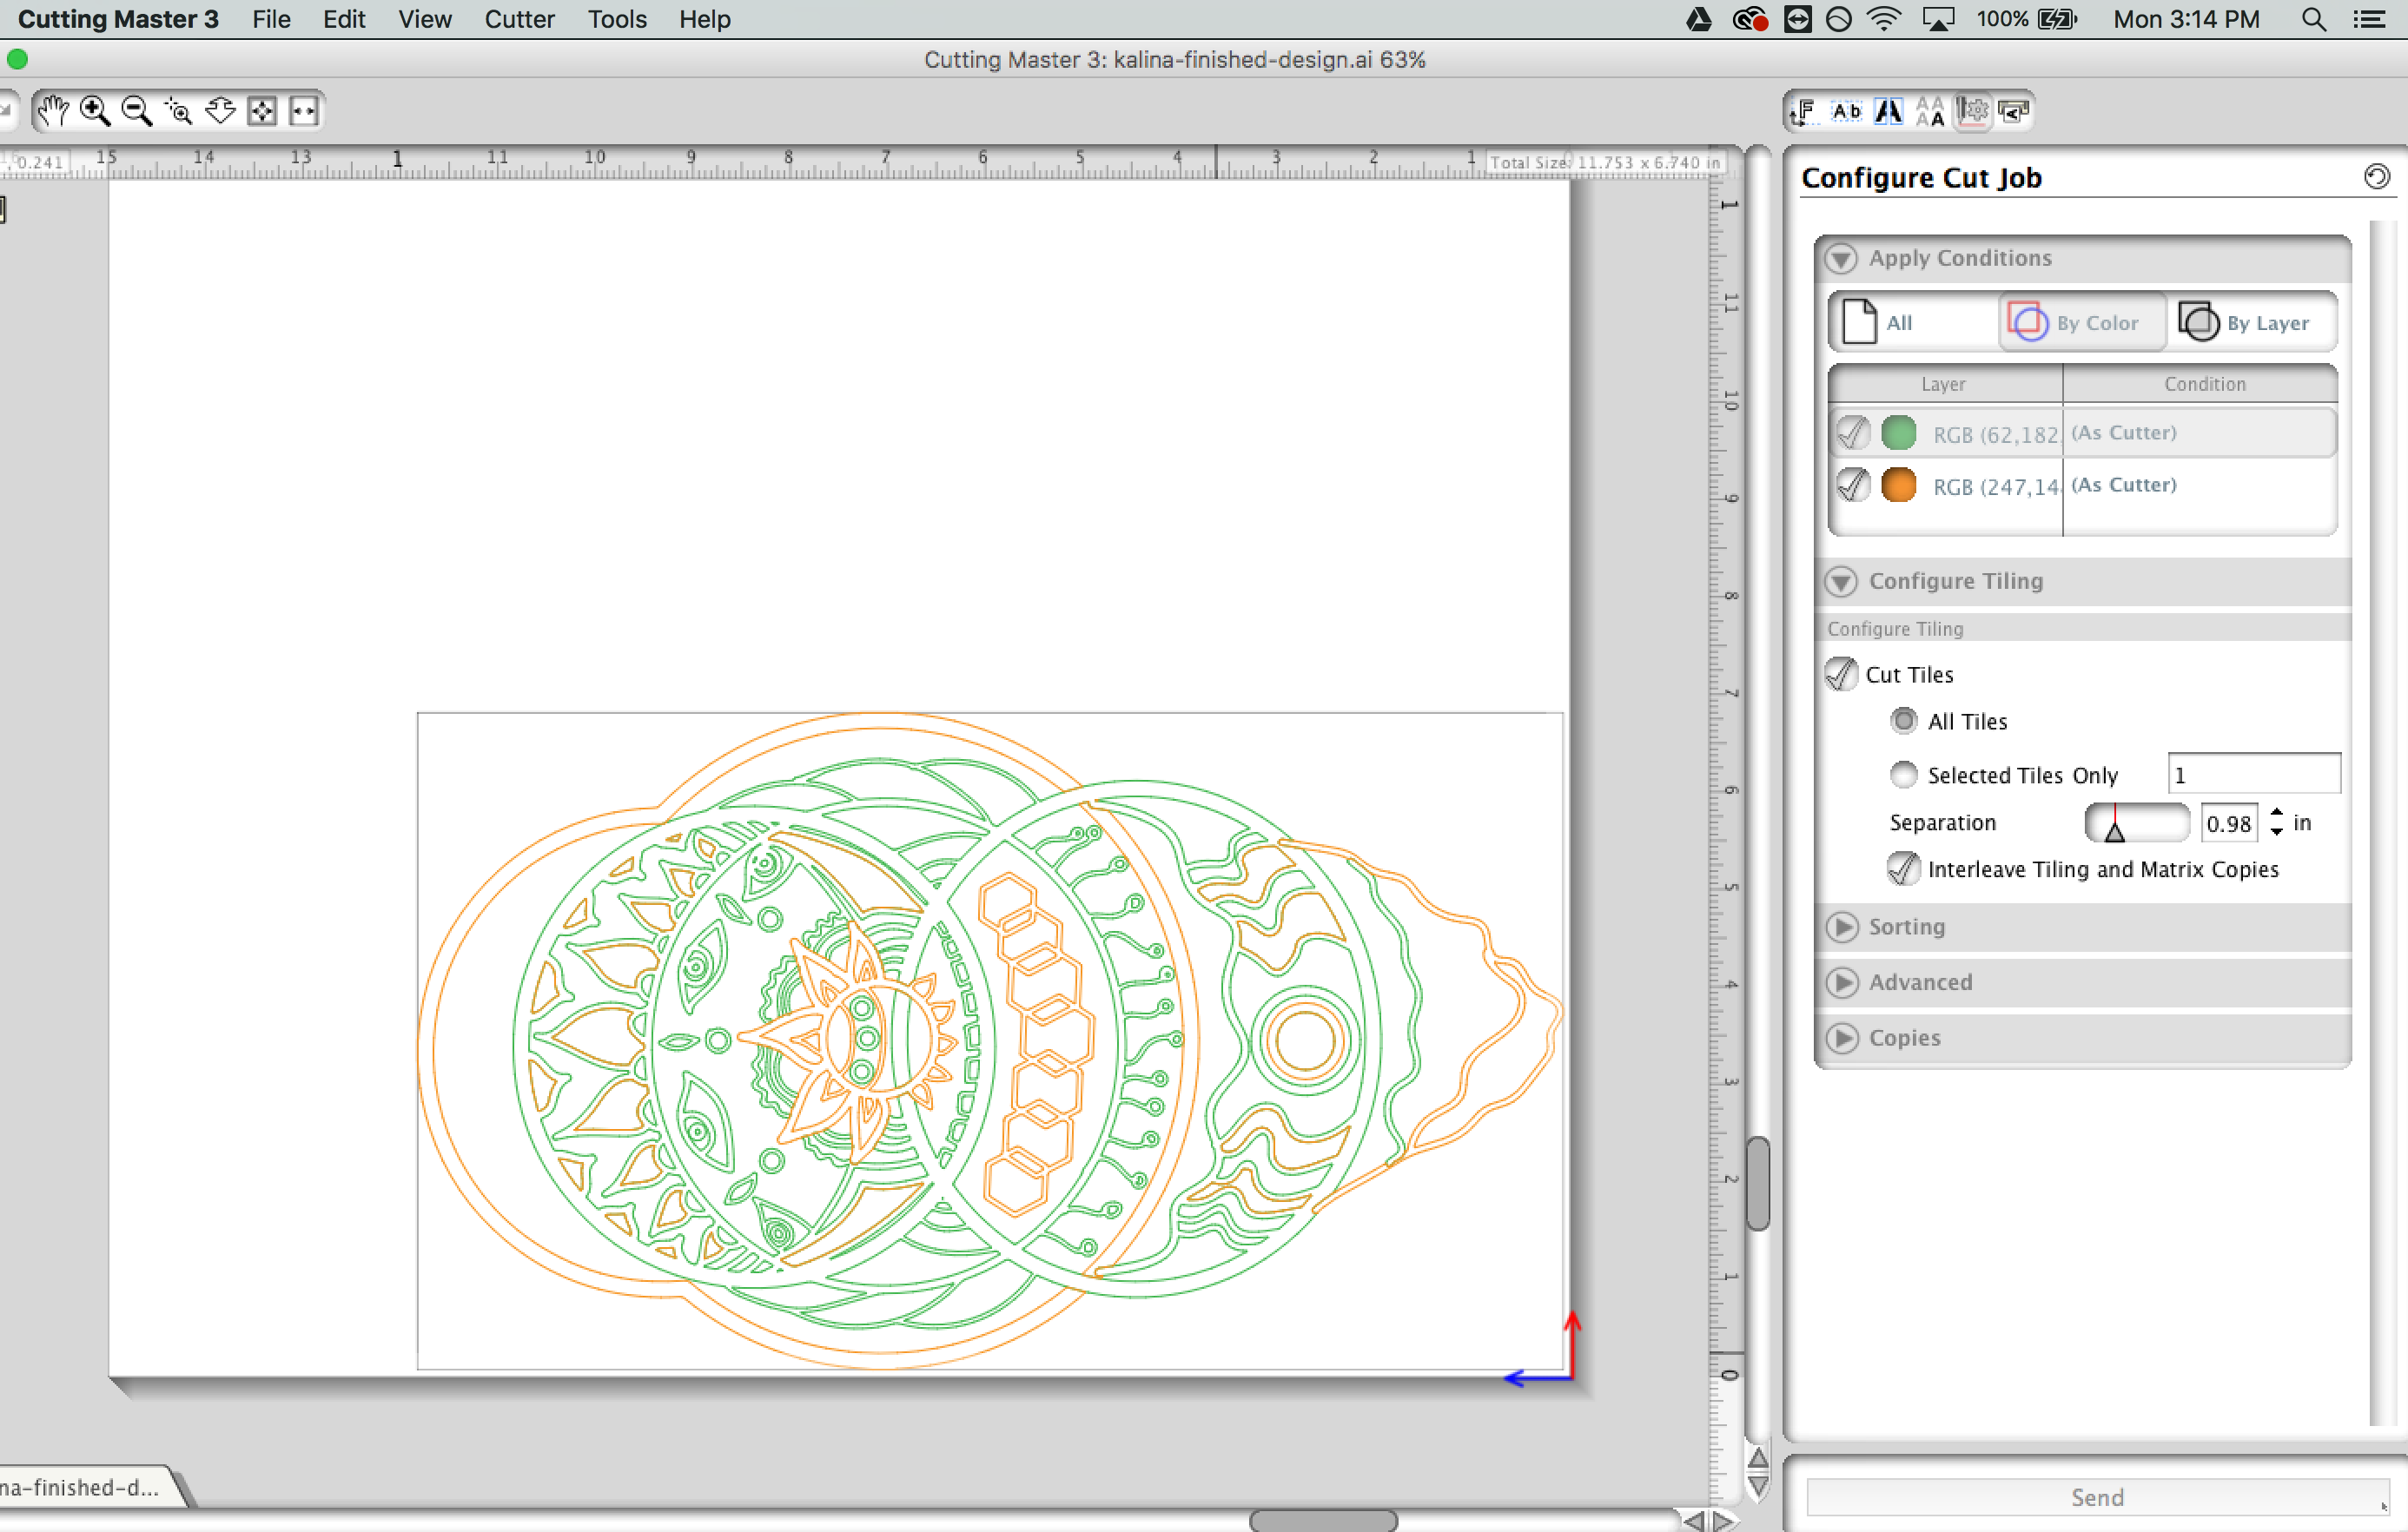
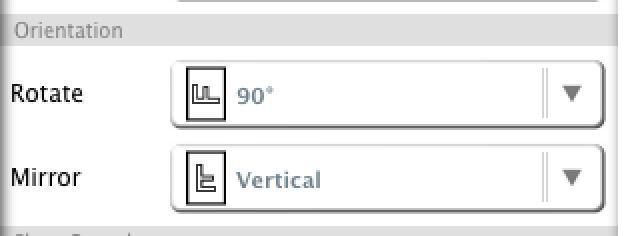
There are a ton of programs to design in, but our favorite is Adobe Illustrator. You can send your design from Illustrator to Graphtec’s Cutting Master plug-in by going to File –> Cutting Master –> Send to Cutting Master. (Learn more about this process here.)  From there, simply send your design to the vinyl cutter. Do not mirror the design!

Start cutting!

Feed your vinyl in the cutter with the front side facing up (the colored side). The cut settings are very similar to standard heat transfer vinyl. The blade settings we use on our Graphtec vinyl cutter for the FDC 4301 vinyl are:

Speed: 20 cm/s
Depth: 13

Always do a test cut and adjust accordingly!
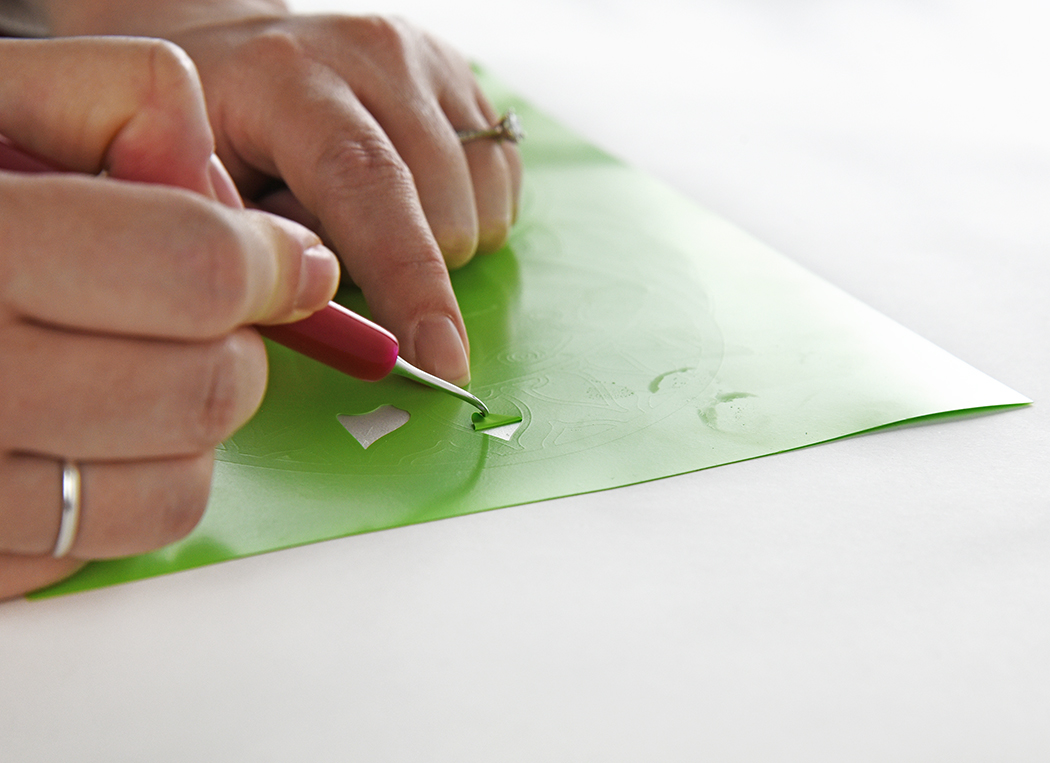
Weed away and mask!

Just like any other vinyl, the next step is to weed away the excess background vinyl. We use our favorite rubber grip weeding tool to help with the process. During the weeding process, the vinyl can easily stick to other pieces and pull up smaller details. Wall vinyl has a very sticky adhesive as you peel it so be careful!

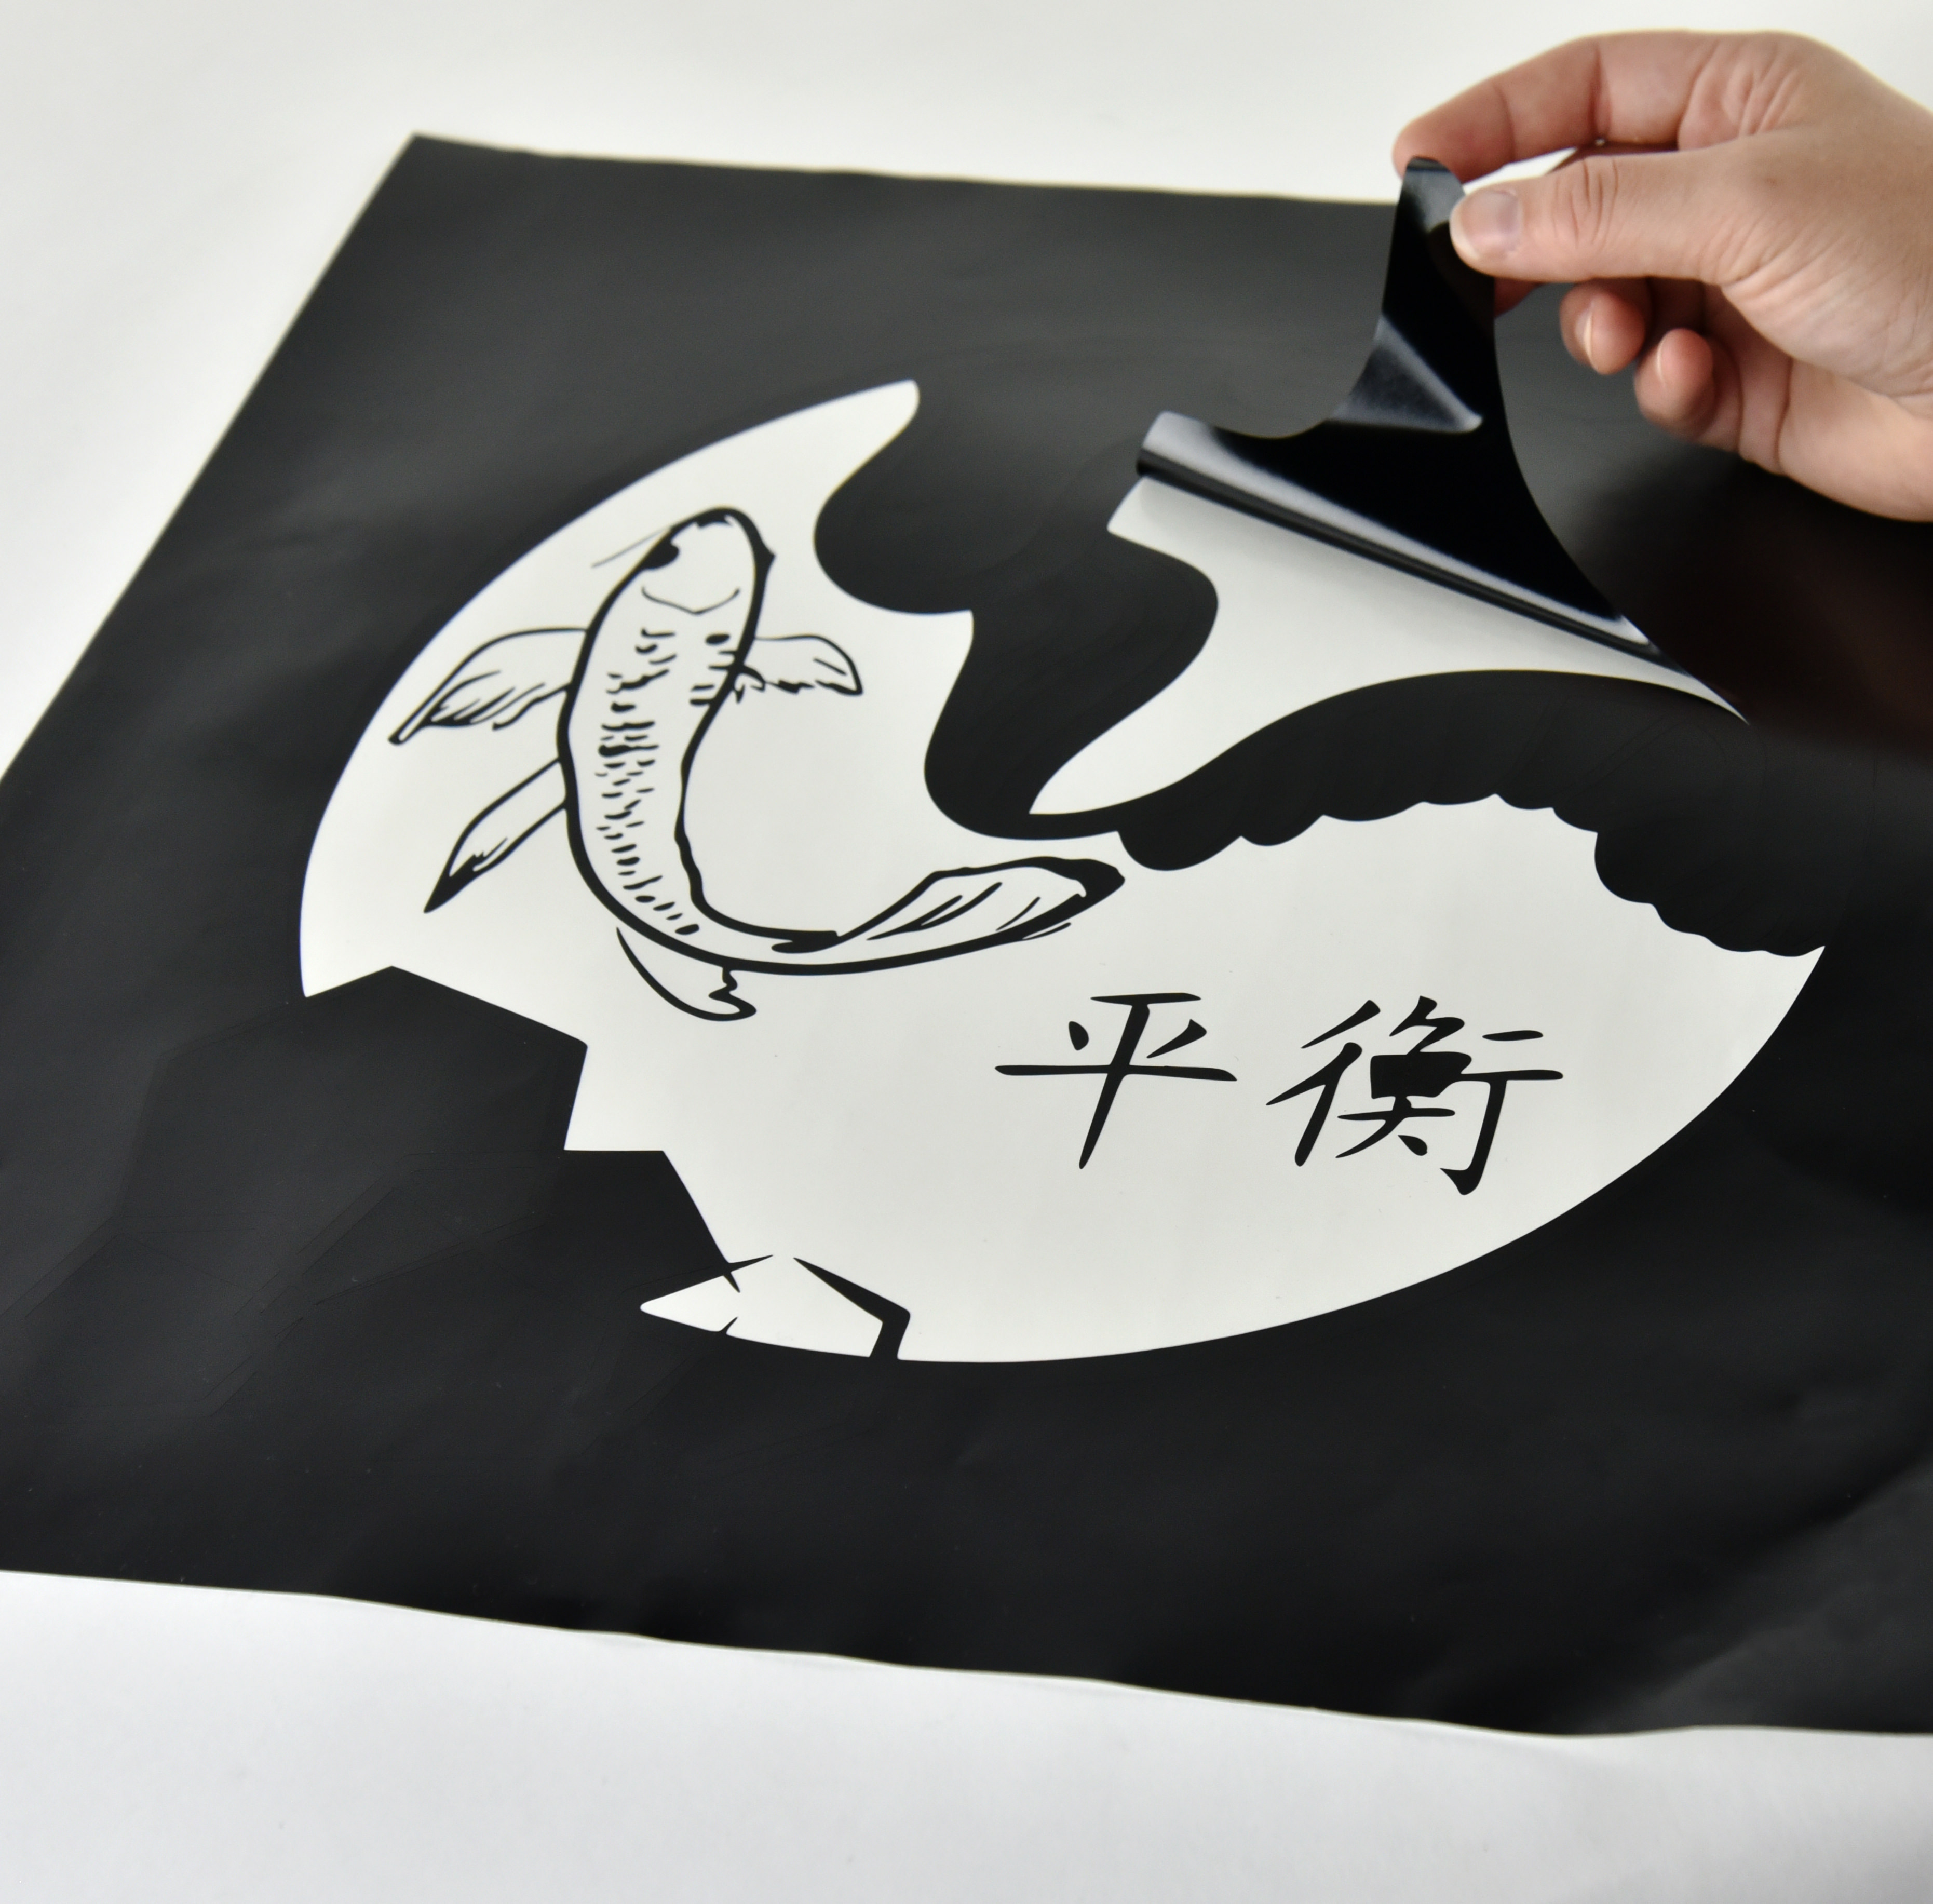
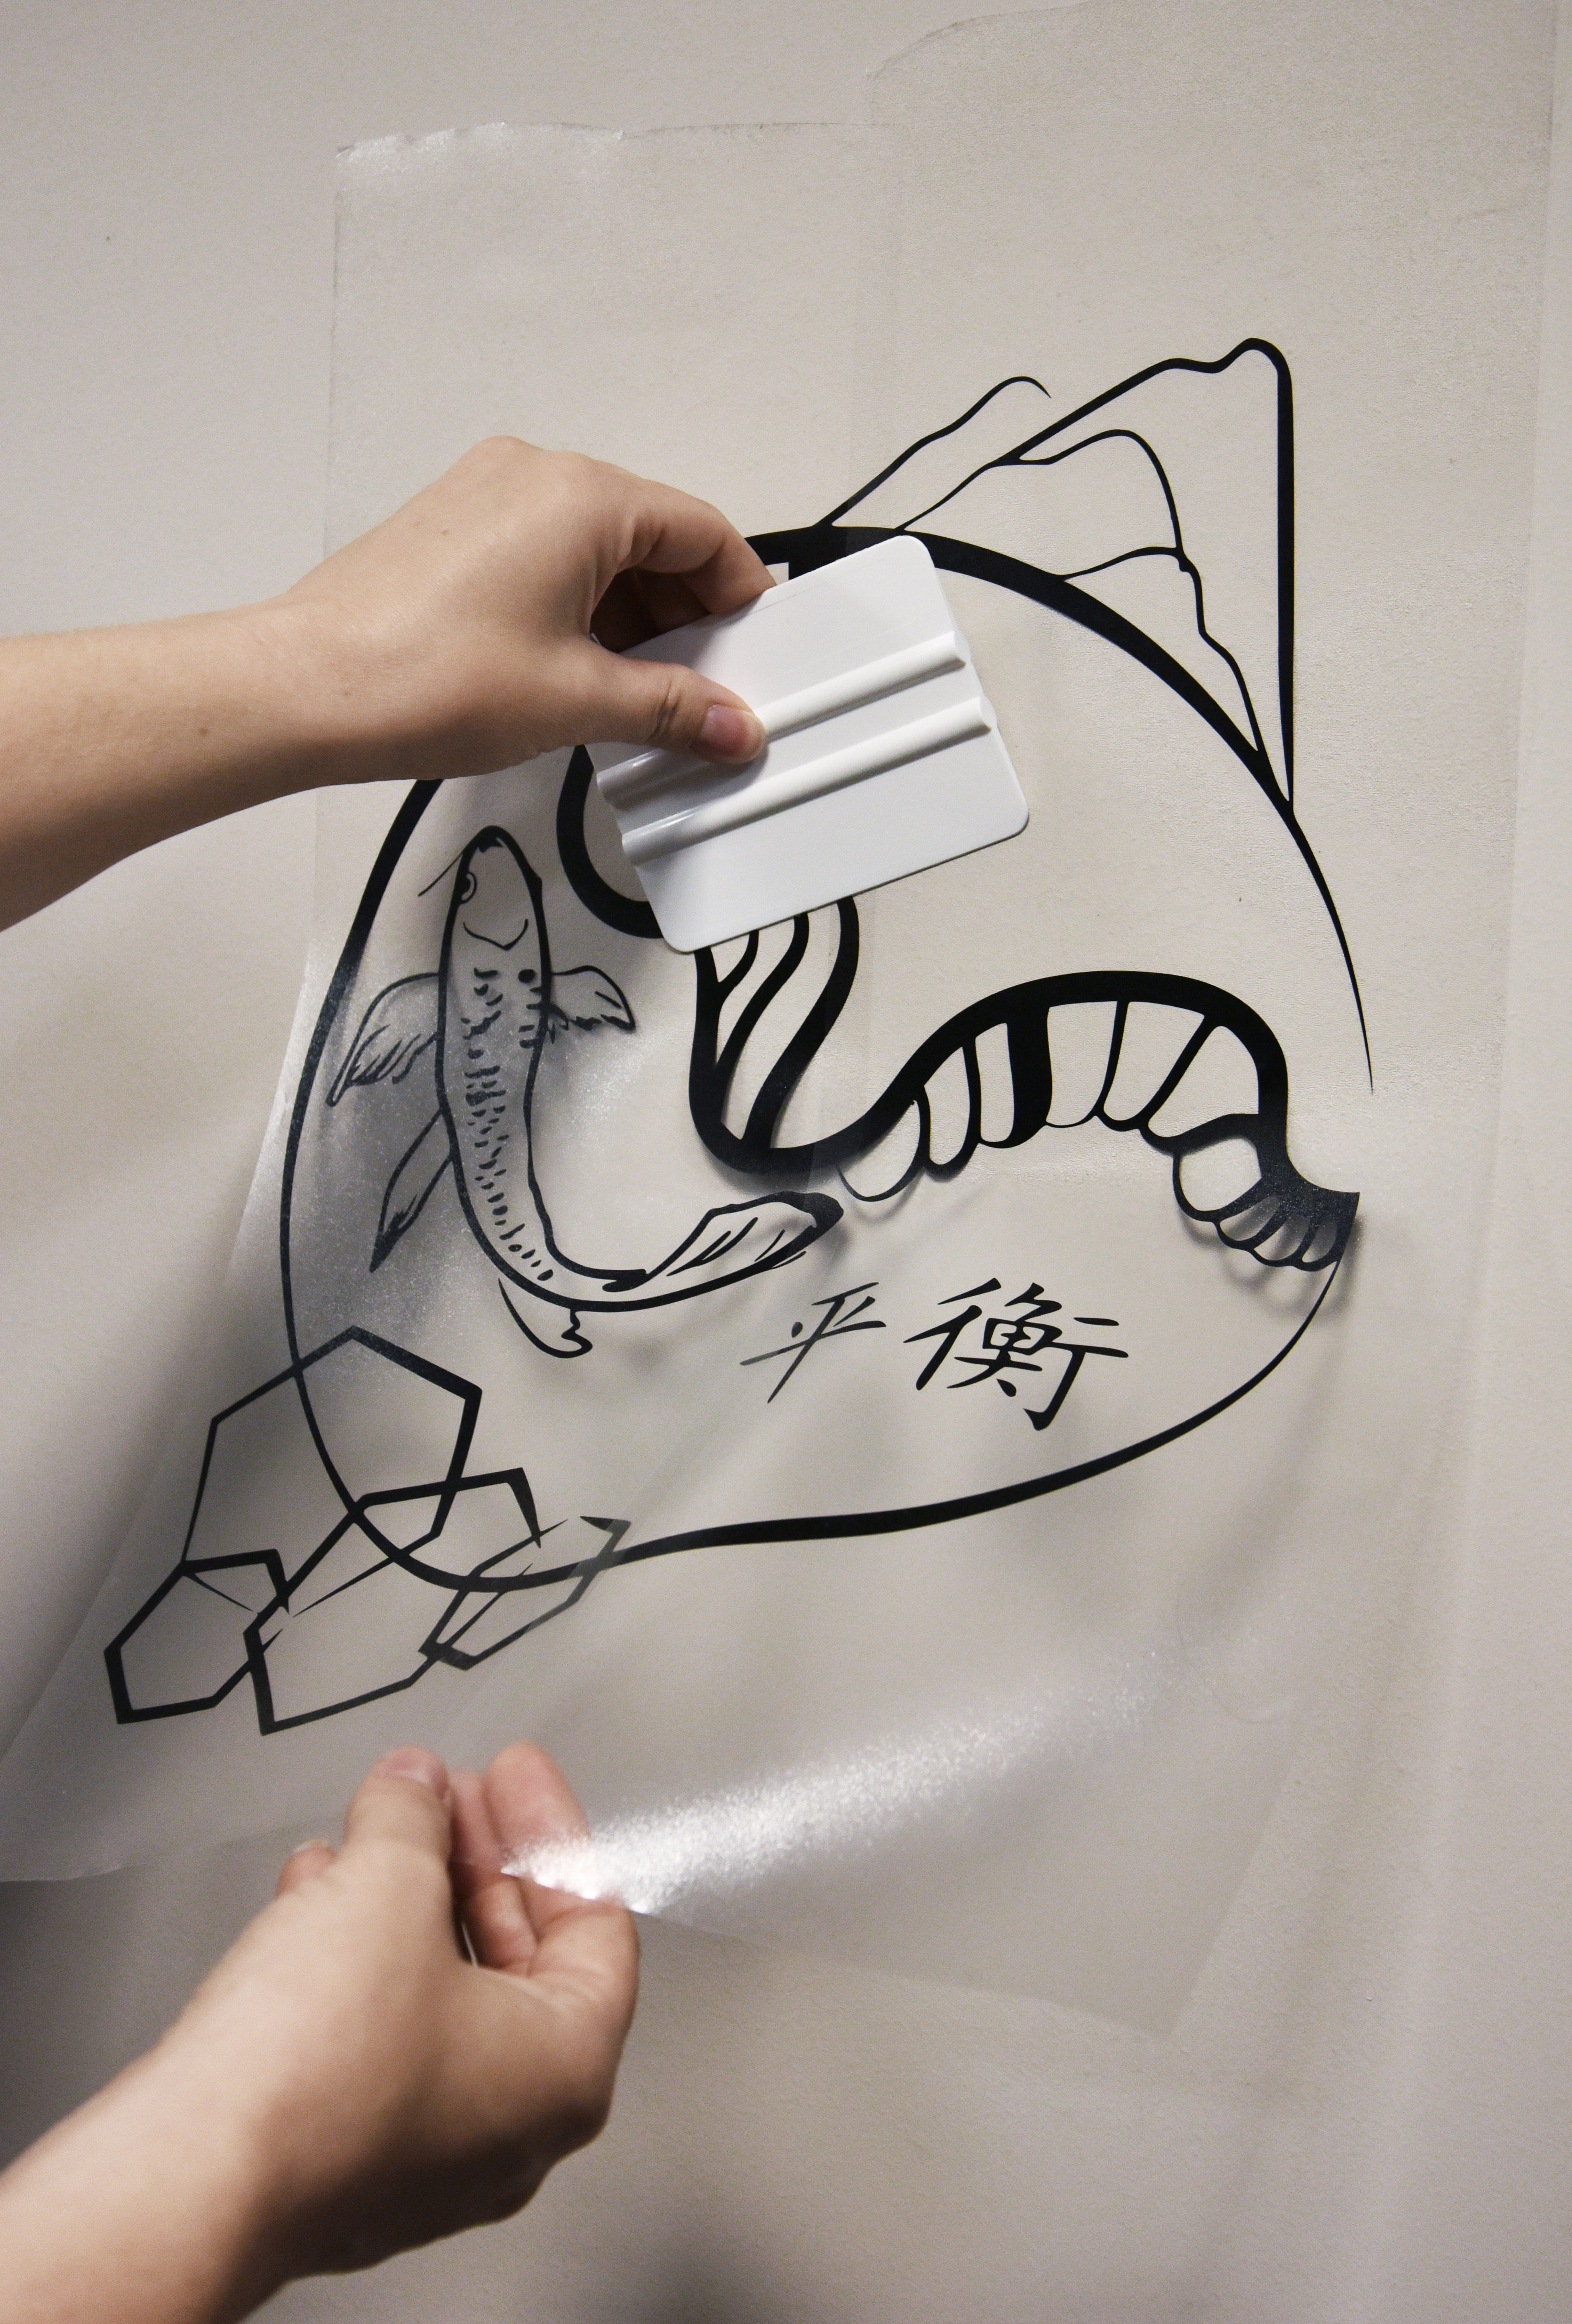
Once all excess vinyl is removed, place masking tape on top and rub with a squeegee or your fingers to remove air bubbles. The manufacturer, FDC, recommends the low tack mask made for removable wall vinyl. We use the medium tack mask, which also works great and is transparent! Apply pressure when rubbing the top of the design to ensure all details are picked up by the tape.

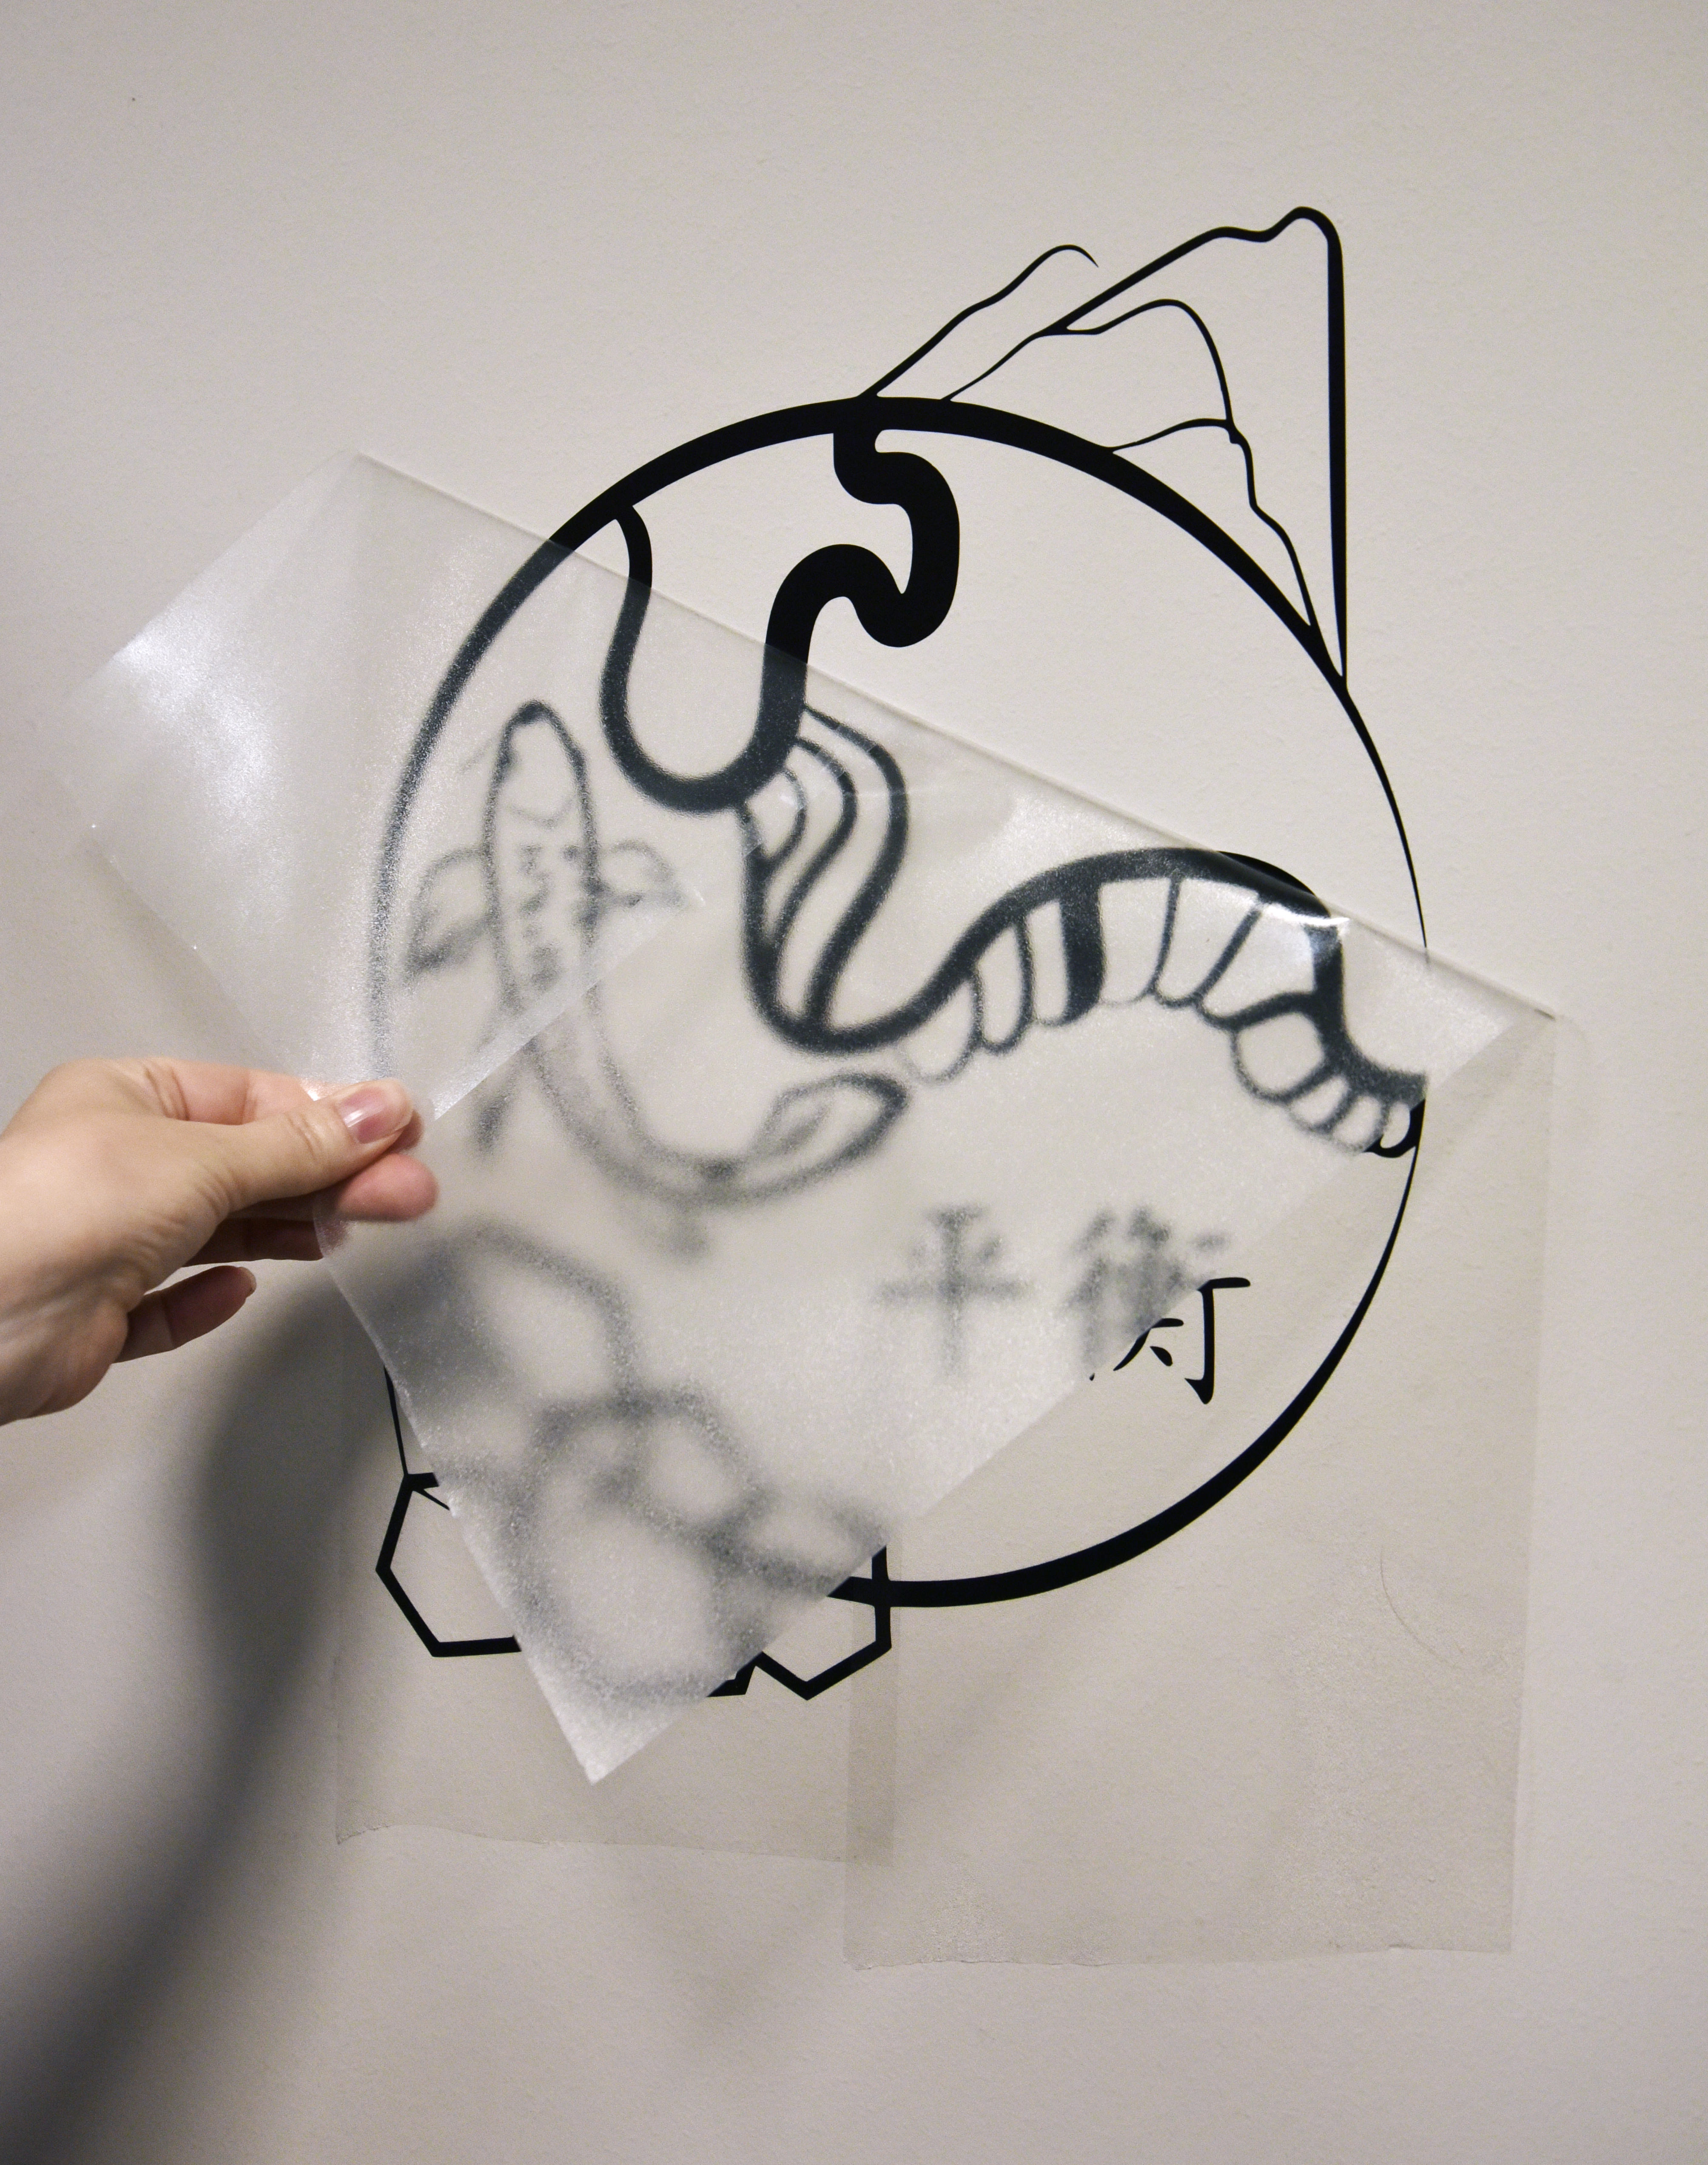
Place on desired surface or wall!

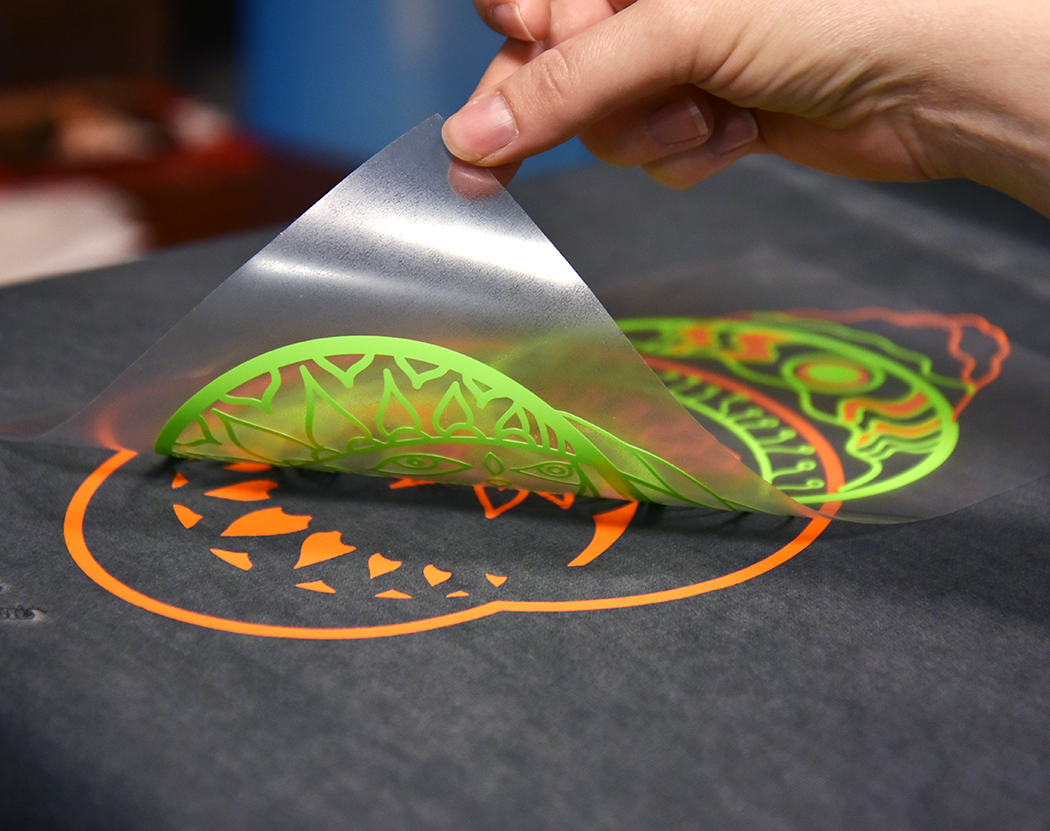
The last step is simple! Peel the masking tape together with the design. Do that in smooth and slow motions, making sure small details are on the tape. From there, place the design on a clean flat surface.


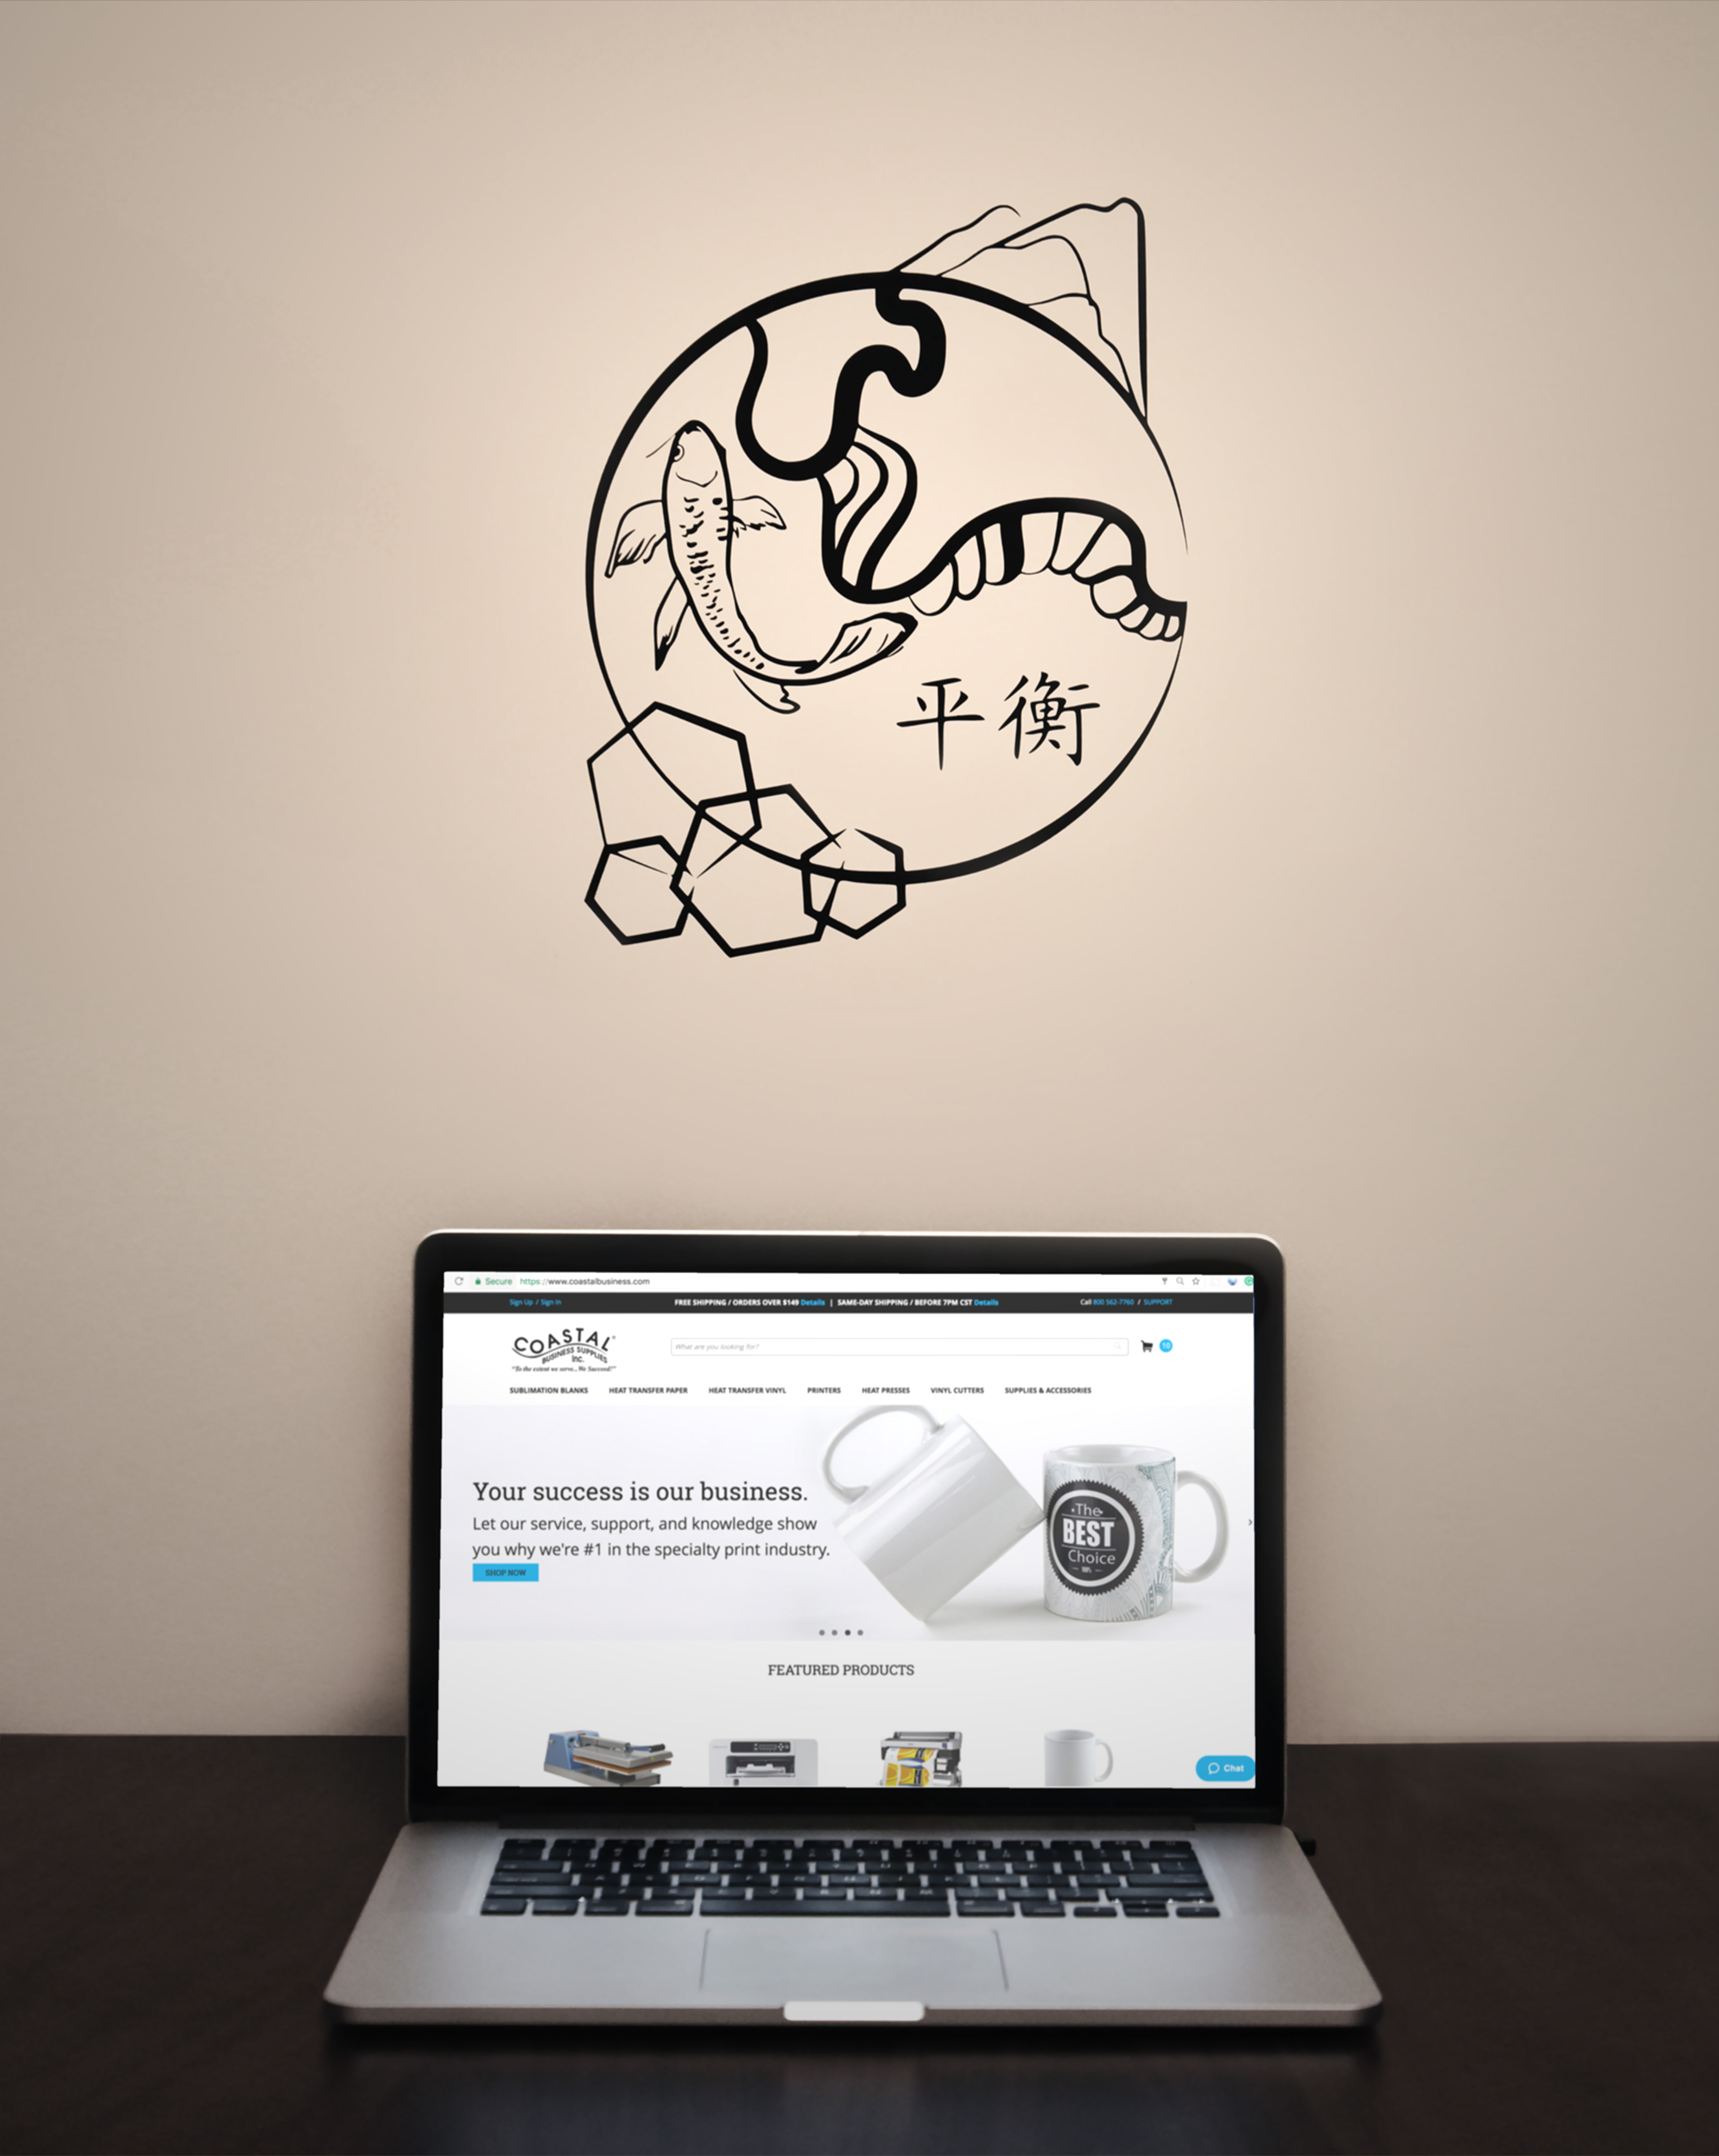
We found a great spot here in our office above a desk! The space looks and feels instantly more zen.

Order a roll of FDC 4301 wall vinyl today and share your creations with us on Instagram by tagging us (@coastalbusinesssupplies) and use #InspireMeCoastal!

How to Create Multi-Colored Shirts with Heat Transfer Vinyl

Getting started with garment decorating can be a headache at first, especially when presented with so many heat transfer options.That’s why we are showing you one of many solutions for creating an intricate design with screen-print softness using heat transfer vinyl on a 100 percent cotton shirt.

Follow along as we show you how to use Xpress Cut heat transfer vinyl, one of our favorite vinyl brands for T-shirts. Xpress Cut is also a great product for new businesses due to its easy weeding capability with a sticky backing. This vinyl can be cut with any cutter but in this case, we are using the Graphtec CE6000 24″ vinyl cutter. Our Graphtec line of cutters are perfect for small and large jobs alike! They are incredibly fast, quiet and easy to set up.

In this tutorial, we are using Graphtec’s Cutting Master 3 plug-in for Adobe Illustrator CC. If you already have your design ready, feel free to skip to step 2!

Step One: preparing the design for cutting

Here we have our finished design in Adobe Illustrator CC. Illustrator is our favorite tool for creating vinyl designs, but Corel Draw and Graphtec Studio are alternatives. We chose to color the design to match the vinyl we are going to use. Doing this can save you headaches when it comes to cutting and applying the vinyl. Now it’s time to send our design to Cutting Master!

Open Cutting Master through Illustrator by going to File and clicking on Cutting Master 3 (or the version of Cutting Master that you have installed). This will open your design in a new program.

The Cutting Master plug-in pulls the design from Illustrator in its original vector format with the separate colors we previously set. The program automatically recognizes that there are two different colors and makes it incredibly easy to toggle between them. Not every program can do this. That’s why we love Cutting Master! Now it’s time to cut!

Tip: Don’t forget to mirror the design (flip horizontally) because heat transfer vinyl is always cut on the back side and later placed upright on the garment. This can be done in Illustrastrator or inside Cutting Master. In Cutting Master 3, go to Page Window and select your Mirror setting from the drop down under the Orientation section.

Step Two: time to cut!

Before sending the design to the vinyl cutter, we need to set the blade depth and speed correctly for this specific vinyl media to get optimal results. We used the following settings for Xpress Cut on Graphtec CE6000:

Speed: 20 cm/s
Depth: 14

Load the vinyl with the back adhesive side (usually the duller matte side) facing up.

Tip: Perform a test cut if your machine allows it prior to sending your design to the cutter. Over time, the cutting blade can dull and the depth setting may have to be increased.

Step Three: weed away

Grab your favorite weeding tool (here’s ours) and weed away the excess vinyl. This stage can be sometimes the most time-consuming part of the process.

Tip: When designing, the more connected your lines are with each other, the easier it will be to weed.

Step Four: Pressing Stage

Xpress Cut is easy to layer and requires little time and low temperature, making it a great heat transfer vinyl to use on cotton, polyester, rayon and other blends. We are placing our design on a dark 100 percent cotton shirt.

We are applying the orange vinyl first because it outlines the entire design and makes it easy for the next layer to line up. Set up the heat press machine to 305 – 310 F° when using 100 percent cotton shirts.

Use the following settings to press the design:

  1. First layer – Three to five seconds with medium pressure, peel hot
  2. Second layer (final layer) – Ten seconds with medium pressure, peel hot

For the best pressing settings for your material, visit our Xpress Cut support page!

Helpful Tip: Use a foam pillow underneath or inside your shirt to raise the transfer area for a smooth, flat surface. Seams, zippers, wrinkles and other imperfections can throw off the pressure and cause the vinyl to peel later on.

Finished!

After pressing the design, wait 24 hours prior to washing. The finished garment is ready to be worn for many years to come!

Order some Xpress Cut vinyl today and start making custom vinyl shirts with screen print-like softness. 

Do you have awesome creations you want to share with us? Use #InspireMeCoastal and tag us (@coastalbusinesssupplies) on Instagram for a chance to be featured on our channel!

Print and Cut with the Silhouette Cameo Tutorial

Yes folks, it’s that time of the year again! It’s SHARK WEEK! So to celebrate this wonderful shark-y goodness, I’ve made a Silhouette Cameo Print and Cut tutorial that you can really sink your teeth into!

1. Open your image by going to File > Open.

2. First, you need to set up your page settings. When your document appears, the Page window will pop open on the right. Adjust these settings to Letter (or whatever size you need), Portrait, and Cutting Mat to 12×12 (or the size that you have).

Continue reading “Print and Cut with the Silhouette Cameo Tutorial”