How to Press a Latte Mug Using The New BJ870 4-in-1 Mug Press!

The new 4-in-1 mug press machine is here to stay! Just like the older BJ860 model, the BJ870 is an improved version that features four different heat elements that fit a variety of mug styles including the standard 11 oz. mugs, 15 oz. mugs, and large and small latte mugs. Among our favorites are ceramic latte mugs and pressing them is easy!

Follow this step by step guide on how to press our 17oz latte mug with our multi-function mug press. 

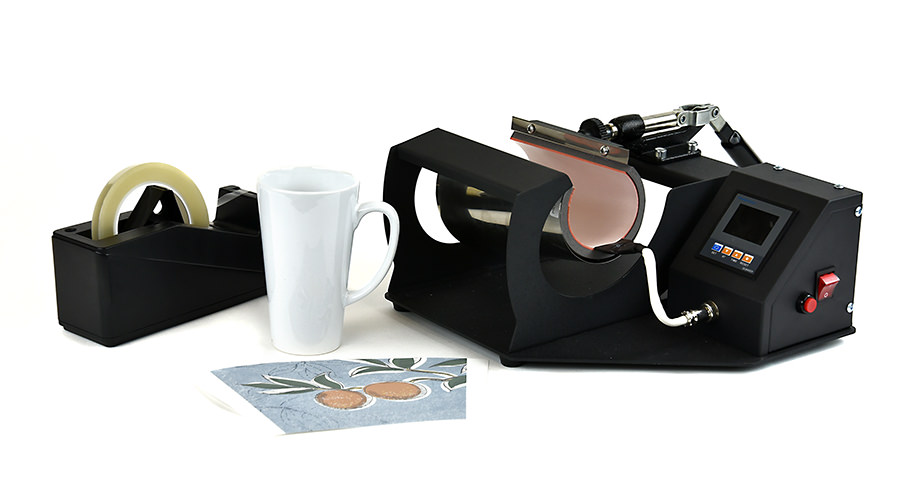
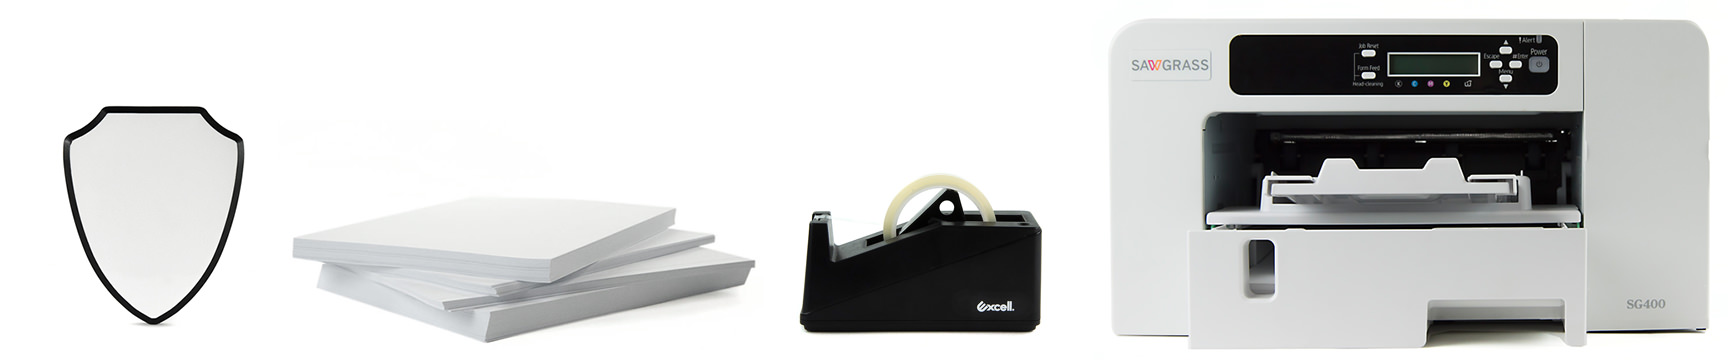
Materials You’ll Need

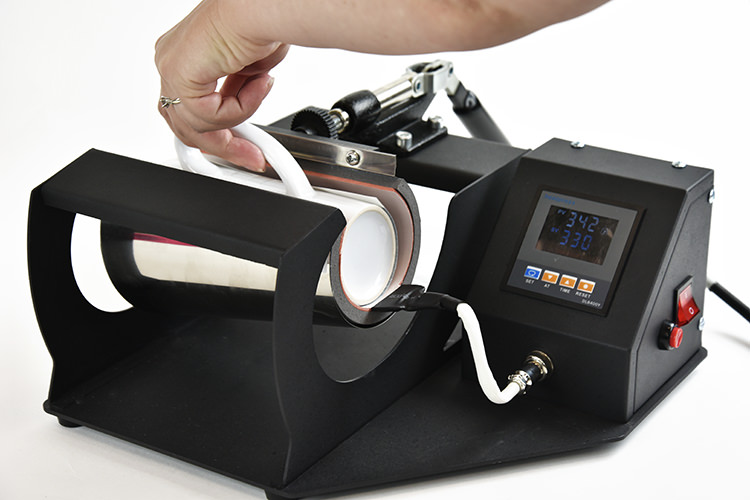
Use the long latte element for the 17oz mug!

Set your mug press temperature and time to allow the machine to heat up! Slide the blank mug in the heating element and test the pressure. It is best to do it now rather than later when you have your design taped to the mug. For the latte mug, use the following settings:

Temperature: 330° F
Time: 240 seconds
Pressure: Medium

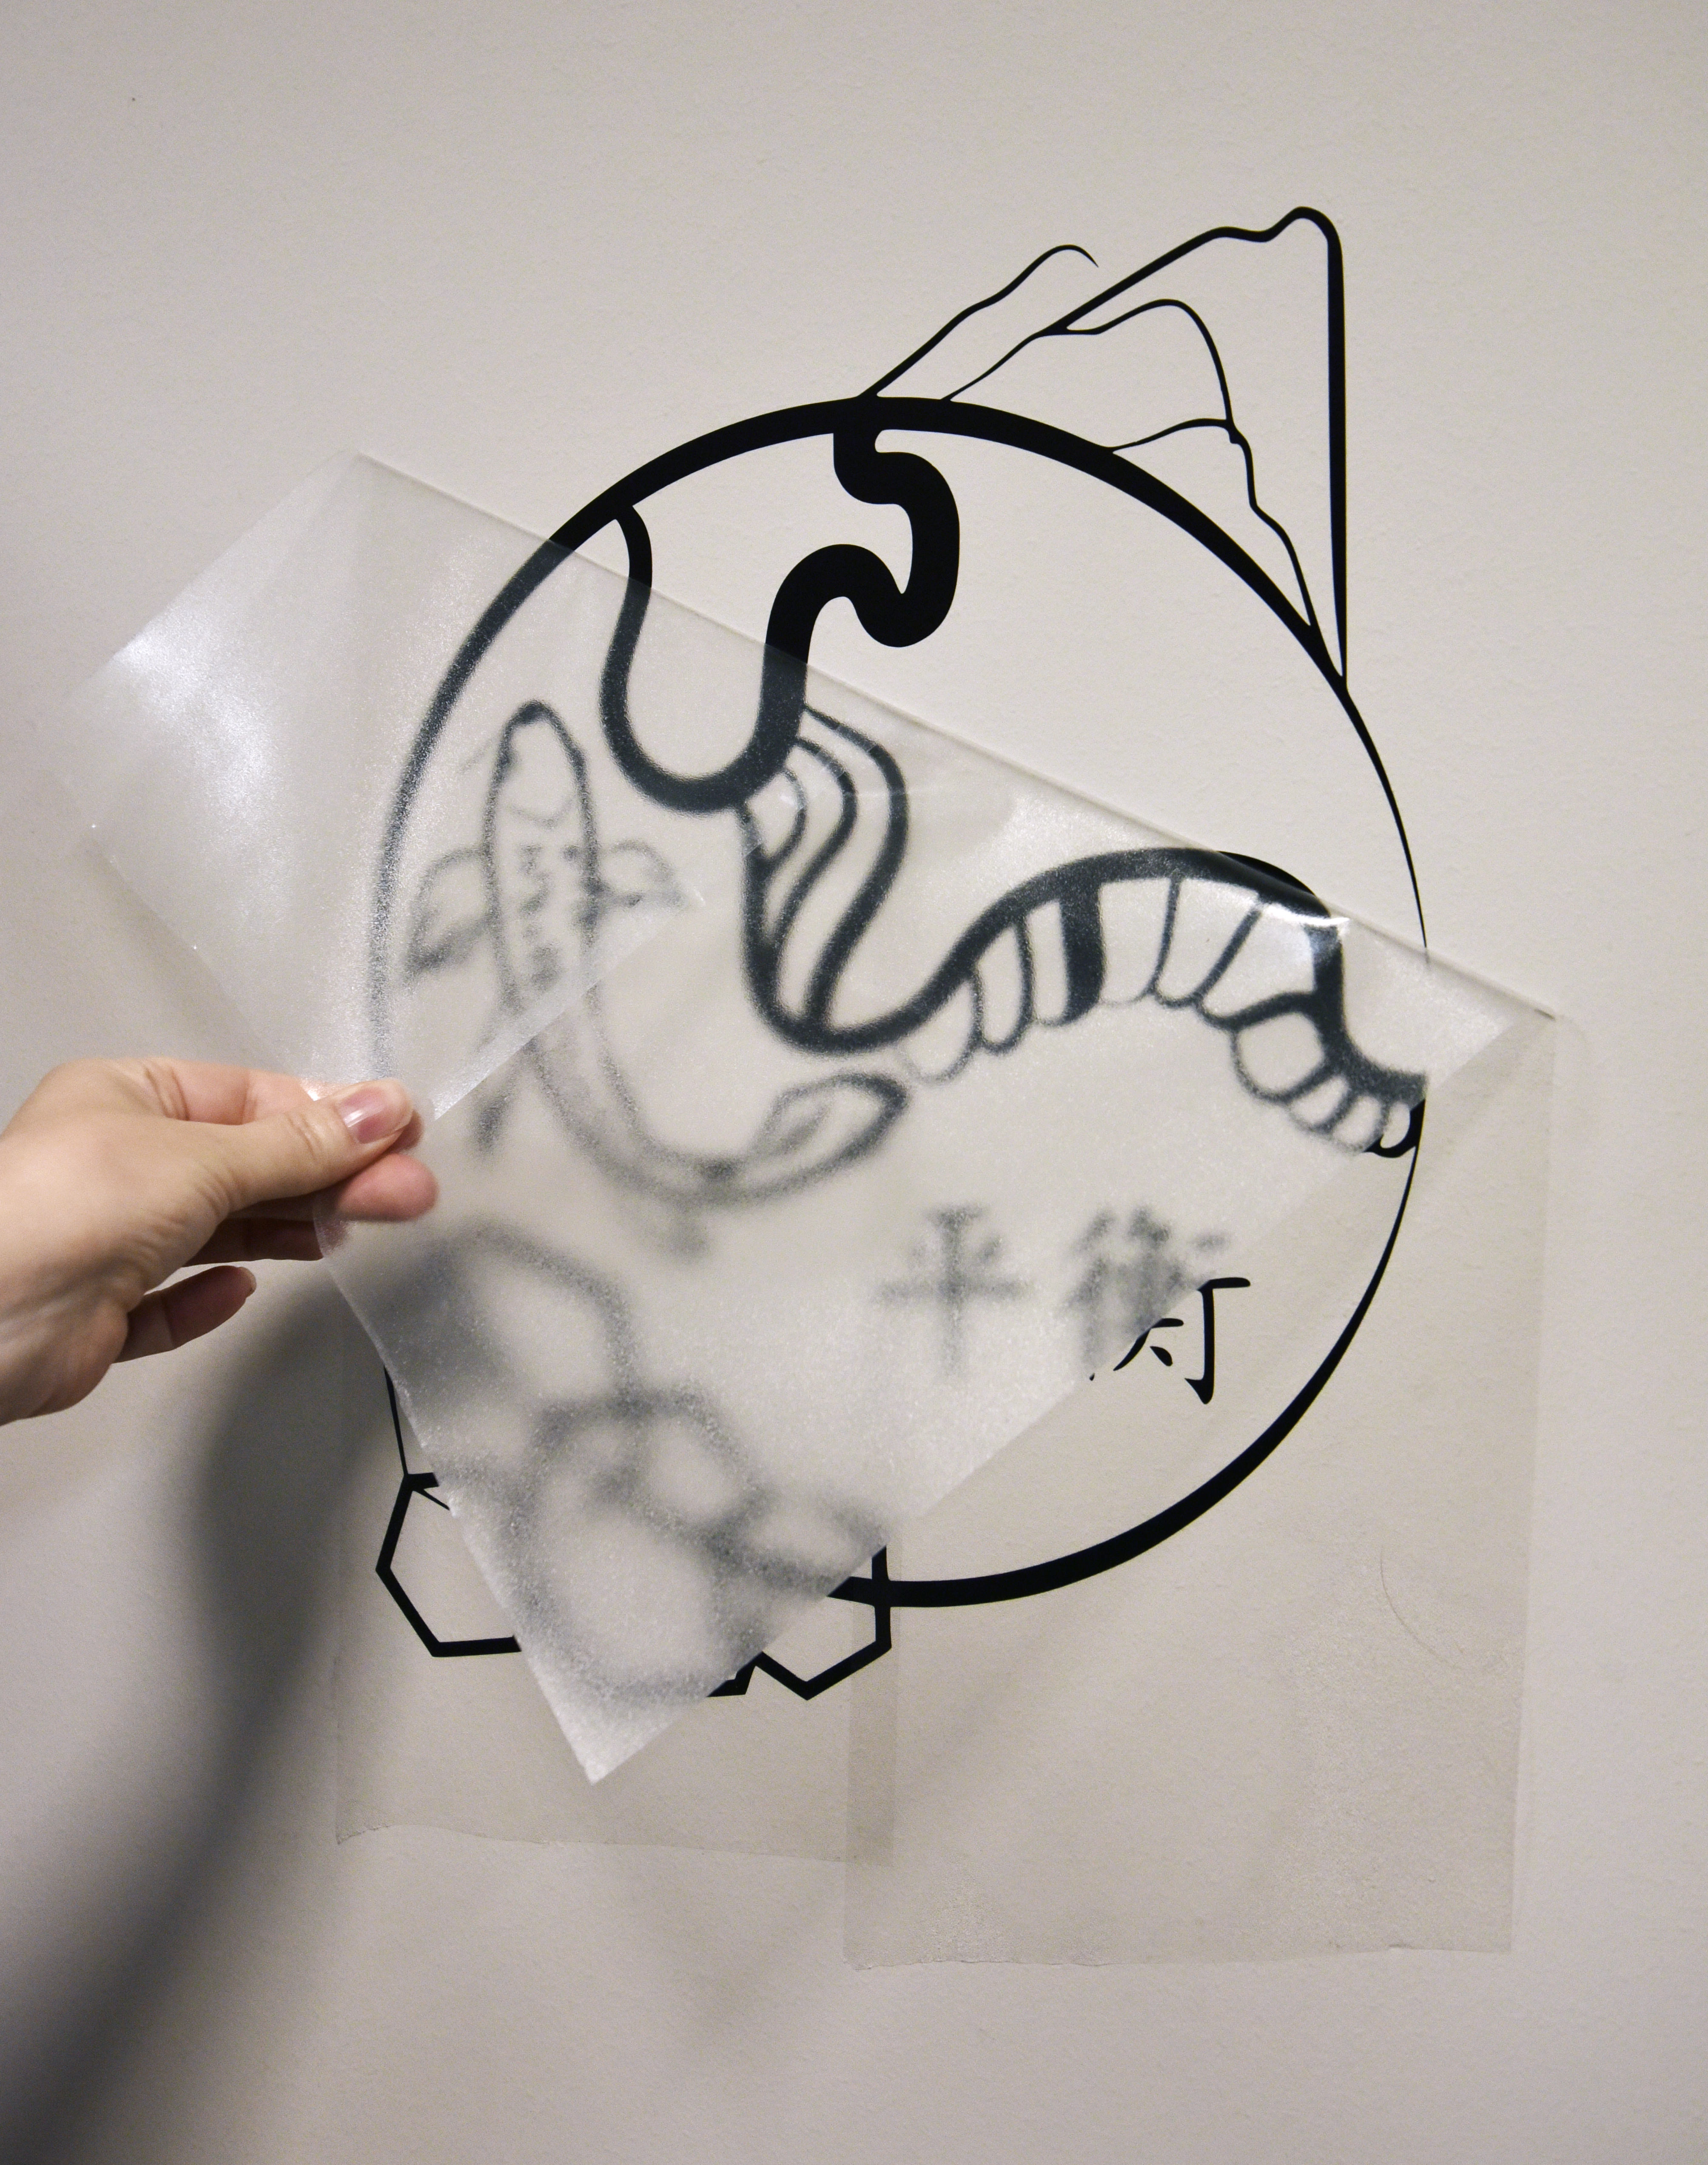
Because of the shape of these mugs, we recommend using this template to set up your design.

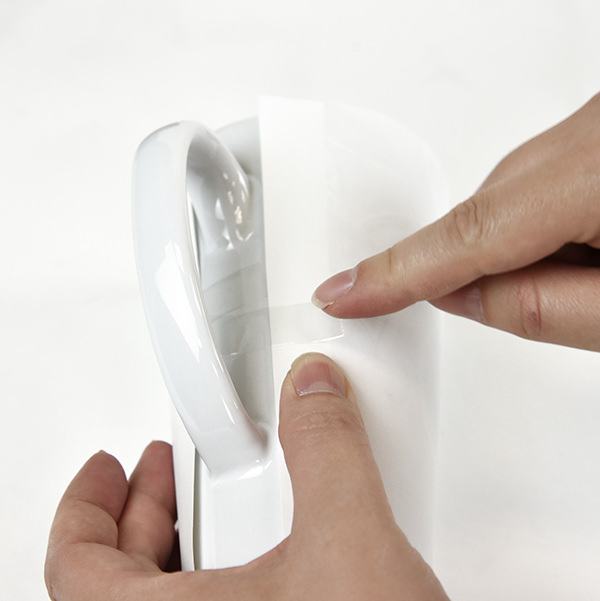
While your press is heating, line up your mug to the printed paper. Use thermal tape on each edge to secure the design.


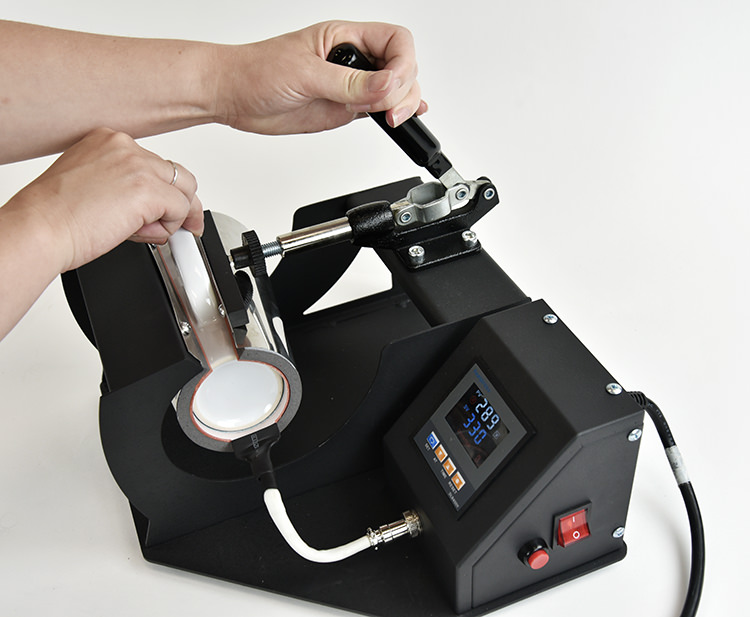
Once the temperature has reached 330°, place the mug in the heating element and pull the handle towards you to “close” it. Push the round, red button on the right side of the press to activate the timer.

NOTE: A drop in temperature is normal and should not affect the transfer process.


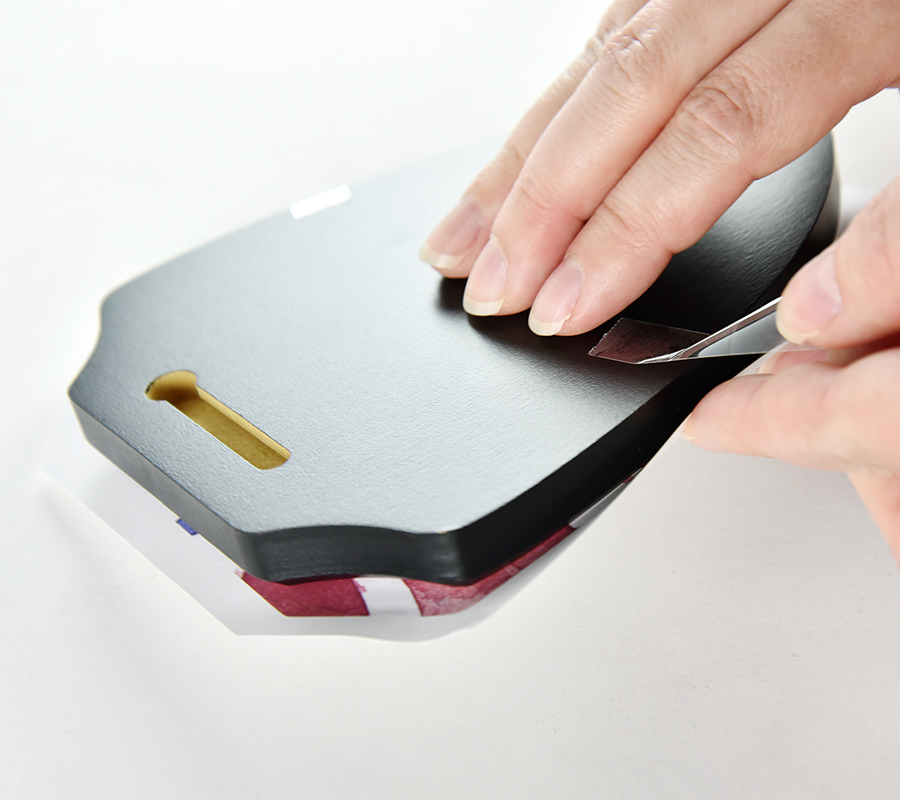
After 240 seconds, the mug press will start beeping to let you know the mug is ready to be taken out. Press the red button again to stop the beep and reset the machine. You may use gloves to handle the mug but that’s not necessary. The mug handle is usually not hot and can be easily held while peeling away the paper.

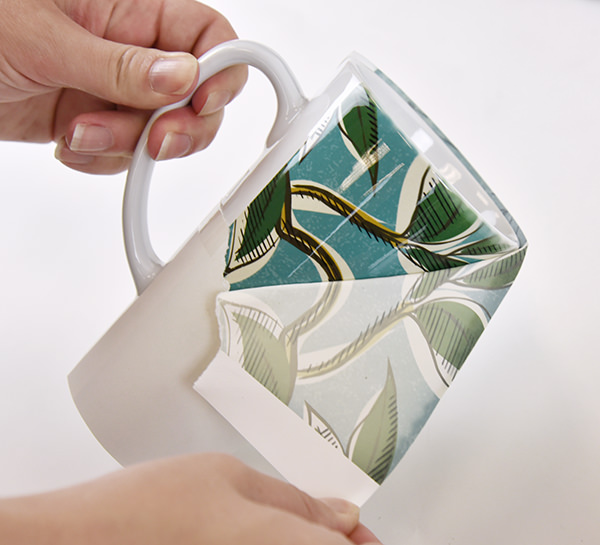
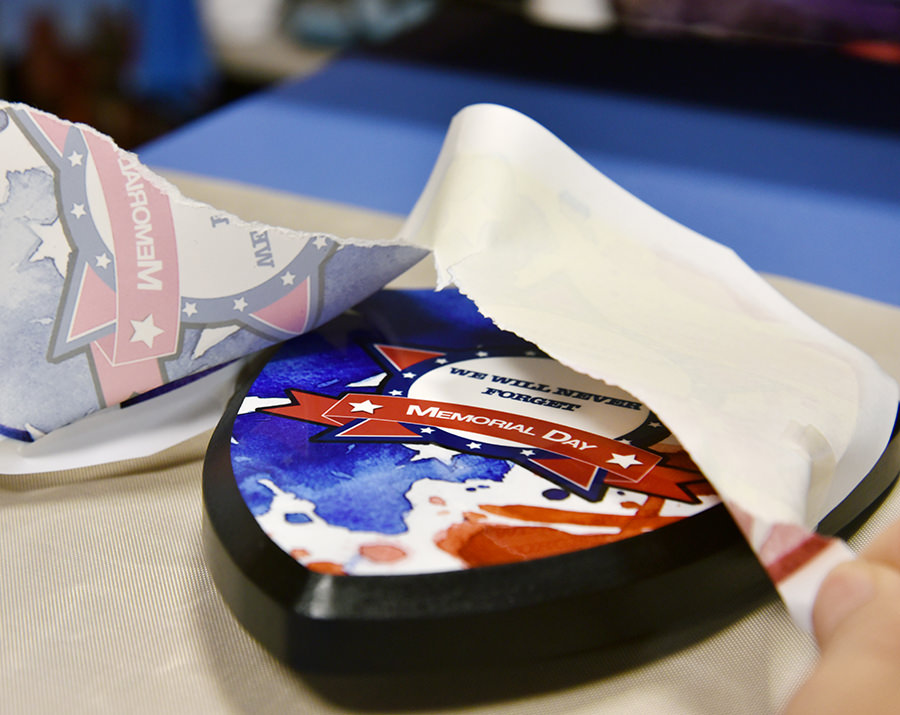
Make sure to peel the paper right away! As long as the mug is still hot and the paper is on it, sublimation is still occurring.

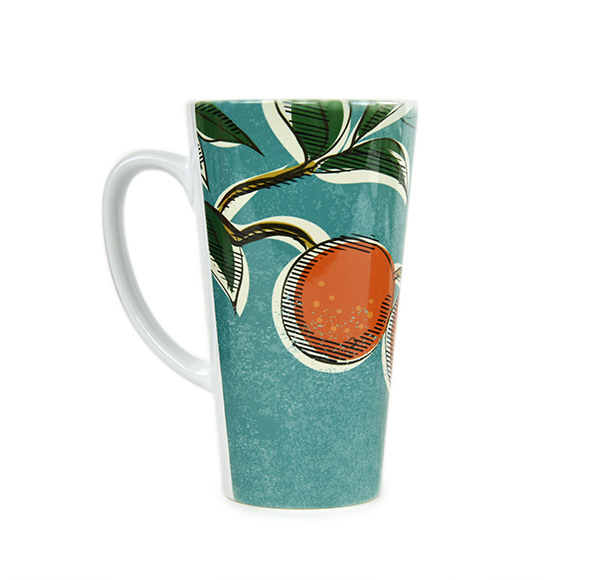
The final result should be a beautiful image transfer without any faded areas.

Share your mug designs with us on social media! Tag us in your posts with @costalbusinesssupplies and use #InspireMeCoastal. We might share your products on our social media helping you grow your online audience.

How to Press Sublimation Plaques and Awards

Commemorate special events and awards with our high-quality sublimation plaques! These plaques are perfect for sports teams, employee recognition, or honoring a special hero. Pressing these sublimation blanks can be easy when done correctly. That’s why we’re providing you with these tips on getting professional results while avoiding common mistakes.

We used the shield award plaque, our small format Sawgrass Virtuoso SG400 printer, and Image Right R paper.

Design with Templates

The nice thing about sublimation is that you can use any computer program to set up your design. However, for odd shapes like our shield plaque, it’s best to use a template. We offer templates in PDF and EPS formats.

For more information on how to use templates, click on one of the following programs to check out our Youtube video!
Adobe Photoshop CS
Adobe Photoshop Elements 12
Corel Draw X4

For Sawgrass Virtuoso users, try out Creative Studio, which you can find on the Sawgrass website! Creative Studio makes everything so much easier by providing a template in which you can easily upload your own image. Check out our webinar video on how to use this online program.

Get on With Printing

Don’t forget to print your design in reverse. The Powerdriver (the color correction driver) for Windows automatically mirrors the image, but if you are a Mac user, you may have to do that manually depending on your sublimation printing system. if you are using Image Right print on the bright white side of the paper!

Pre-Press To Avoid a Mess!

Any hard surface sublimation blank should be pre-pressed to eliminate moisture. Heat your press to 400° F, place your blank on the heat press face up, and cover it with a protective silicone sheet or polyester fabric. We don’t recommend using Teflon for this step as it traps moisture. Close and press for about 40 seconds.

If you see a lot of steam or moisture collecting anywhere on the lower platen, press again for additional 40 seconds.

Trim Your Design and Line Up

The award plaques are fairly thick and have a beveled edge, which can sometimes diminish visibility when aligning the design. We recommend trimming the paper close to the outline of the shape. Put the paper face up on a flat surface and align your plaque. Hold both the paper and the plaque firmly while you carefully tape them together for added security with thermal tape.

Press Away!

Now that you have your design taped to your plaque, place the blank face up in your heat press. The instructions for our MDF Hardboard Plaques made by Unisub are as follows:

Temperature: 400° F
Time: 30-45 seconds
Pressure: Medium (4-5 bars)

We pressed ours for 40 seconds which resulted in a perfect edge to edge sublimation! Peel away the paper immediately after the time has elapsed. Be careful to not shift the paper while the blank is still hot as that may cause ghosting and blurry image.

Proudly Display

The finished plaque should look flawless throughout. If there are any spots that look lighter than others or faded edges, try increasing your pressure and double checking that your temperature is consistent on your heat press platen.

Stock up on sublimation award plaques today!   

Do you have finished plaques you want to share? Tag us on Instagram (@coastalbusinesssupplies) and use #InspireMeCoastal!

How To Cut and Apply Removable Wall Vinyl

As soon as we heard about our new FDC 4301 series removable vinyl, we couldn’t wait to try it out! Wall vinyl can be applied to any flat surface and removed much easier than normal sign vinyl. It’s our preferred way to decorate interior spaces, phone cases, notebooks, etc. with original designs or pre-made vectors found online, and some wall vinyl. It’s perfect for creating profitable decals for any room!

All you need is a roll of vinyl (offered in black or white), a masking tape and a vinyl cutter. For our project, we used a Graphtec CE 6000 vinyl cutter and medium tack masking tape. 

Start designing!

Unique, original designs are best, but something as simple as text or a quote can be just as effective! Just make sure that your lines are solid. This is typically a project for single color designs using either black or white. Since we are placing our design on a light-colored wall, we are going with black vinyl.

There are a ton of programs to design in, but our favorite is Adobe Illustrator. You can send your design from Illustrator to Graphtec’s Cutting Master plug-in by going to File –> Cutting Master –> Send to Cutting Master. (Learn more about this process here.)  From there, simply send your design to the vinyl cutter. Do not mirror the design!

Start cutting!

Feed your vinyl in the cutter with the front side facing up (the colored side). The cut settings are very similar to standard heat transfer vinyl. The blade settings we use on our Graphtec vinyl cutter for the FDC 4301 vinyl are:

Speed: 20 cm/s
Depth: 13

Always do a test cut and adjust accordingly!

Weed away and mask!

Just like any other vinyl, the next step is to weed away the excess background vinyl. We use our favorite rubber grip weeding tool to help with the process. During the weeding process, the vinyl can easily stick to other pieces and pull up smaller details. Wall vinyl has a very sticky adhesive as you peel it so be careful!

Once all excess vinyl is removed, place masking tape on top and rub with a squeegee or your fingers to remove air bubbles. The manufacturer, FDC, recommends the low tack mask made for removable wall vinyl. We use the medium tack mask, which also works great and is transparent! Apply pressure when rubbing the top of the design to ensure all details are picked up by the tape.

Place on desired surface or wall!

The last step is simple! Peel the masking tape together with the design. Do that in smooth and slow motions, making sure small details are on the tape. From there, place the design on a clean flat surface.


We found a great spot here in our office above a desk! The space looks and feels instantly more zen.

Order a roll of FDC 4301 wall vinyl today and share your creations with us on Instagram by tagging us (@coastalbusinesssupplies) and use #InspireMeCoastal!