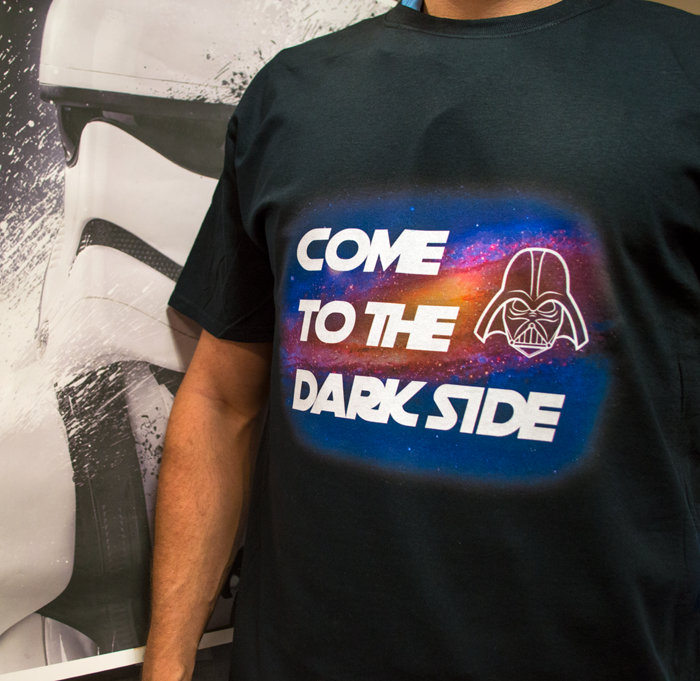
So you’ve purchased your Epson F2000 Sure Color Direct-to-Garment Printer and you’re ready to learn the powers of the “dark side” – printing darker garments with white DTG ink.
Printing on dark shirts can seem like a frightening undertaking in the beginning, but we’re here to give you the tips you need to help you succeed from the start. There are many variables that go into creating the perfect DTG print, so it’s best to keep an open mind and maintain a level of patience when you first begin offering DTG printing as a service. We’ve outlined the biggest factors that will affect your final print results below and included a step-by-stop explanation of the DTG process to help guarantee victory every time you click ‘print’.
STEP ONE: Combed, Ringspun Cotton is Your Friend
Do not underestimate the power of garment choice. To ensure your DTG printer is producing optimally and yielding crisp, vibrant prints for you and your customers, it’s best to be picky about the types of items that you’re decorating.
Unfortunately, not all garments are created equal – which means some shirts will not hold DTG ink well. Keep in mind that the following items are not ideal for the DTG process due to their construction and composition:
• Sweatpants
• Hoodies/Sweatshirts
• Polyester performance wear
• Garments made of less than 50% cotton
For the best print and washability results, choose a T-shirt style that is made from 100% combed and ringspun cotton, such as the Bella + Canvas 3001 Jersey Tees or the Hanes 4980 Nano-Ts. In terms of affordability, comfort and precise printing results, the 3001s and Nano-Ts will win out over 100% Gildan shirts every time due to their low cost and combed cotton surface (here’s a handy guide to ringspun cotton vs. carded open-end cotton). Be mindful of your color choices, too – shirts with the words “Heather”, “Antique” or “Ash” in their names usually contain polyester, which may affect the final print results.
All of that being said, don’t be afraid to make a few misprints and experiment with different brands, styles, compositions and garment thicknesses so that you can see how the water-based DTG inks behave on different surfaces. In the printing industry, it’s always a good idea to educate your customers on the processes of your services so that they understand how their wares are made and how these seemingly small details can affect the final product. When necessary, provide solid examples that show the differences in processes – print the same design using screen printing methods and DTG methods to help set your clients’ expectations when they are ordering.
STEP 2: Pretreatment is Your Other Best Friend
After you’ve selected a compatible shirt style, the next step to printing darker colored shirts is applying pretreatment solution to the print area (learn more about how to pretreat and what happens when you don’t pretreat your shirts). Next to garment selection, the pretreatment process is the most important step in ensuring that your prints come out as vivid and crisp as possible.
Why do you need to pretreat?
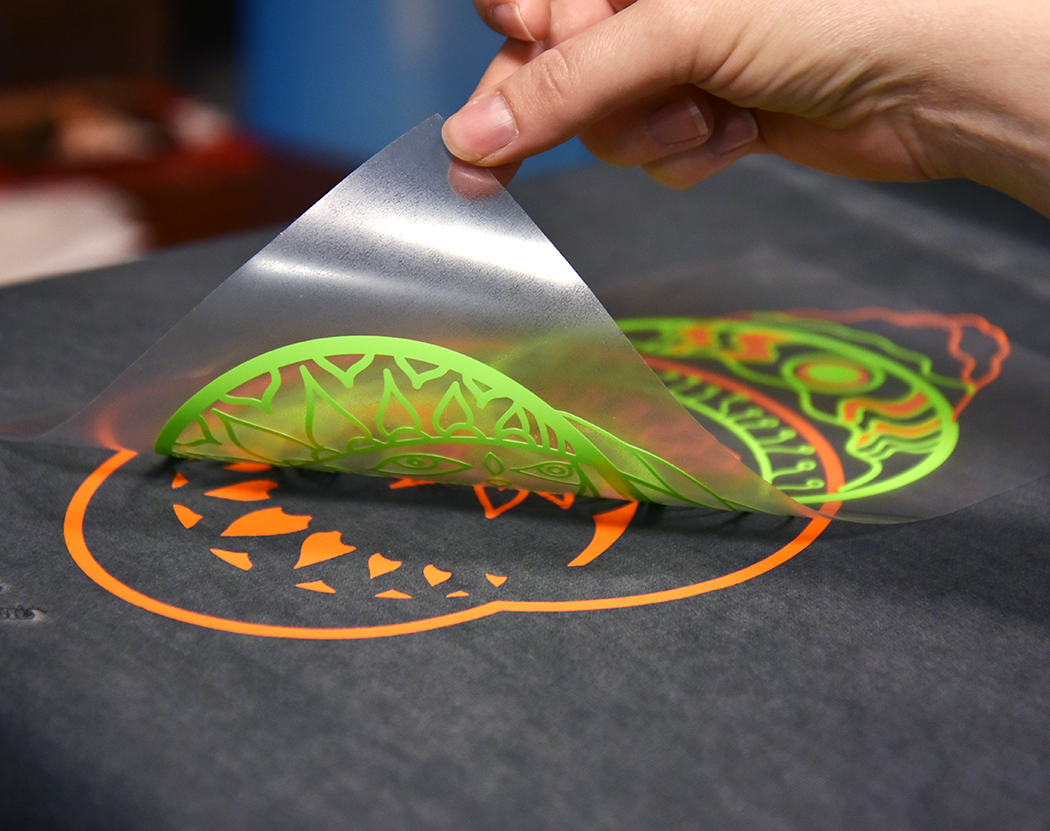
Applying the pretreatment solution to your dark garments is similar to applying primer on drywall – it prevents the DTG inks from soaking into the garment and allows the inks to sit directly on top of the shirt. The pretreatment solution also contains properties that cause a chemical reaction to occur once the white ink hits the shirt (much like “flashing” in the screen printing process), which allows the white ink to dry instantaneously so the CMYK inks can be printed on a semi-solid surface without any wet-on-wet printing. This prevents any of the ink colors from mixing during printing and produces the high-resolution results that DTG printing is known for.
Pretreatment solution can be administered using either a hand sprayer or a spraying machine – you’ll want to make sure all areas in which ink will be laid down are covered to avoid misprints and ensure all parts of the artwork show up correctly. Once applied, allow the pretreatment to either air dry or dry underneath a heat press. Press the pretreated shirt at 338F for 40-45 seconds at medium pressure to ensure the pretreatment has set. The layer of pretreatment solution should be close to transparent, and you can let your customers know that the solution will come out after the shirt’s first trip to the wash.

STEP 3: Run a Nozzle Check
Anytime you are printing an image on a dark colored garment, it is incredibly important that you run a nozzle check and send a couple test prints through the DTG printer before loading the final garment onto the platen (on that note, it’s always a good idea to have extra pretreated garments on hand in case of accidents during final printing). For the best results, make sure the T-shirts or scrap cloth material you are using for test prints are similar in color to the final garment(s) and are also pretreated – otherwise, your test prints are not going to give you an accurate idea as to how your final product is going to look.
To run a nozzle check on your Epson F2000, press the Maintenance button located on the front of the printer (the one with the little wrench next to it) and select ‘Nozzle Check’. This will send the platen into the printer, and the nozzles will lay down a test of the CMYKW inks directly on top of the platen for you to inspect. Ensure that all nozzles are working correctly and there are no clogging issues (you’ll want to double-check your white inks, as those tubes tend to clog the quickest due to the thickness of the white ink).
STEP 4: Create Test Prints
Once your garments are pretreated and dried (and you’ve ensured all nozzles are working optimally), you will create some test prints to ensure your images print successfully. Open Garment Image Creator on your computer and verify that it is connected to your printer. Adjust your artwork’s settings using the sliders according to your design and preference.
Here’s a five-minute tutorial that explains the basics of setting up your images with the Garment Creator:
You’ll find that the smallest tweak of your settings can produce visibly different results, so in the beginning you’ll want to play around with test prints until you are comfortable with how your DTG printer functions and satisfied with the end product.
STEP 5: Time to Print!
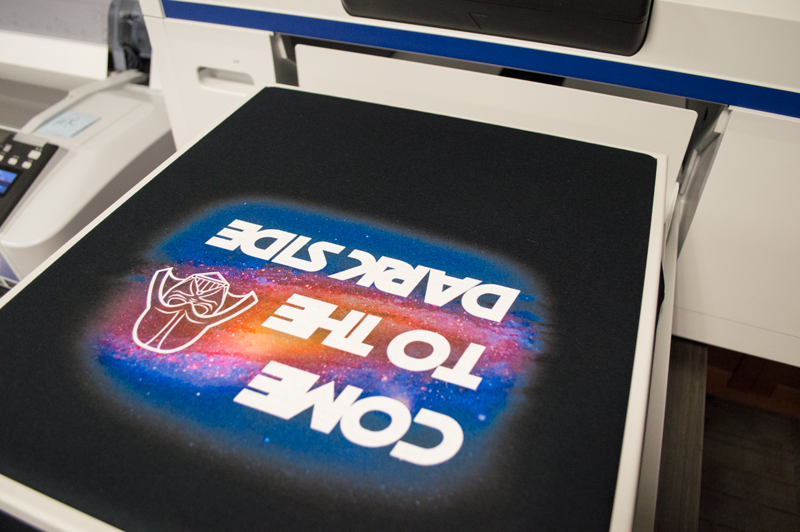
After you’ve input all of your artwork settings into the Garment Creator, click the print button at the bottom of the screen – this will process the job and send the instructions to the DTG printer. You can also save the job to a thumb drive and plug it into the DTG printer directly. Once the job’s finished processing, the big blue button on the front of the printer will light up. Load your test garment onto the platen, push the blue button – and voila! – you’re in business!
The printing process itself should take less than five minutes from the moment you load the shirt and push start. After the nozzles finish laying down the white underbase, the printer will send the platen back inside for the second layer of CMYK inks (so don’t pull your garments too early!).
STEP 6: Inspect Your Prints
Once the DTG printer has completed printing the job, inspect your test print closely while it is still resting on the platen.
• Is your artwork registered correctly, or do you see any instances of ghosting?
• Did all elements of your image print properly, or do you need to adjust your file settings?
• Does your ink density need to be increased, or are you satisfied with the amount of ink the printer laid down?
• Is your print smooth and clear, or do you notice any instances of “banding” (lines within the design) that could be caused by a clog in your nozzle?
You can make these minor adjustments in Garment Creator using the Garment Settings tab and run a couple more test prints until you are pleased with the final results. If you discover any banding in your prints, double-check that the nozzles are clear. While you are inspecting your tests up close, pay attention to your pretreatment coverage and ensure that the entire print area is treated correctly – apply more pretreatment to the remaining garments if needed (but make sure the garments are completely dry before loading them on to the platen).
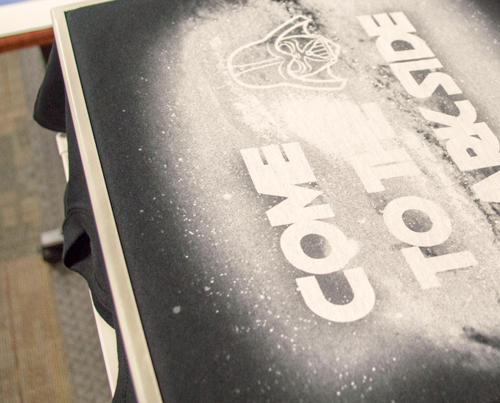
STEP 7: Cure Your Inks
For both your test prints and your final garments, you will need to cure the wet CMYK inks using either your screen printing conveyor dryer or a heat press. Our go-to for DTG curing is the Hotronix Fusion Heat Press Machine! It’s easy to use with its swinging/drawing platen and large touch-screen, which allows you to input time, temperature and pressure according to garment type and personal preference.
Gently remove the printed item from the DTG printer and load it onto the heat press platen. Carefully place a reusable Teflon protective cover sheet on top of the printed garment to avoid transferring the wet ink or pretreatment solution on to the heat press. Set your pressing specifications and pull the heat press clamp closed until it’s locked. Once the pressing time is complete, softly tap the printed design with your finger to check that the ink has cured completely.
Remember you can also cure your DTG-printed garments by running them through a conveyor dryer, but be mindful of your dryer temperature and speed to ensure the items are curing completely and to avoid burning your garments.
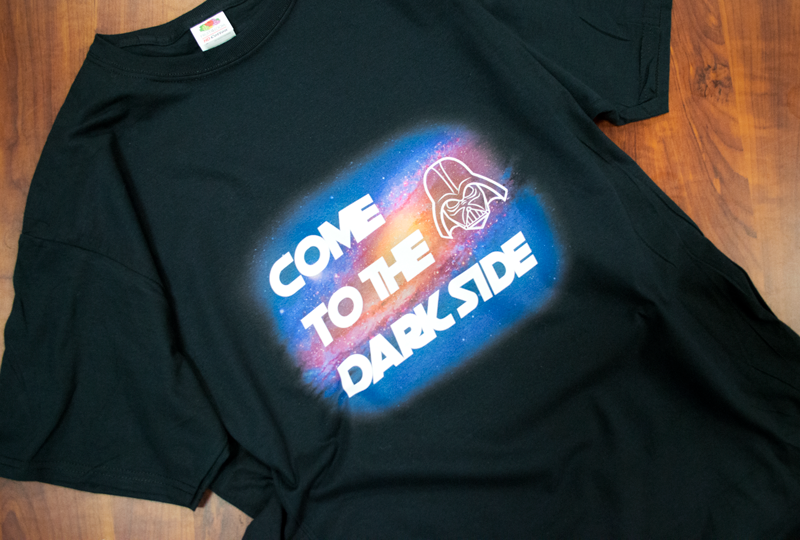
STEP 8: The Final Print
Once you are completely satisfied with your test prints, load up your final garments and get the show on the road! Since the ink is already flowing through your printer’s tubes, don’t worry about running nozzle checks in between printing your garments – you shouldn’t need to re-check your nozzles mid-job unless you discover any banding (lines) in the design.
Should you run into any trouble-shooting issues, remember: there are a ton of variables at play when it comes to the delicate environment of DTG printing. Using a high-quality garment and double-checking that your items are properly pretreated prior to printing are very large factors in producing sellable-grade wares, so invest your time there – but nothing is going to yield better results more than practice – and of course – that little bit of patience.
Ready to give DTG printing a try? Have questions about DTG printing with white ink? Drop our professional services department a line to learn more about offering direct-to-garment printing. Our team of pros will train you on the best practices and machine maintenance methods to guarantee successful results. Give us a call now: 800 562-7760