How to Press Sublimation Plaques and Awards

Commemorate special events and awards with our high-quality sublimation plaques! These plaques are perfect for sports teams, employee recognition, or honoring a special hero. Pressing these sublimation blanks can be easy when done correctly. That’s why we’re providing you with these tips on getting professional results while avoiding common mistakes.

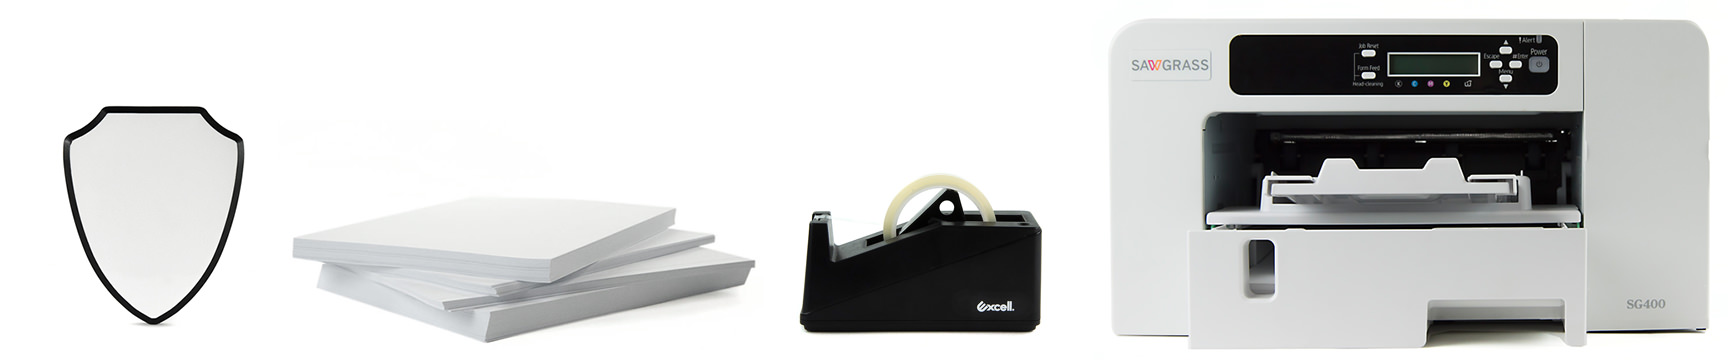
We used the shield award plaque, our small format Sawgrass Virtuoso SG400 printer, and Image Right R paper.

Design with Templates

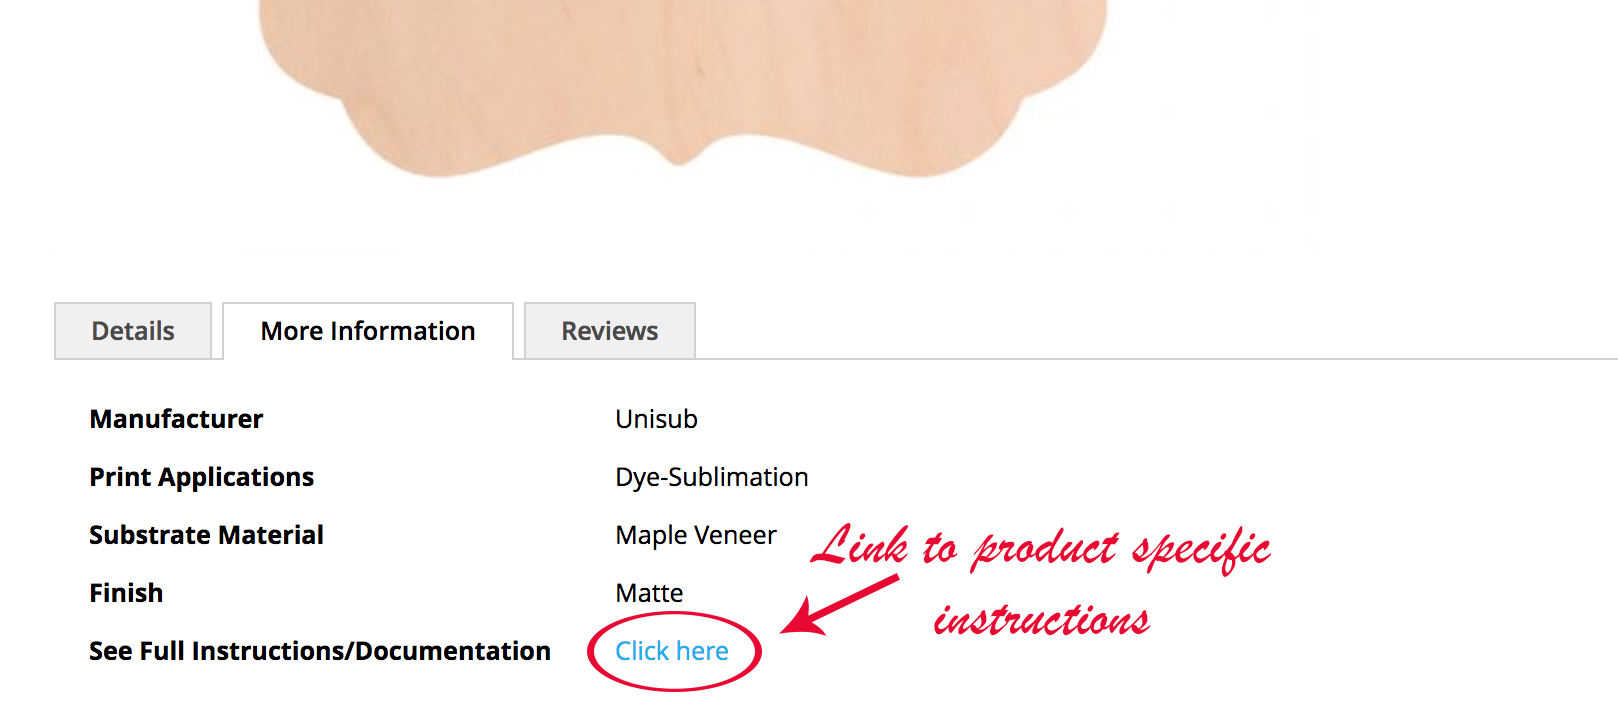
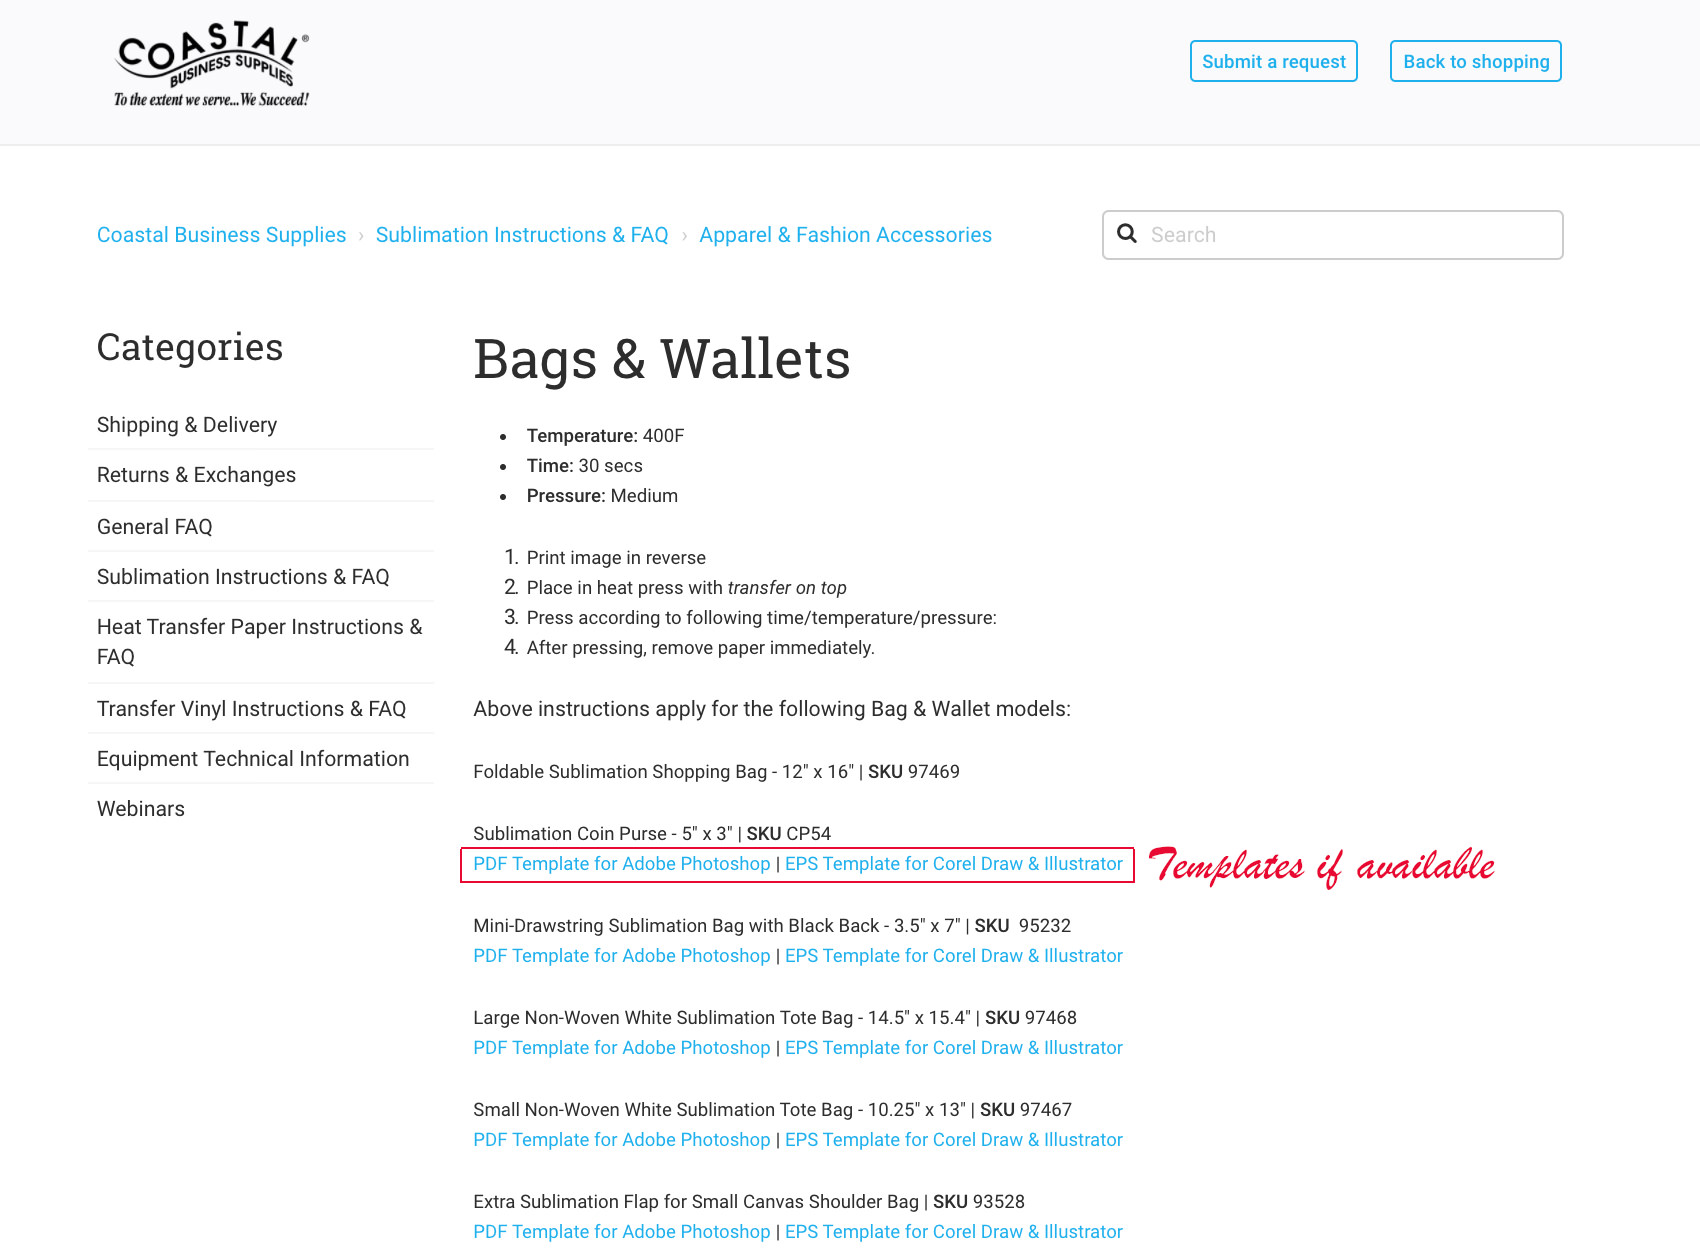
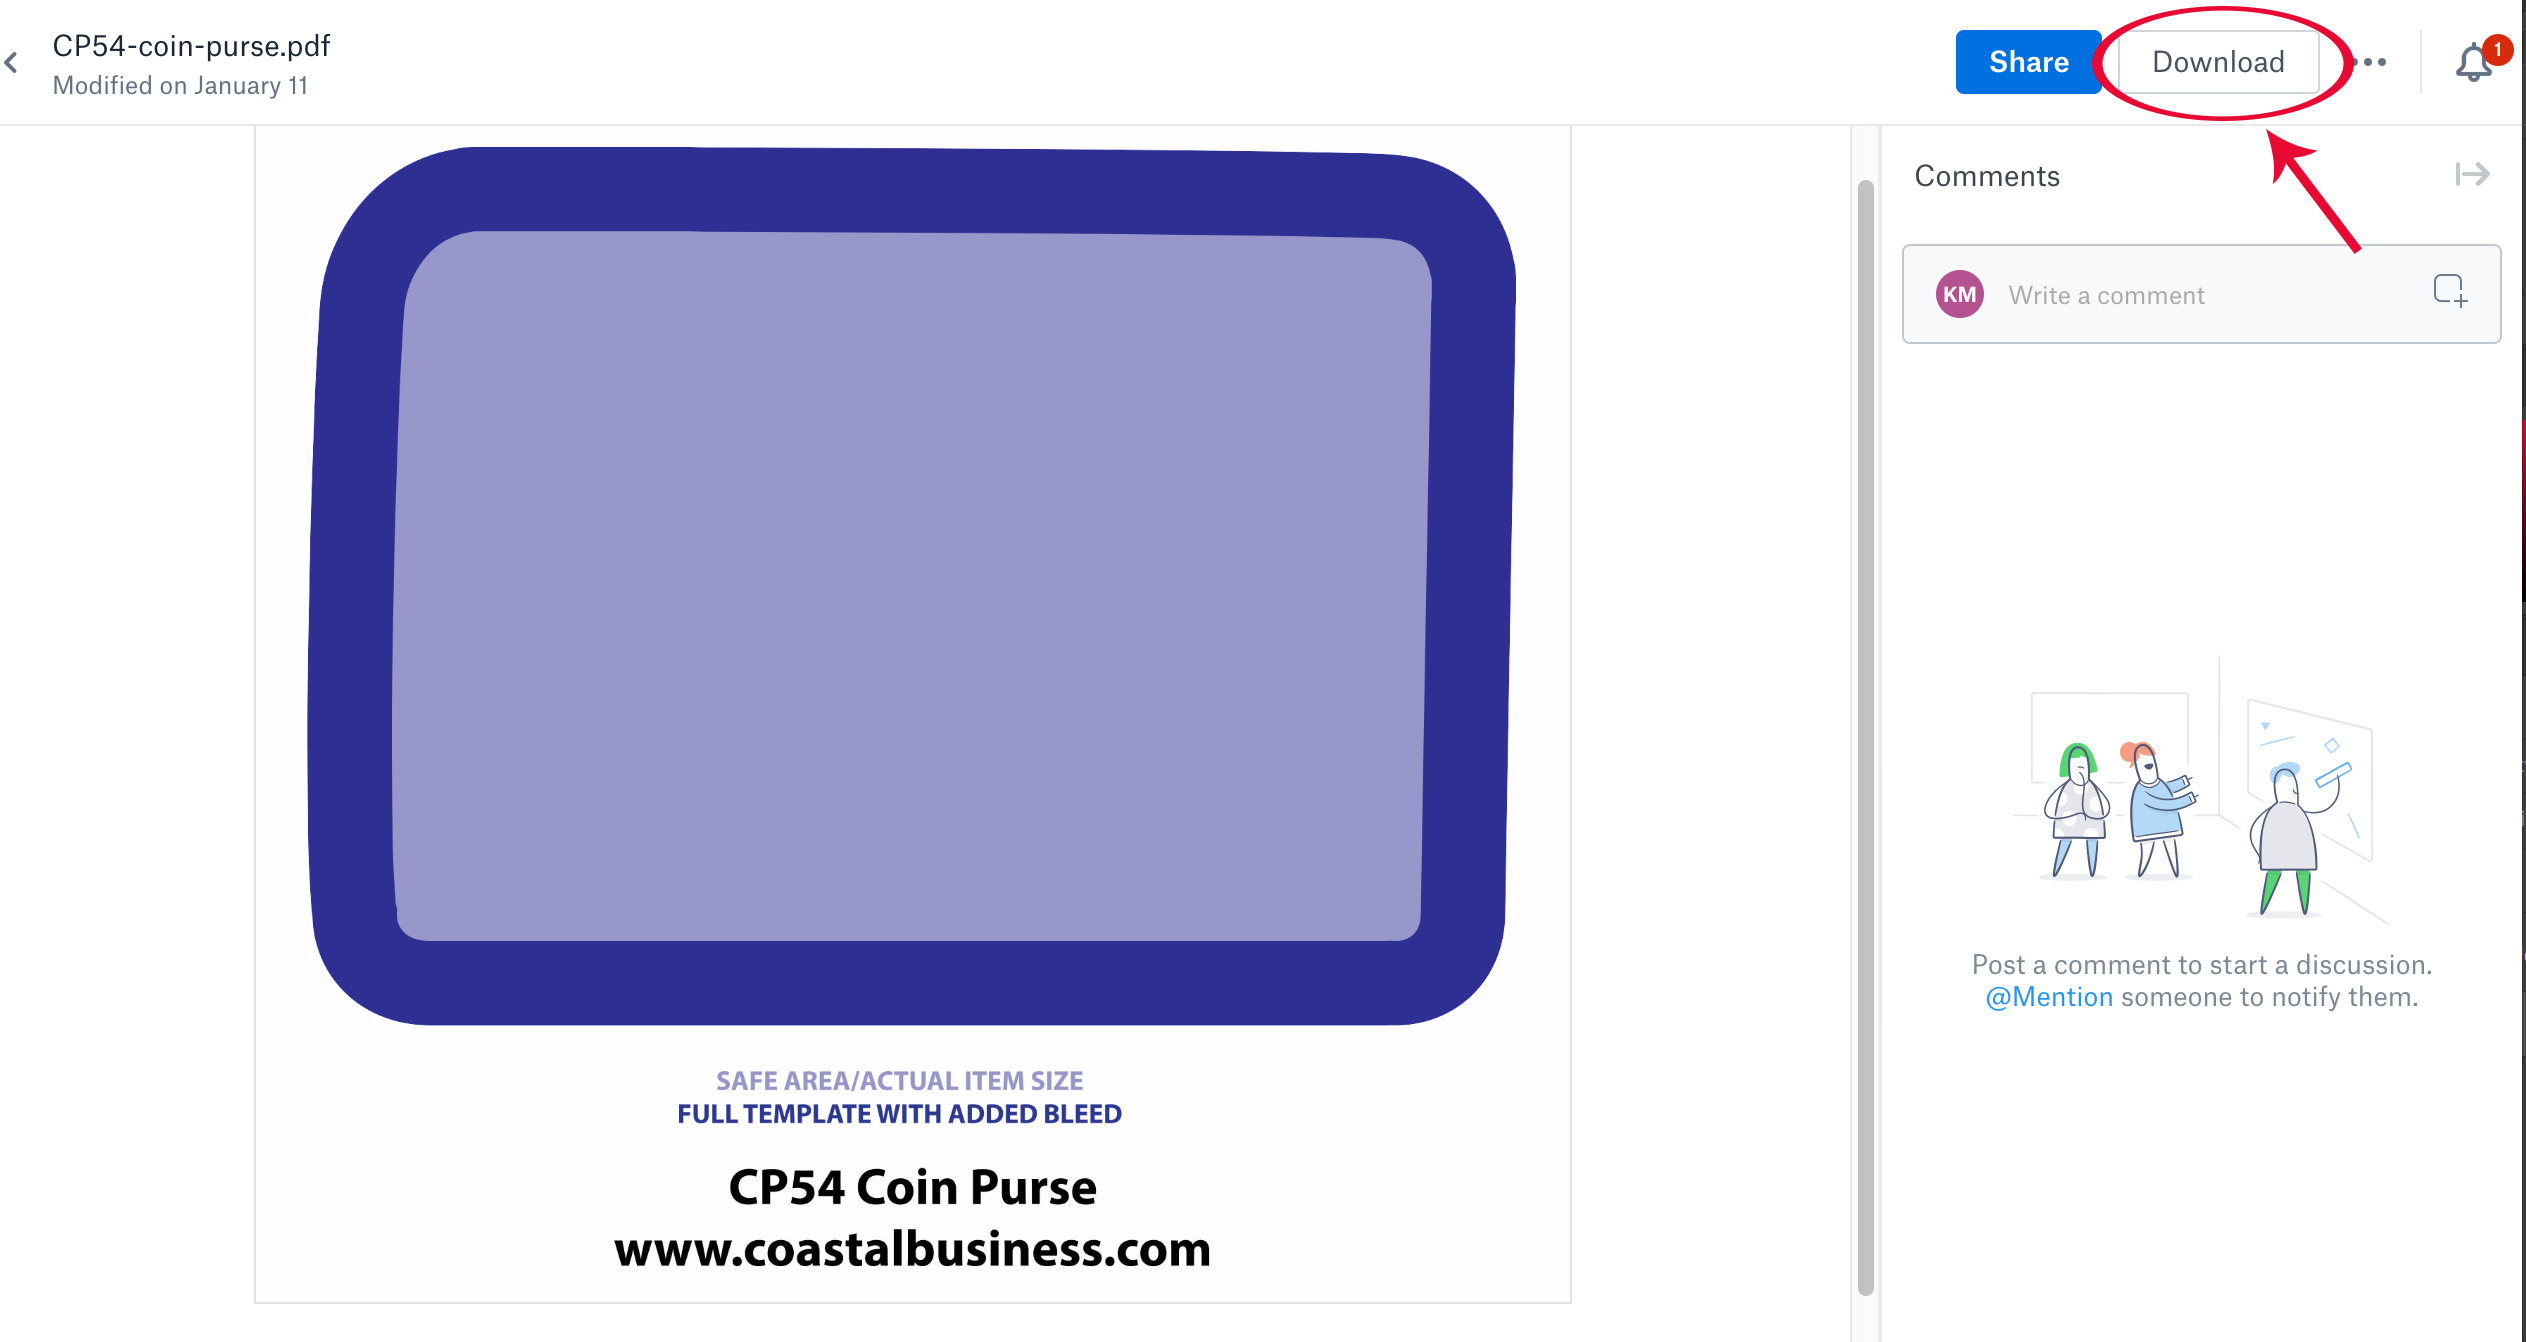
The nice thing about sublimation is that you can use any computer program to set up your design. However, for odd shapes like our shield plaque, it’s best to use a template. We offer templates in PDF and EPS formats.

For more information on how to use templates, click on one of the following programs to check out our Youtube video!
Adobe Photoshop CS
Adobe Photoshop Elements 12
Corel Draw X4

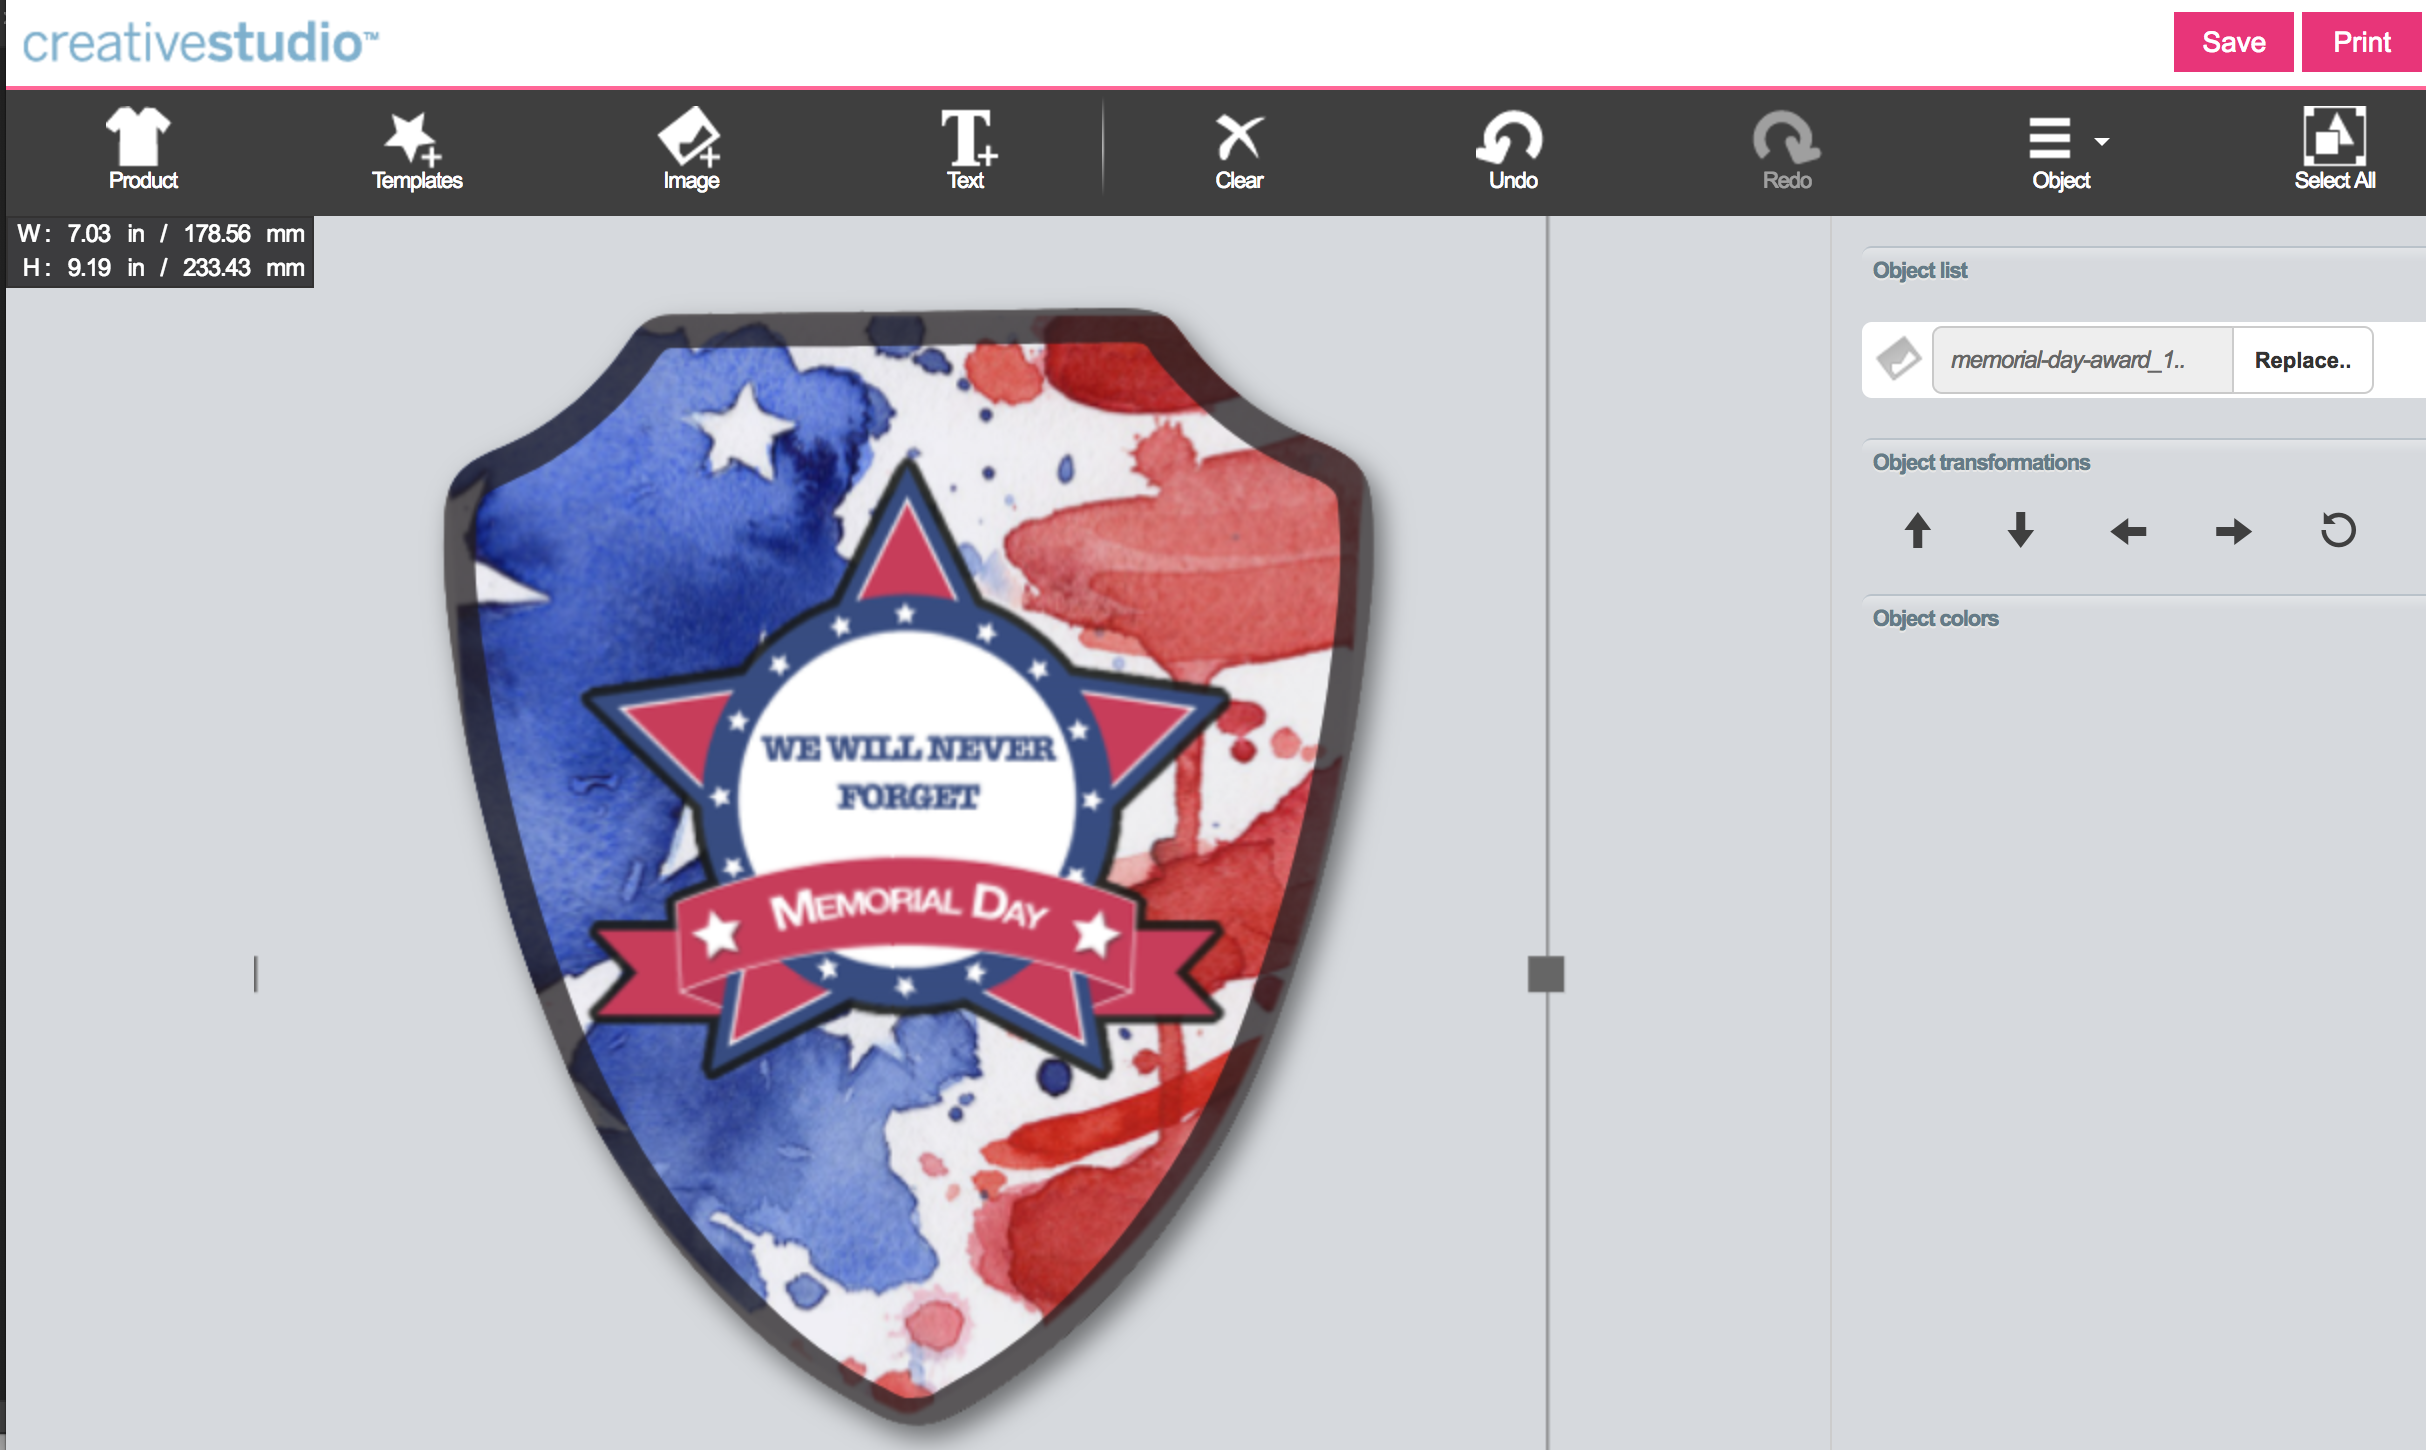
For Sawgrass Virtuoso users, try out Creative Studio, which you can find on the Sawgrass website! Creative Studio makes everything so much easier by providing a template in which you can easily upload your own image. Check out our webinar video on how to use this online program.

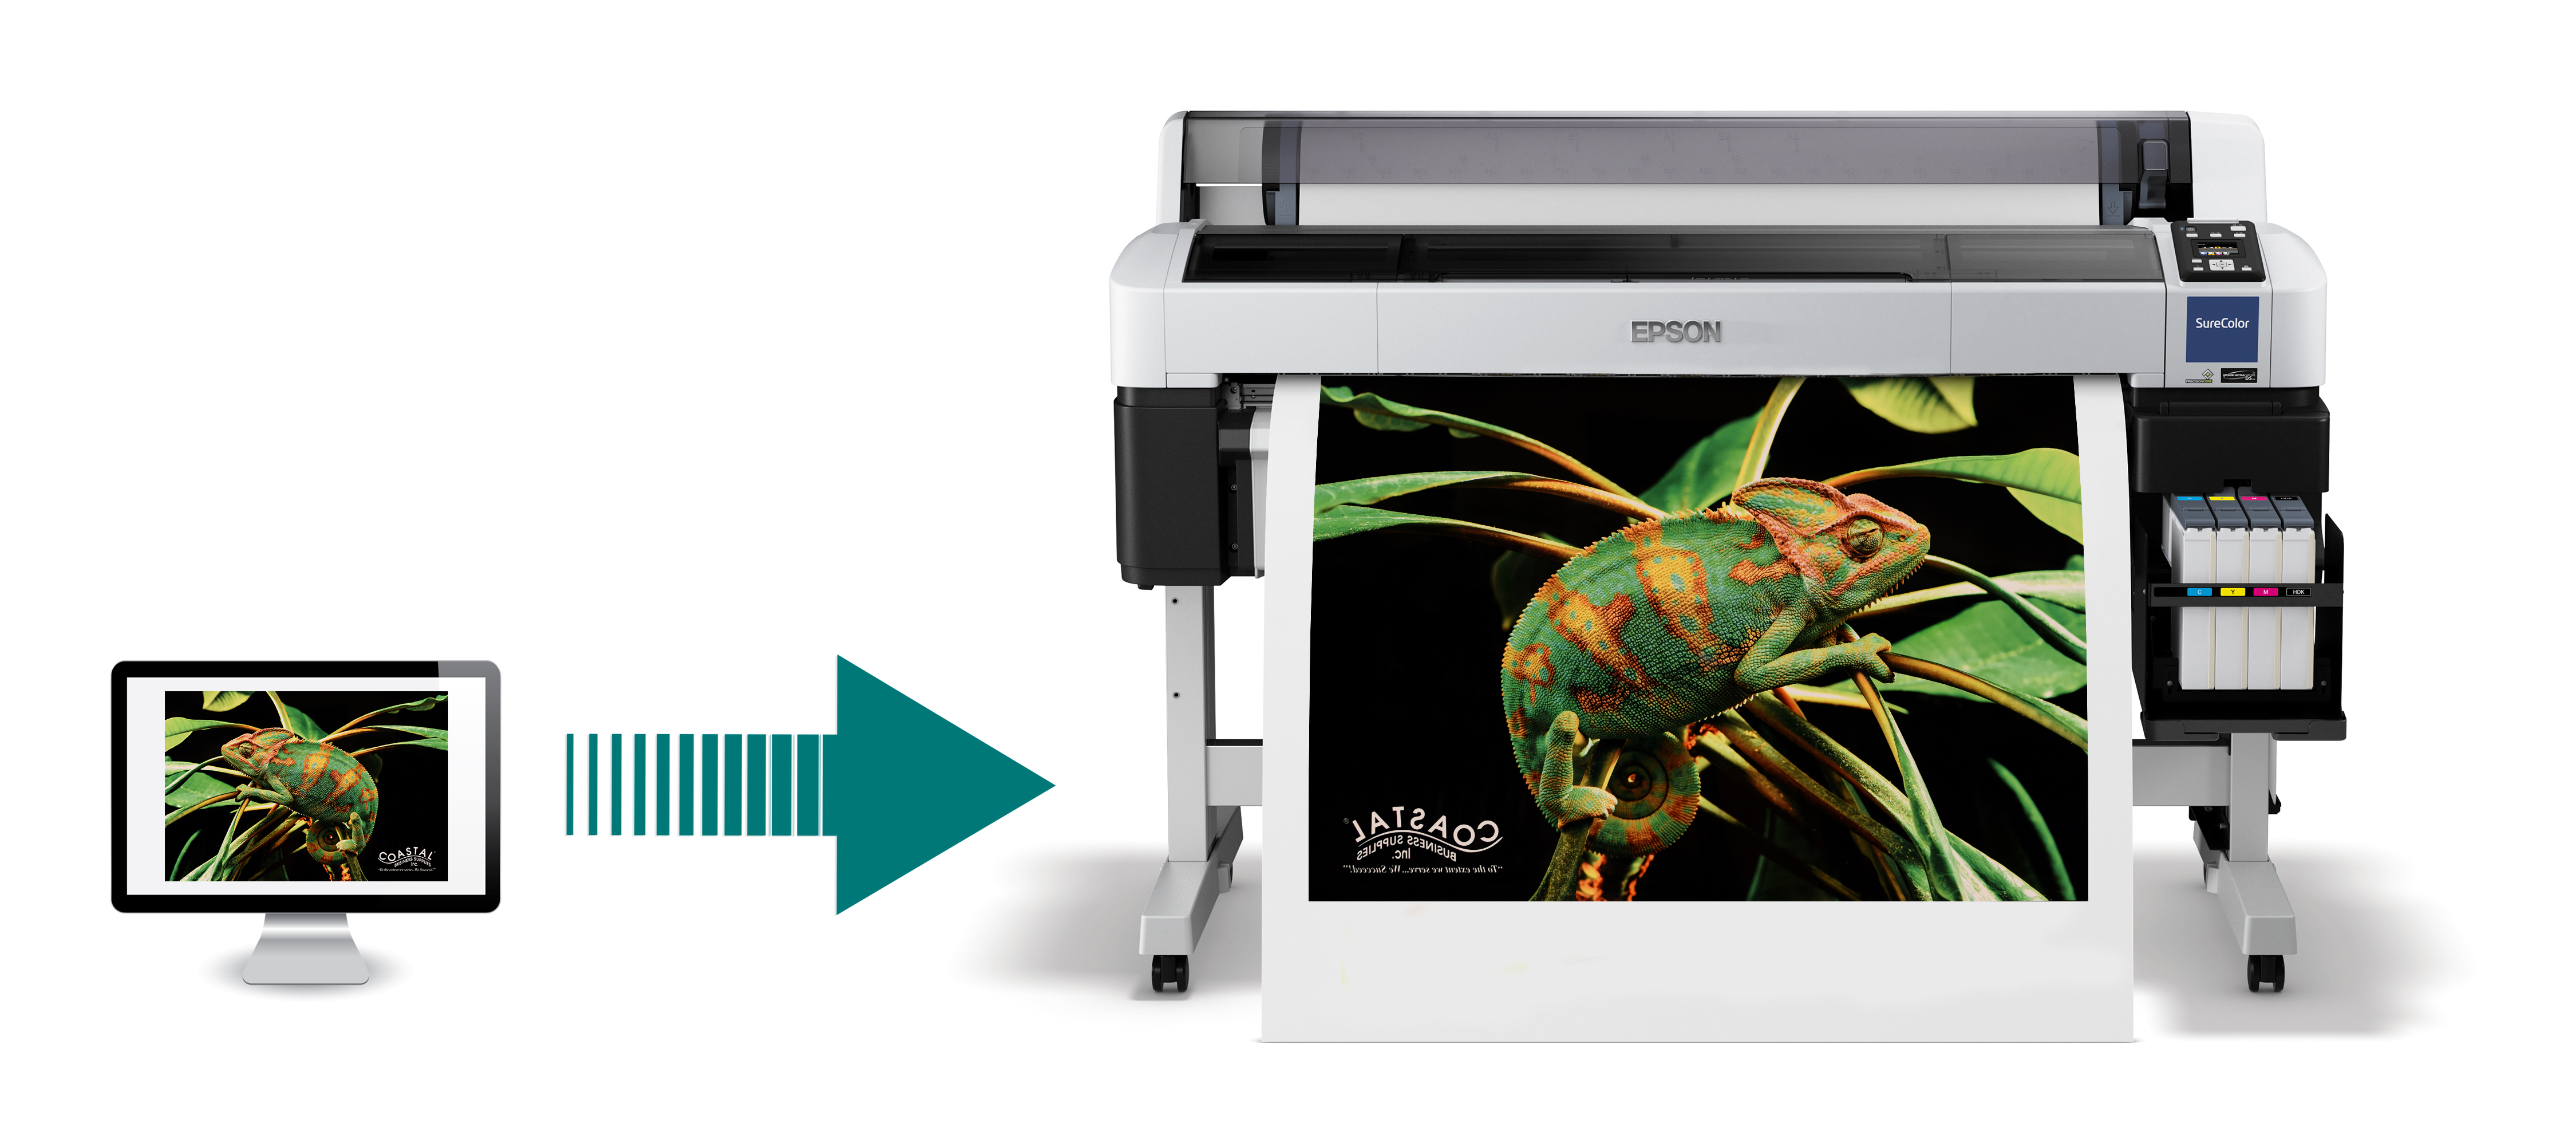
Get on With Printing

Don’t forget to print your design in reverse. The Powerdriver (the color correction driver) for Windows automatically mirrors the image, but if you are a Mac user, you may have to do that manually depending on your sublimation printing system. if you are using Image Right print on the bright white side of the paper!

Pre-Press To Avoid a Mess!

Any hard surface sublimation blank should be pre-pressed to eliminate moisture. Heat your press to 400° F, place your blank on the heat press face up, and cover it with a protective silicone sheet or polyester fabric. We don’t recommend using Teflon for this step as it traps moisture. Close and press for about 40 seconds.

If you see a lot of steam or moisture collecting anywhere on the lower platen, press again for additional 40 seconds.

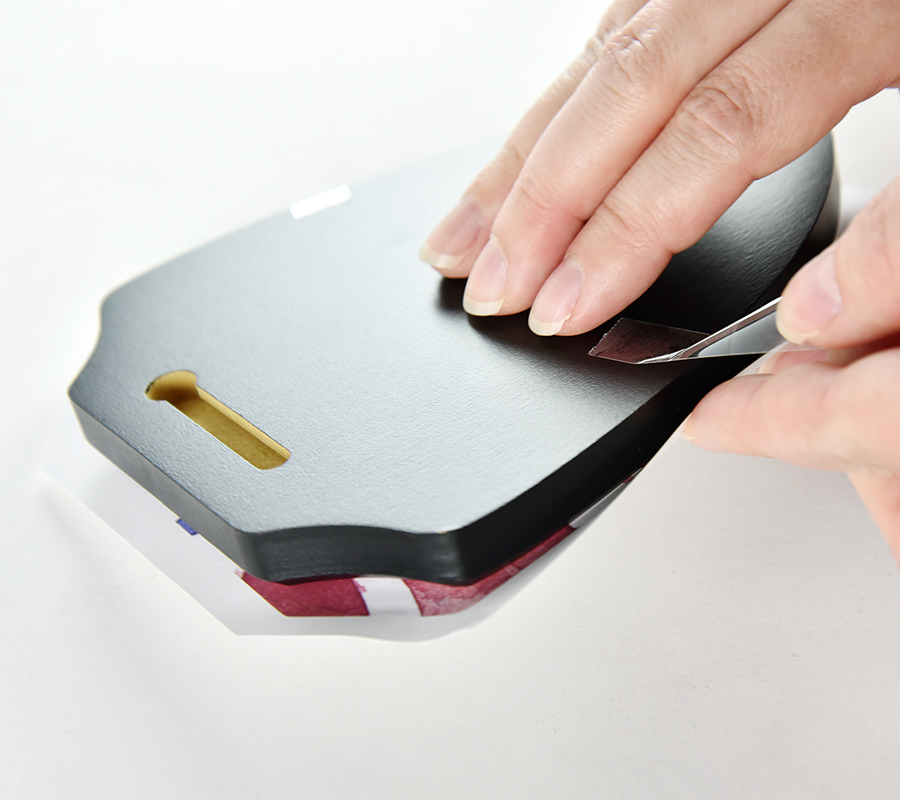
Trim Your Design and Line Up

The award plaques are fairly thick and have a beveled edge, which can sometimes diminish visibility when aligning the design. We recommend trimming the paper close to the outline of the shape. Put the paper face up on a flat surface and align your plaque. Hold both the paper and the plaque firmly while you carefully tape them together for added security with thermal tape.

Press Away!

Now that you have your design taped to your plaque, place the blank face up in your heat press. The instructions for our MDF Hardboard Plaques made by Unisub are as follows:

Temperature: 400° F
Time: 30-45 seconds
Pressure: Medium (4-5 bars)

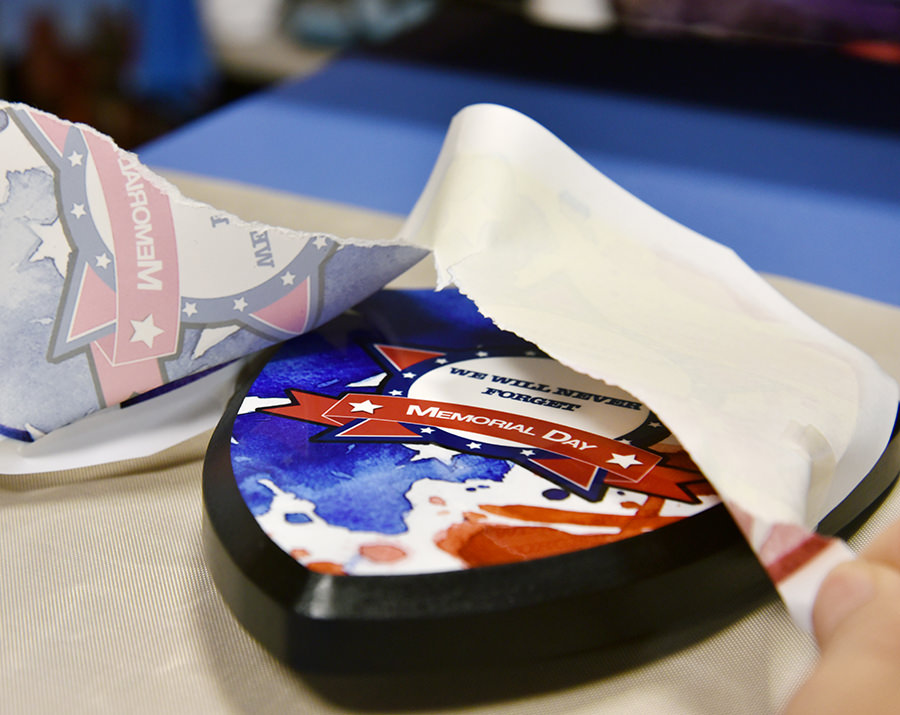
We pressed ours for 40 seconds which resulted in a perfect edge to edge sublimation! Peel away the paper immediately after the time has elapsed. Be careful to not shift the paper while the blank is still hot as that may cause ghosting and blurry image.

Proudly Display

The finished plaque should look flawless throughout. If there are any spots that look lighter than others or faded edges, try increasing your pressure and double checking that your temperature is consistent on your heat press platen.

Stock up on sublimation award plaques today!   

Do you have finished plaques you want to share? Tag us on Instagram (@coastalbusinesssupplies) and use #InspireMeCoastal!

Get to Know Our Help Center

Here at Coastal Business Supplies, we believe that for our customers to succeed as business owners, digital decorators, crafters, and innovators, we have to go beyond being just a distributor of products. We personally test and work with the majority of our products and our hands-on experience gives us the power to understand and share everything we learn along the way through our own trial and error.

One of our goals has been to put together all of our knowledge and resources and create a powerful Help Center platform which will provide support long after your purchase!

Some of the topics you can find in Help Center:

How to Access From www.coastalbusiness.com

Links to our Help Center can be found throughout our main e-commerce website. On the homepage, you can find Support links in both the header (top right of the page) and footer (bottom left of the page).


Going further into specific product pages, you can find a link to printing instructions and other documentation located under the More Information tab. Sublimation blanks, heat transfer paper, and heat transfer vinyl are linked directly to their corresponding pages with time and temperature settings, templates and troubleshooting information.

Find What You Are Looking For

The Search bar at the top of our Help Center page is a powerful tool to quickly find the information you are looking for. If a keyword or phrase is contained anywhere on our website, it will pull it up for you together with the article. The best way to search for instructions or templates for a specific product is by product name or product SKU. For example, instructions for an 11 oz. mug can be found by typing “11 oz mug”, “ceramic mug” or “”21108” among other possible combinations. Usually, the exact product SKU will give you the most specific result, as shown below.

Submitting a Ticket

Do you have questions or concerns? We love to solve problems and help our customers who can now easily submit a ticket on any topic. The Submit a Request link is always located in the header (top right) and the homepage has a large navigation button for even easier access.

Easy Navigation

Our Help Center navigation is set up with ease of use in mind. The categories are simple to understand and accessible on the home page through the main blocks. Going further into a page, for example, Heat Transfer Paper Instructions & FAQ, you can find the various sections of topics without losing your category menu, now located on the left. Under each main section, you will find the individual pages, also called Articles. Please note that only a number of pages are displayed at once and a link is provided to view all pages under that specific section.

Sublimation Blanks Templates

For the time being, links to all of our available templates have been moved to our Help Center. You can find each template link directly under the product with a corresponding SKU just to ensure you are getting the correct file. Templates are available in PDF format for Adobe Photoshop and EPS format for Adobe Illustrator and Corel Draw.

Once a link has been clicked on, the template will open as a new page in Dropbox.com with a Download button located at the top right of the page.

Help Center is a free information platform that we will continue to improve and update with brand new material. Stay tuned for a ton of troubleshooting help, infographics, and guides. More to come!

What Is a RIP And Why Do I Need It?

What is a RIP Software Program?

The abbreviation RIP stands for Raster Image Processing. The RIP Software converts your digital image created in a graphics software (CorelDraw, Illustration, Photoshop) to a ready-to-print file with the most ideal resolution for inkjet printing. The ripped image can now go from your PC to your wide format printer.

rip-software-infographic Desktop printers don’t need RIP programs, because they come with a print driver that has sufficient amount  of control and options for general smaller format printing. Recall when you click “print” and a box comes up and you can select if you want to print in color, black & white or grey scale – this is your print driver. Wide format printers are a bit more advanced and RIP programs are often needed for exact color output, quality resolution, rasterization and maximum control.

Why Do I Need A RIP?

A RIP program offers a professional wide-format print shop multiple benefits beyond the basic printer driver.

  • Save media and ink cost with advanced ink control and nesting features in many common RIP programs
  • Color profile management for a variety of media, ink technologies, and application purposes
  • Multi-printer management with ability to print up to four printers from a single computer
  • Faster image processing, which handles wide variety of file types, including high-resolution vector and raster images
  • Upgrade features available to add-on with such as variable data printing, automatic color separation & halftone screens, and much more!

fourprinters_rip

What Else Can The RIP Do?

A RIP program also handles the rasterization of images with an enhanced process that preserves the image details to an optimum level. Rasterization is the process of converting a vector file to a raster file (or in other words, a bitmap image). Vector files are graphics made up of paths, not pixels. They don’t have a resolution and can be enlarged indefinitely without losing information. However, when it comes to printing, a vector graphic needs to be converted to a file type that contains pixels (or small dots) so the printer can read it and print it. The RIP software converts that vector file to a raster file at the highest quality possible and preps it for printing.

vectorvsraster


Things To Remember

The program you create your graphics design in, the RIP software program and the printer are all separate entities. They will work together to bring you the end product you want. It is important to make sure that they are all compatible. RIP software programs can be purchased separately or in some cases they are paired with the purchase of your printer. If this is the case, be aware that you are getting the basic version of the RIP software program. Upgrades to be purchased will be recommended to you at a later date.