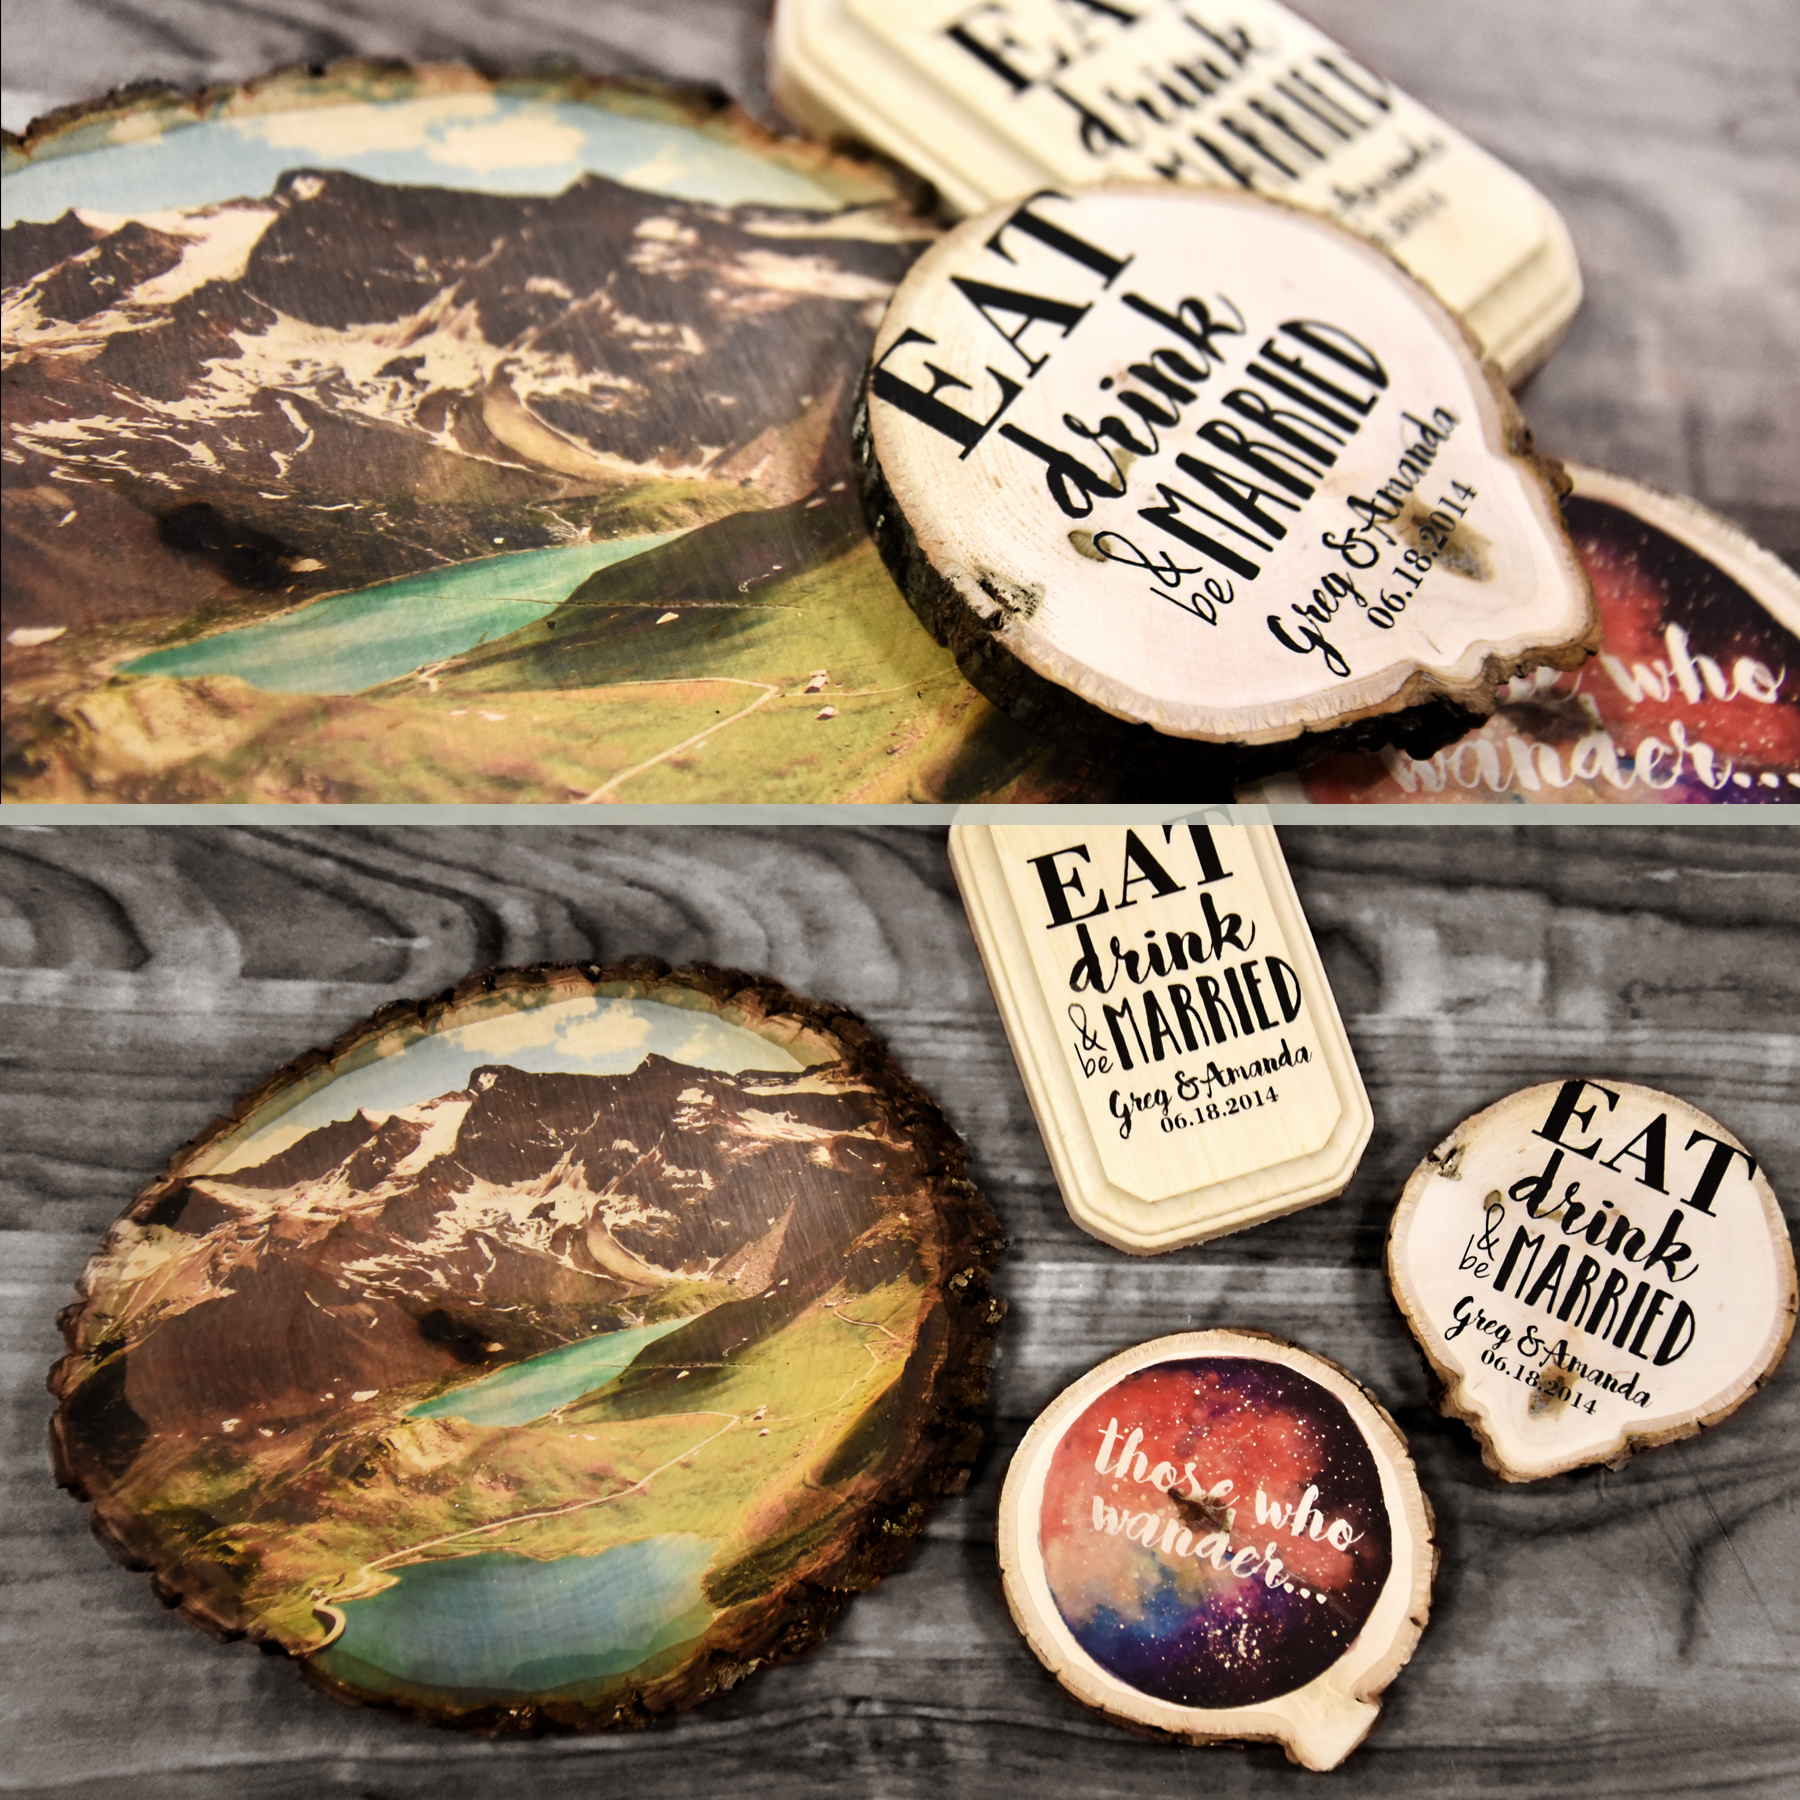
Heat transfer metallic foils are a simple and awesome way to add an extra bling effect to laser transfer t-shirts that can only be replicated with metallic vinyl – but not with the ease or fine detail possible with heat transfer foils!
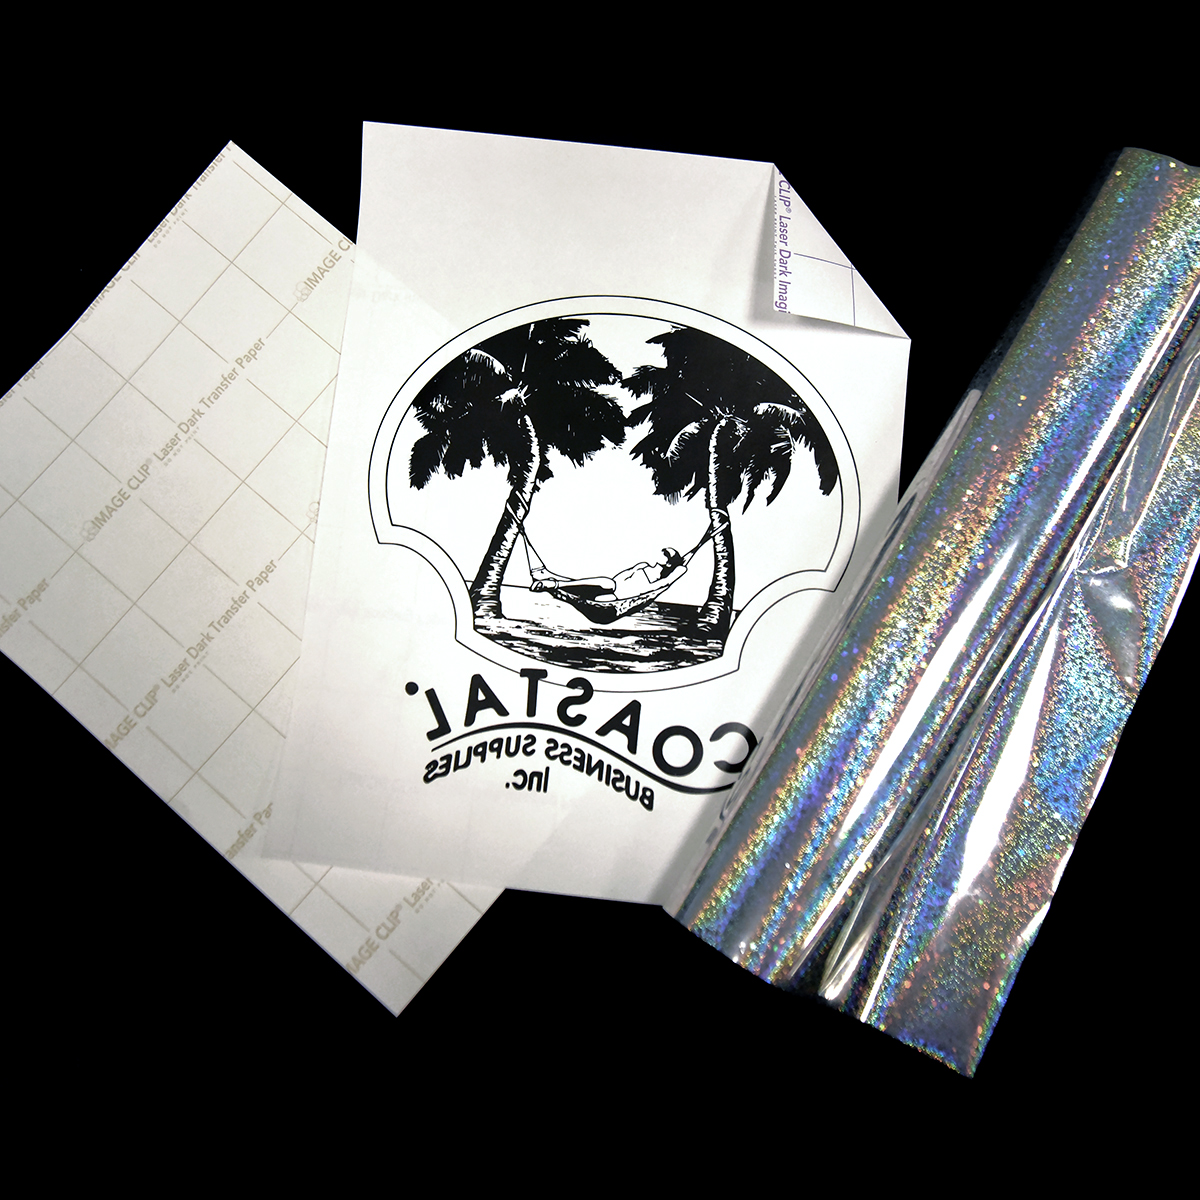
Our foil effect finishing sheets are available in a wide range of pearlescent, shimmery, and foil effect colors and are held on a thin clear liner for simple handling and pressing. The foil layer adheres to the raised toner transfer and does not require cutting or weeding for a contoured, detailed design!
Compatible Papers
FOREVER Laser-Dark No-Cut (Low Temp) Heat Transfer Paper

Instructions for foiling:
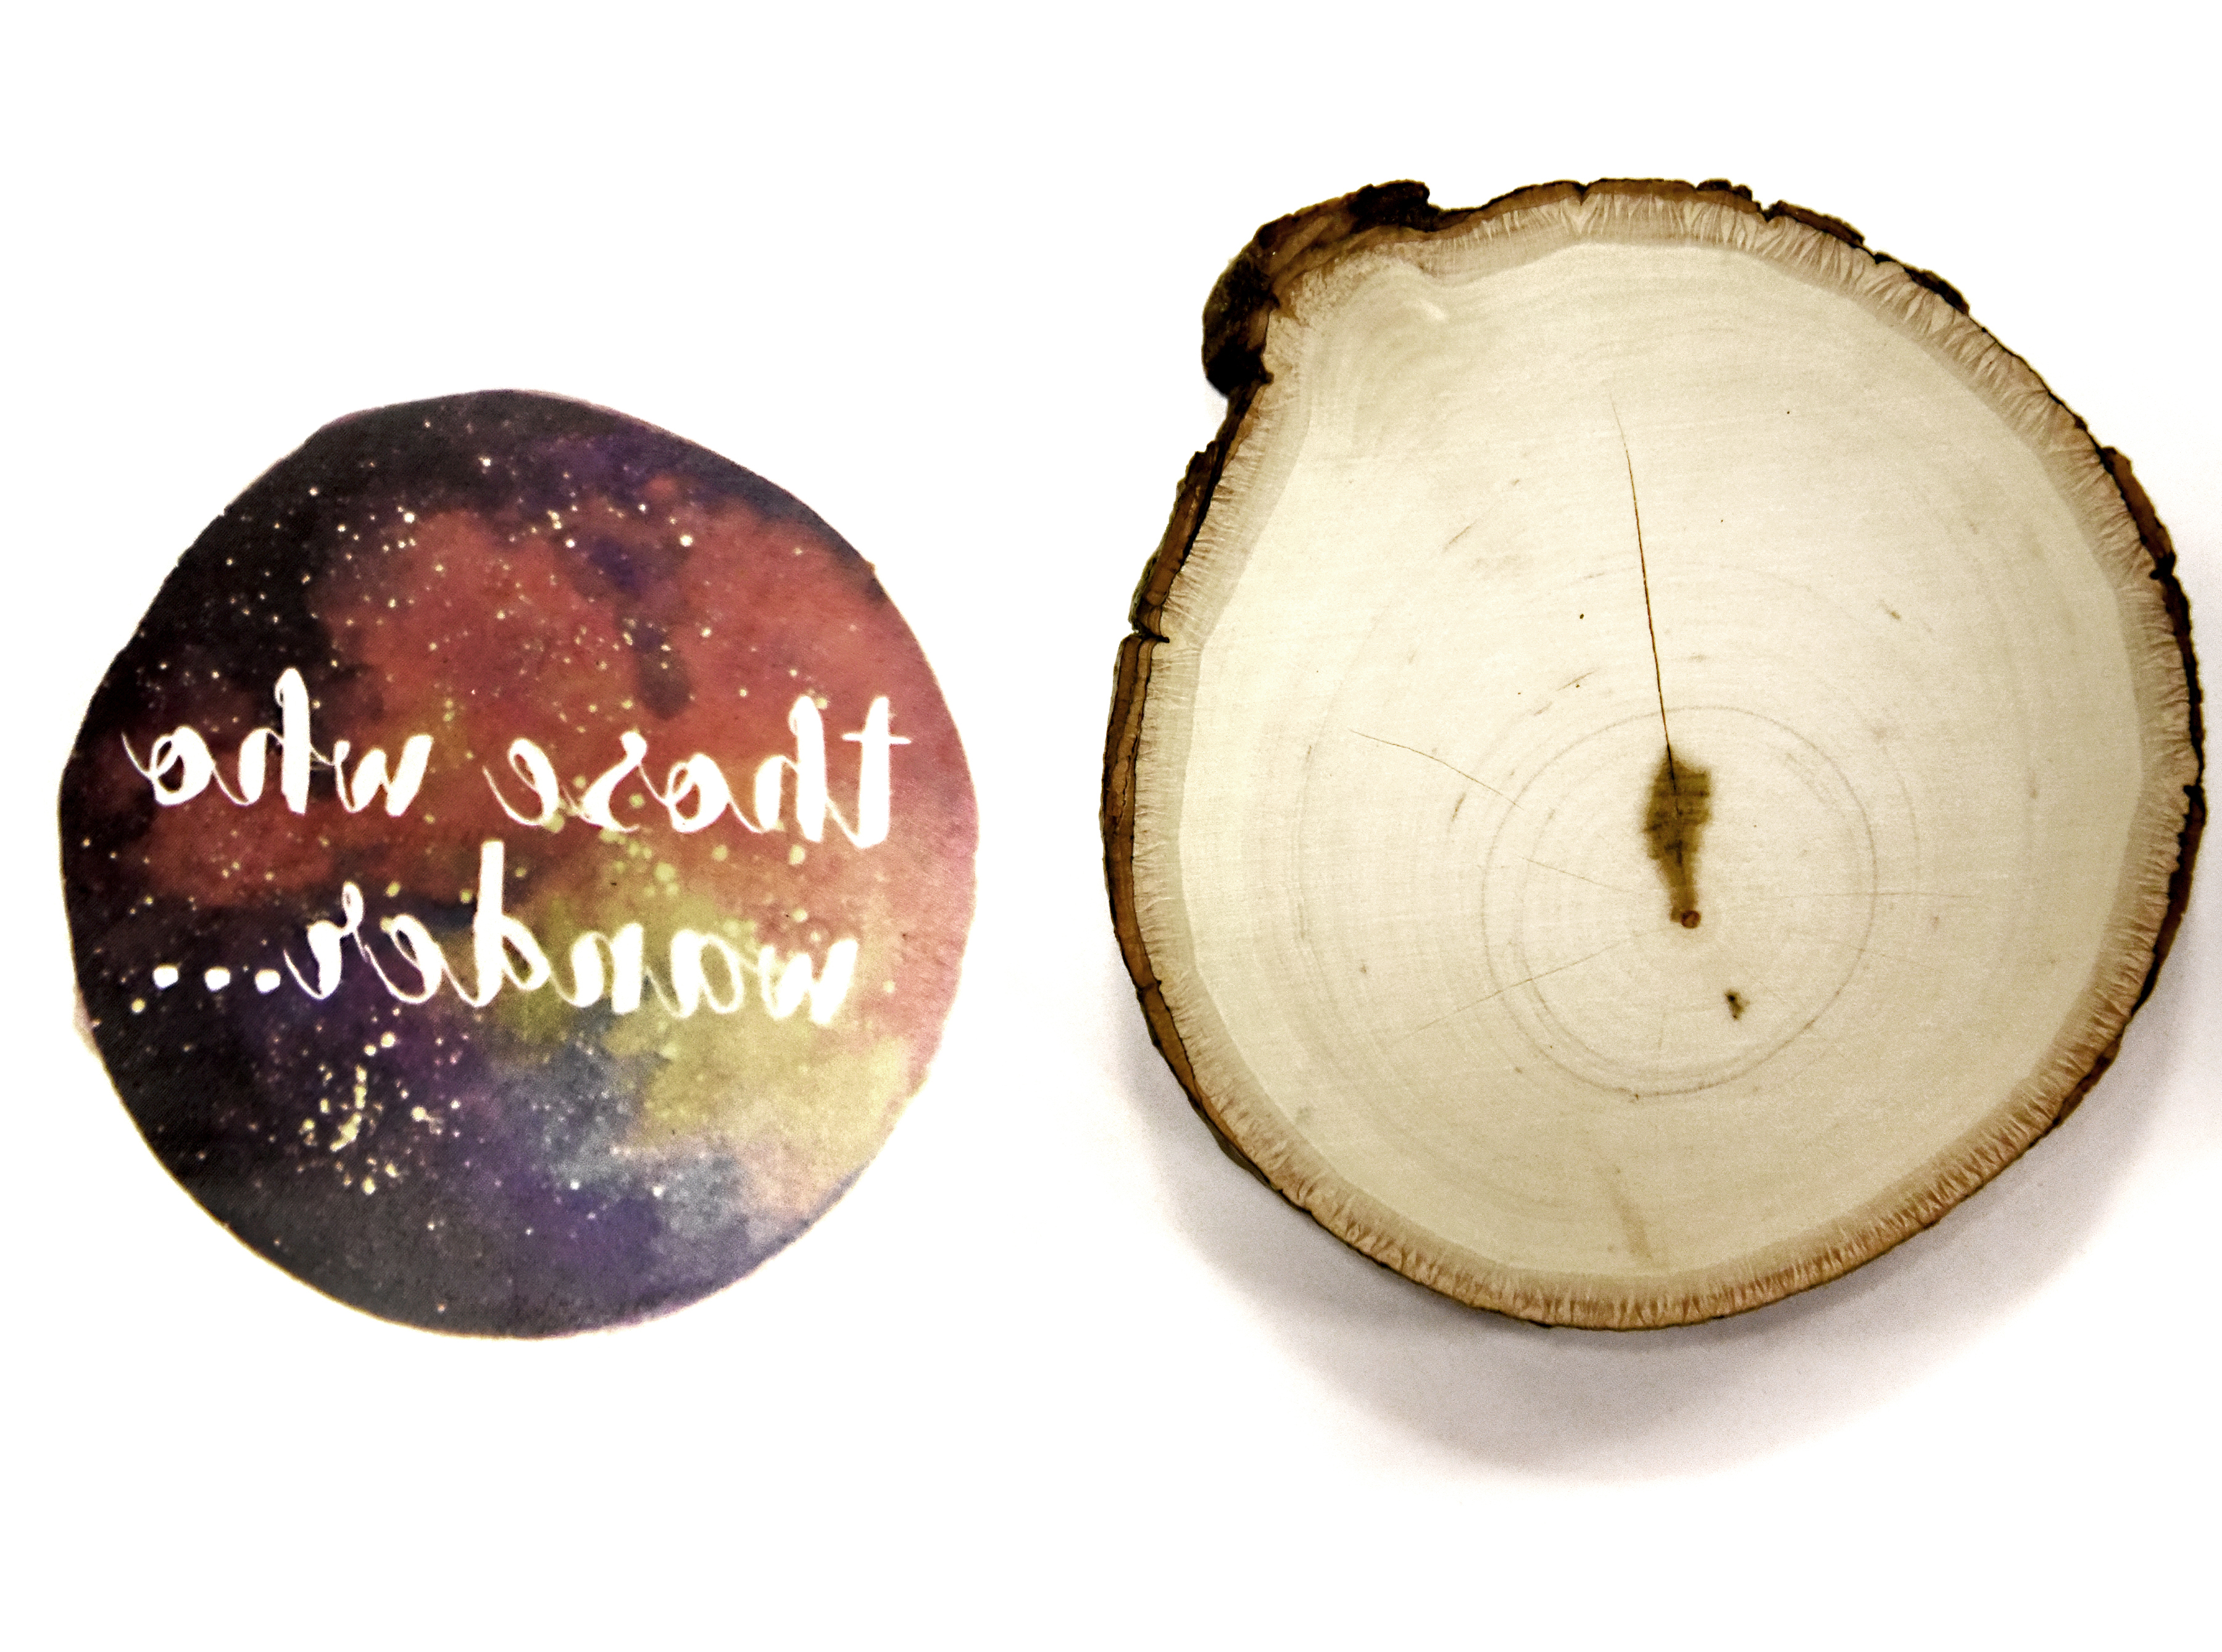
Print image mirrored horizontally in all black or solid dark color.
Step 1- Marry the printed A foil sheet with the B (grid back) sheet to transfer glue over to the printed design per normal instructions.
Step 2- Transfer image onto shirt for 15 seconds (half the normal time) at medium pressure (4-5 bar). Peel cold
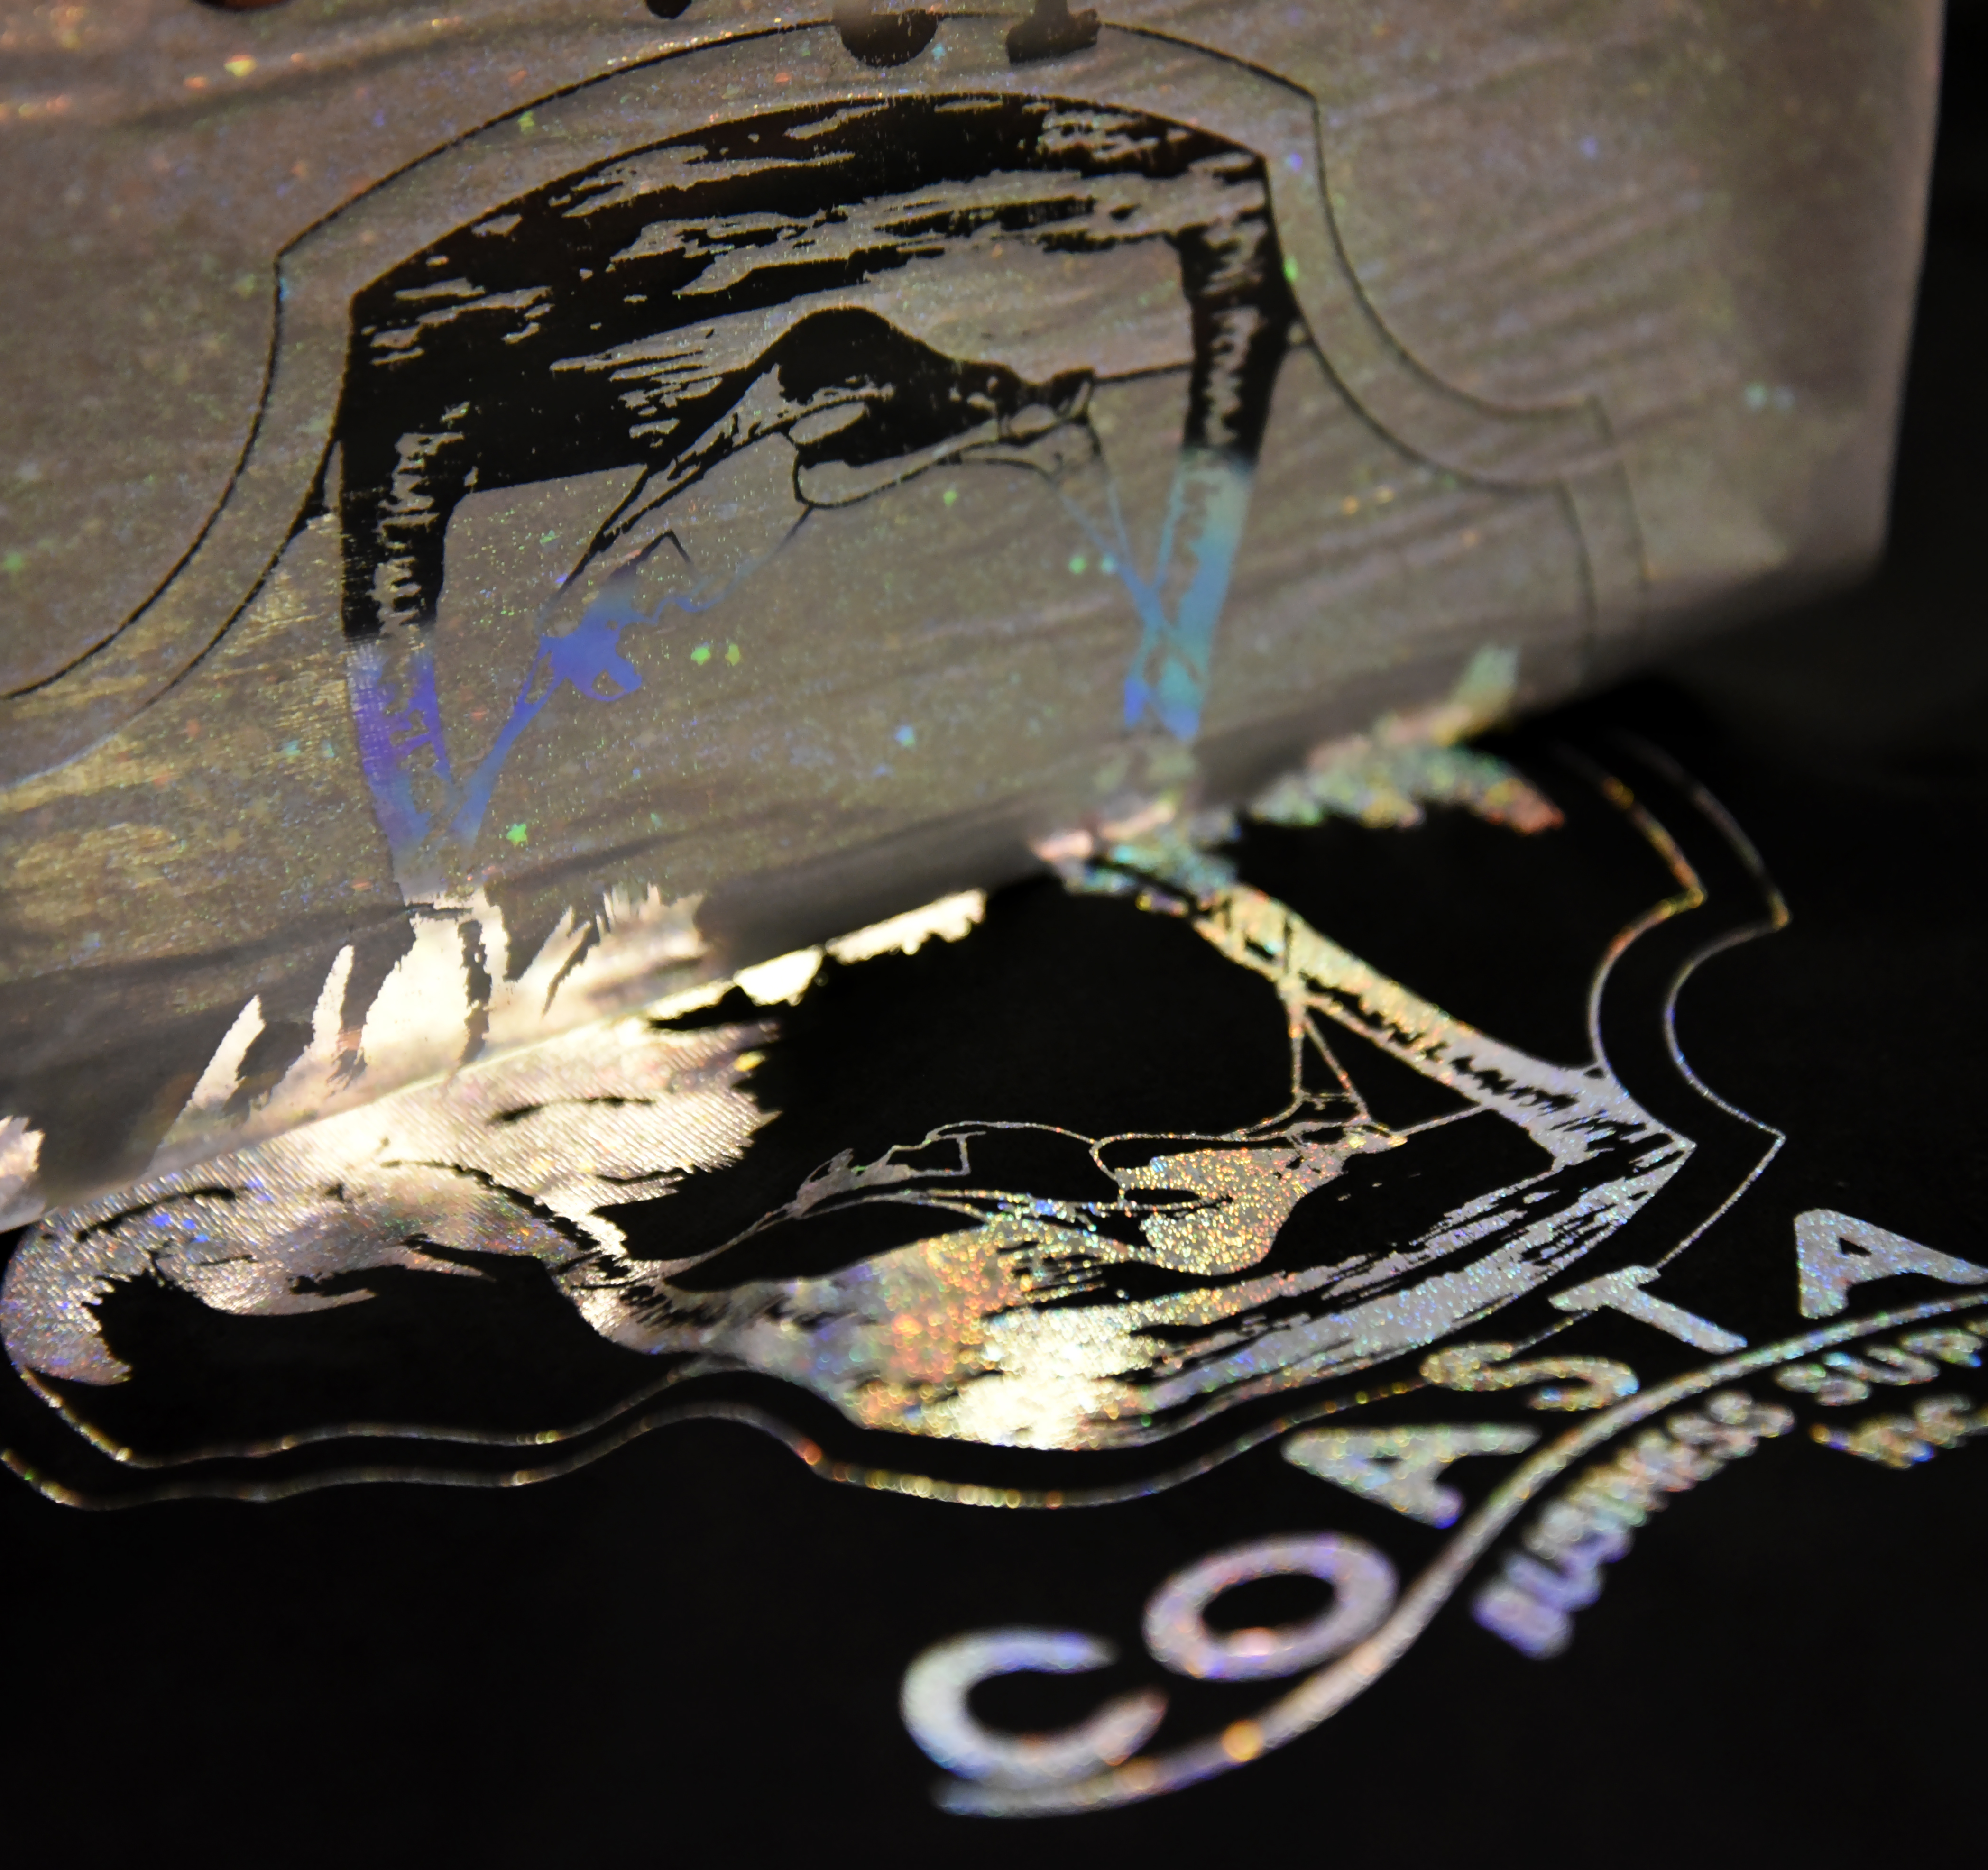
Step 3- Place foil on top of design with the foil color face up, and press for 35-45 seconds at the closest temperature of the actual paper (305-310F) with heavy pressure (6-8 bar). Peel cold
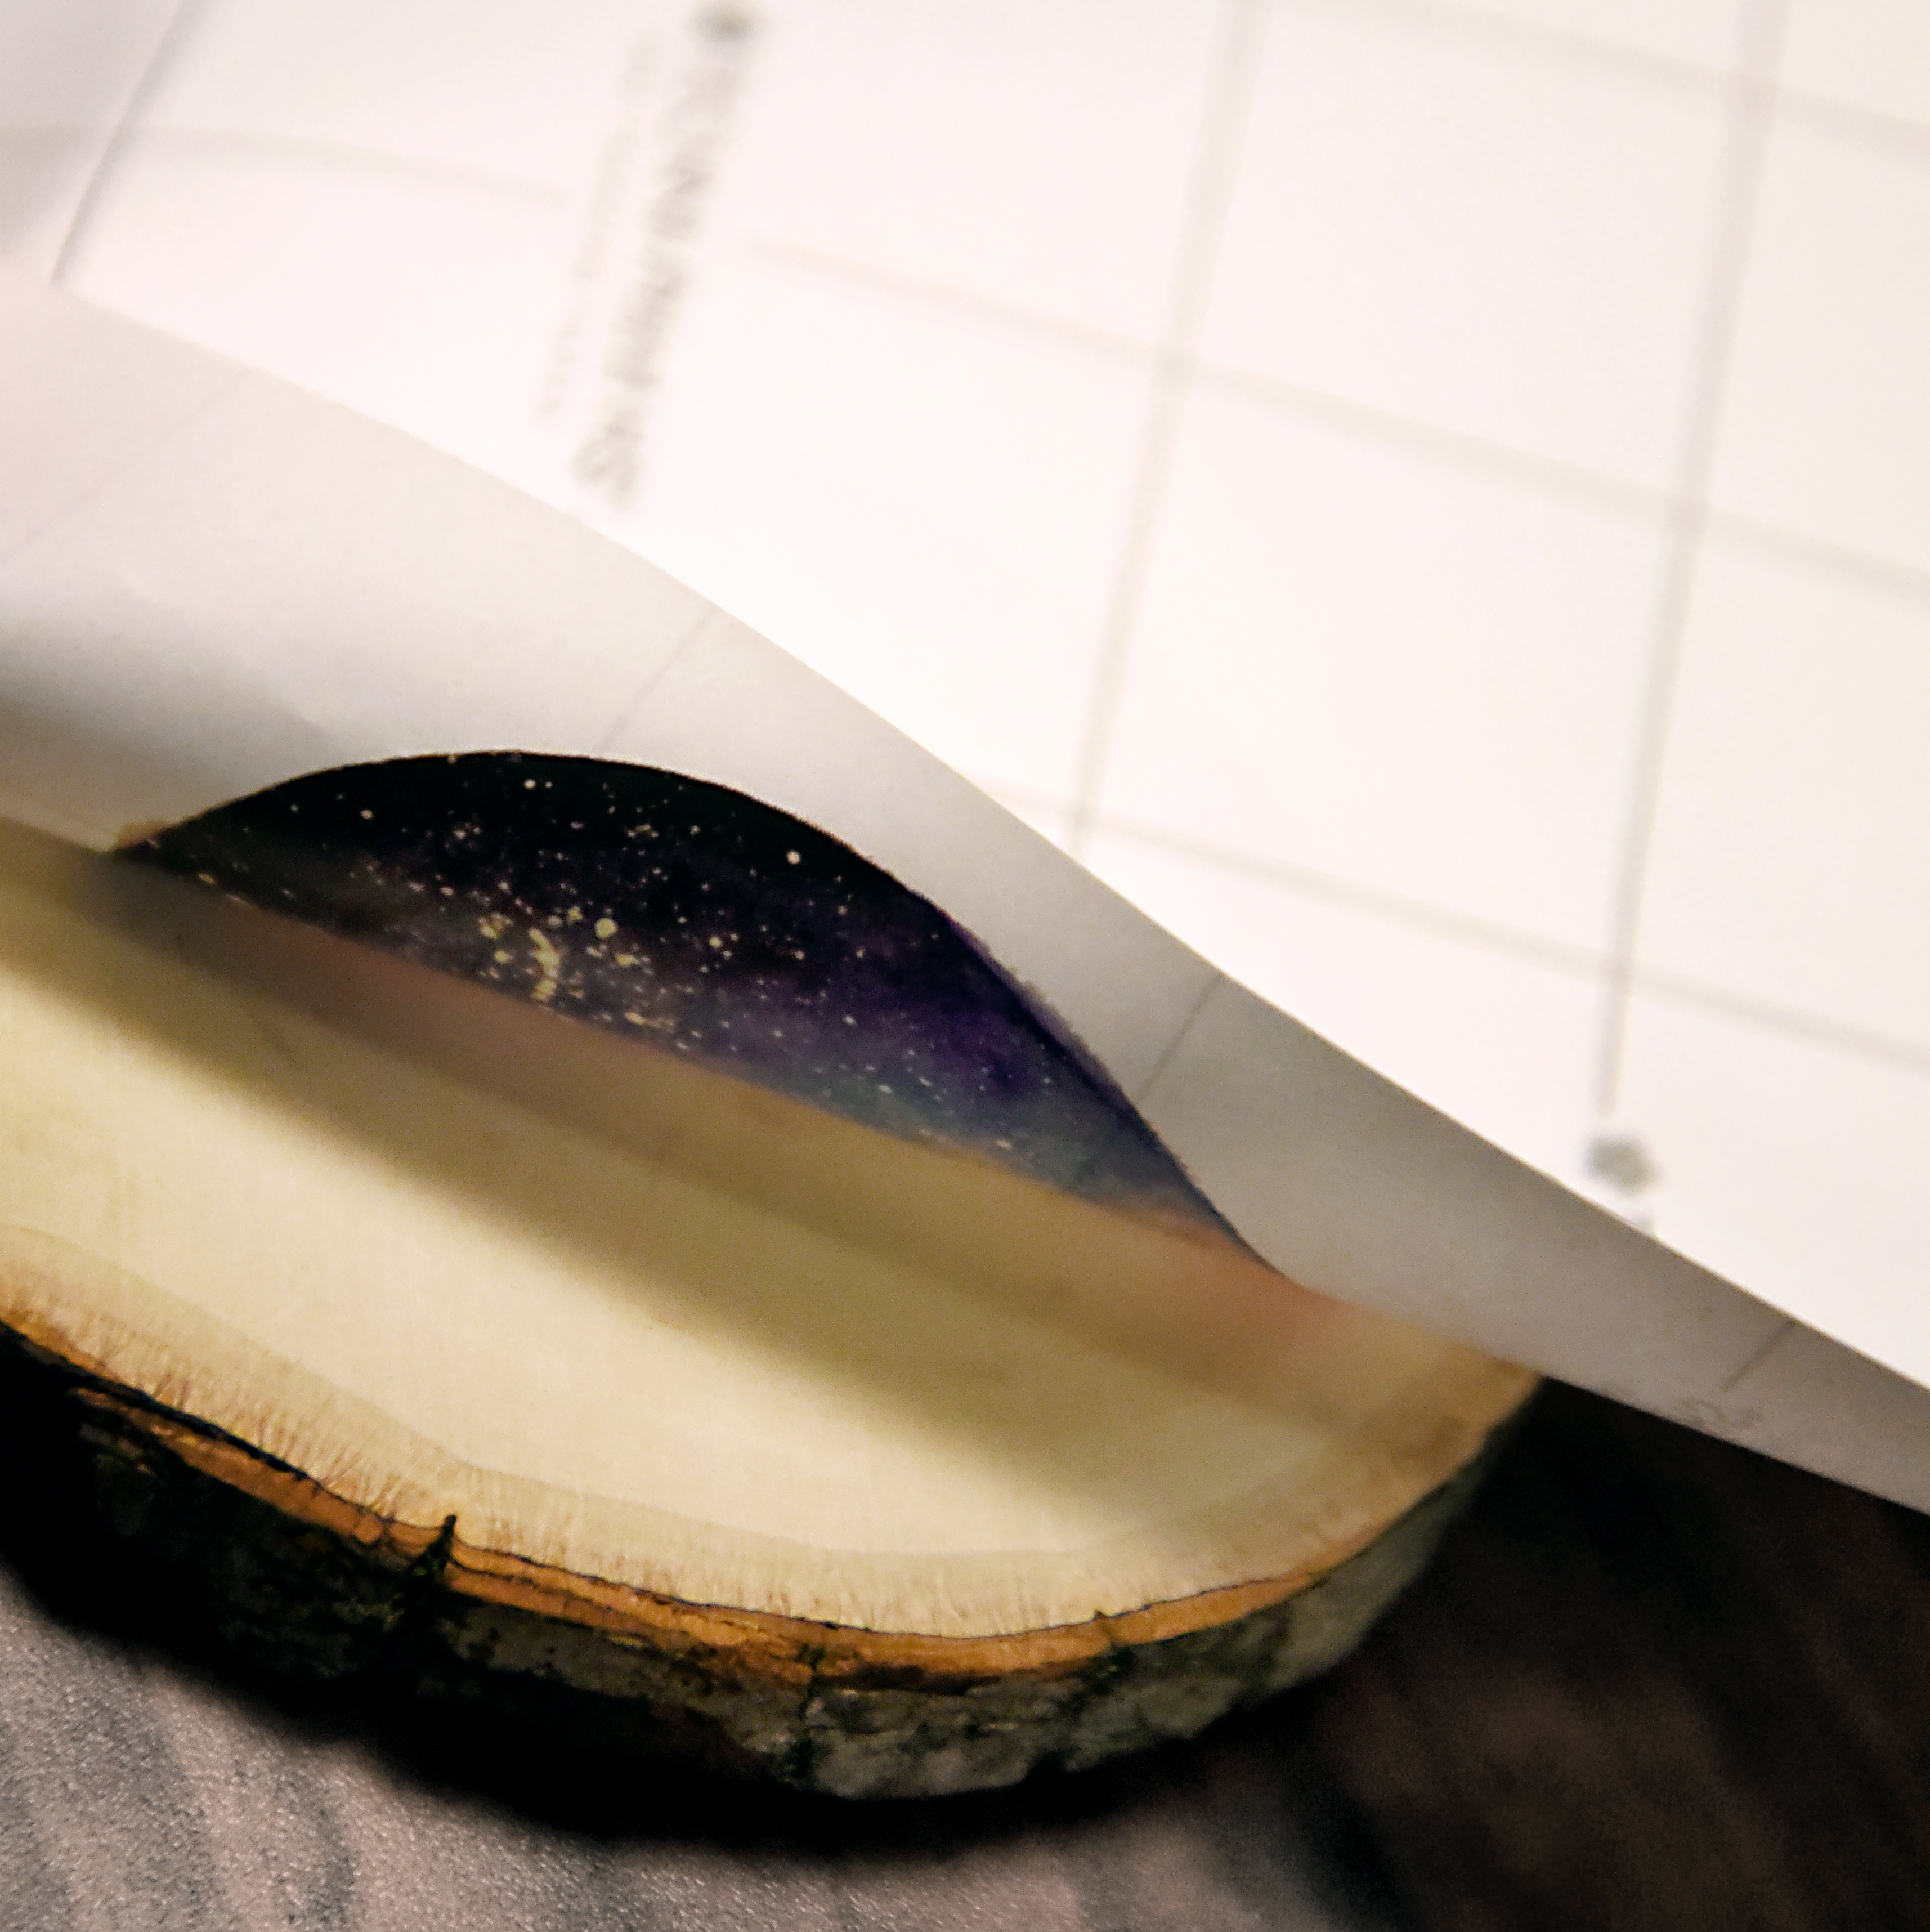
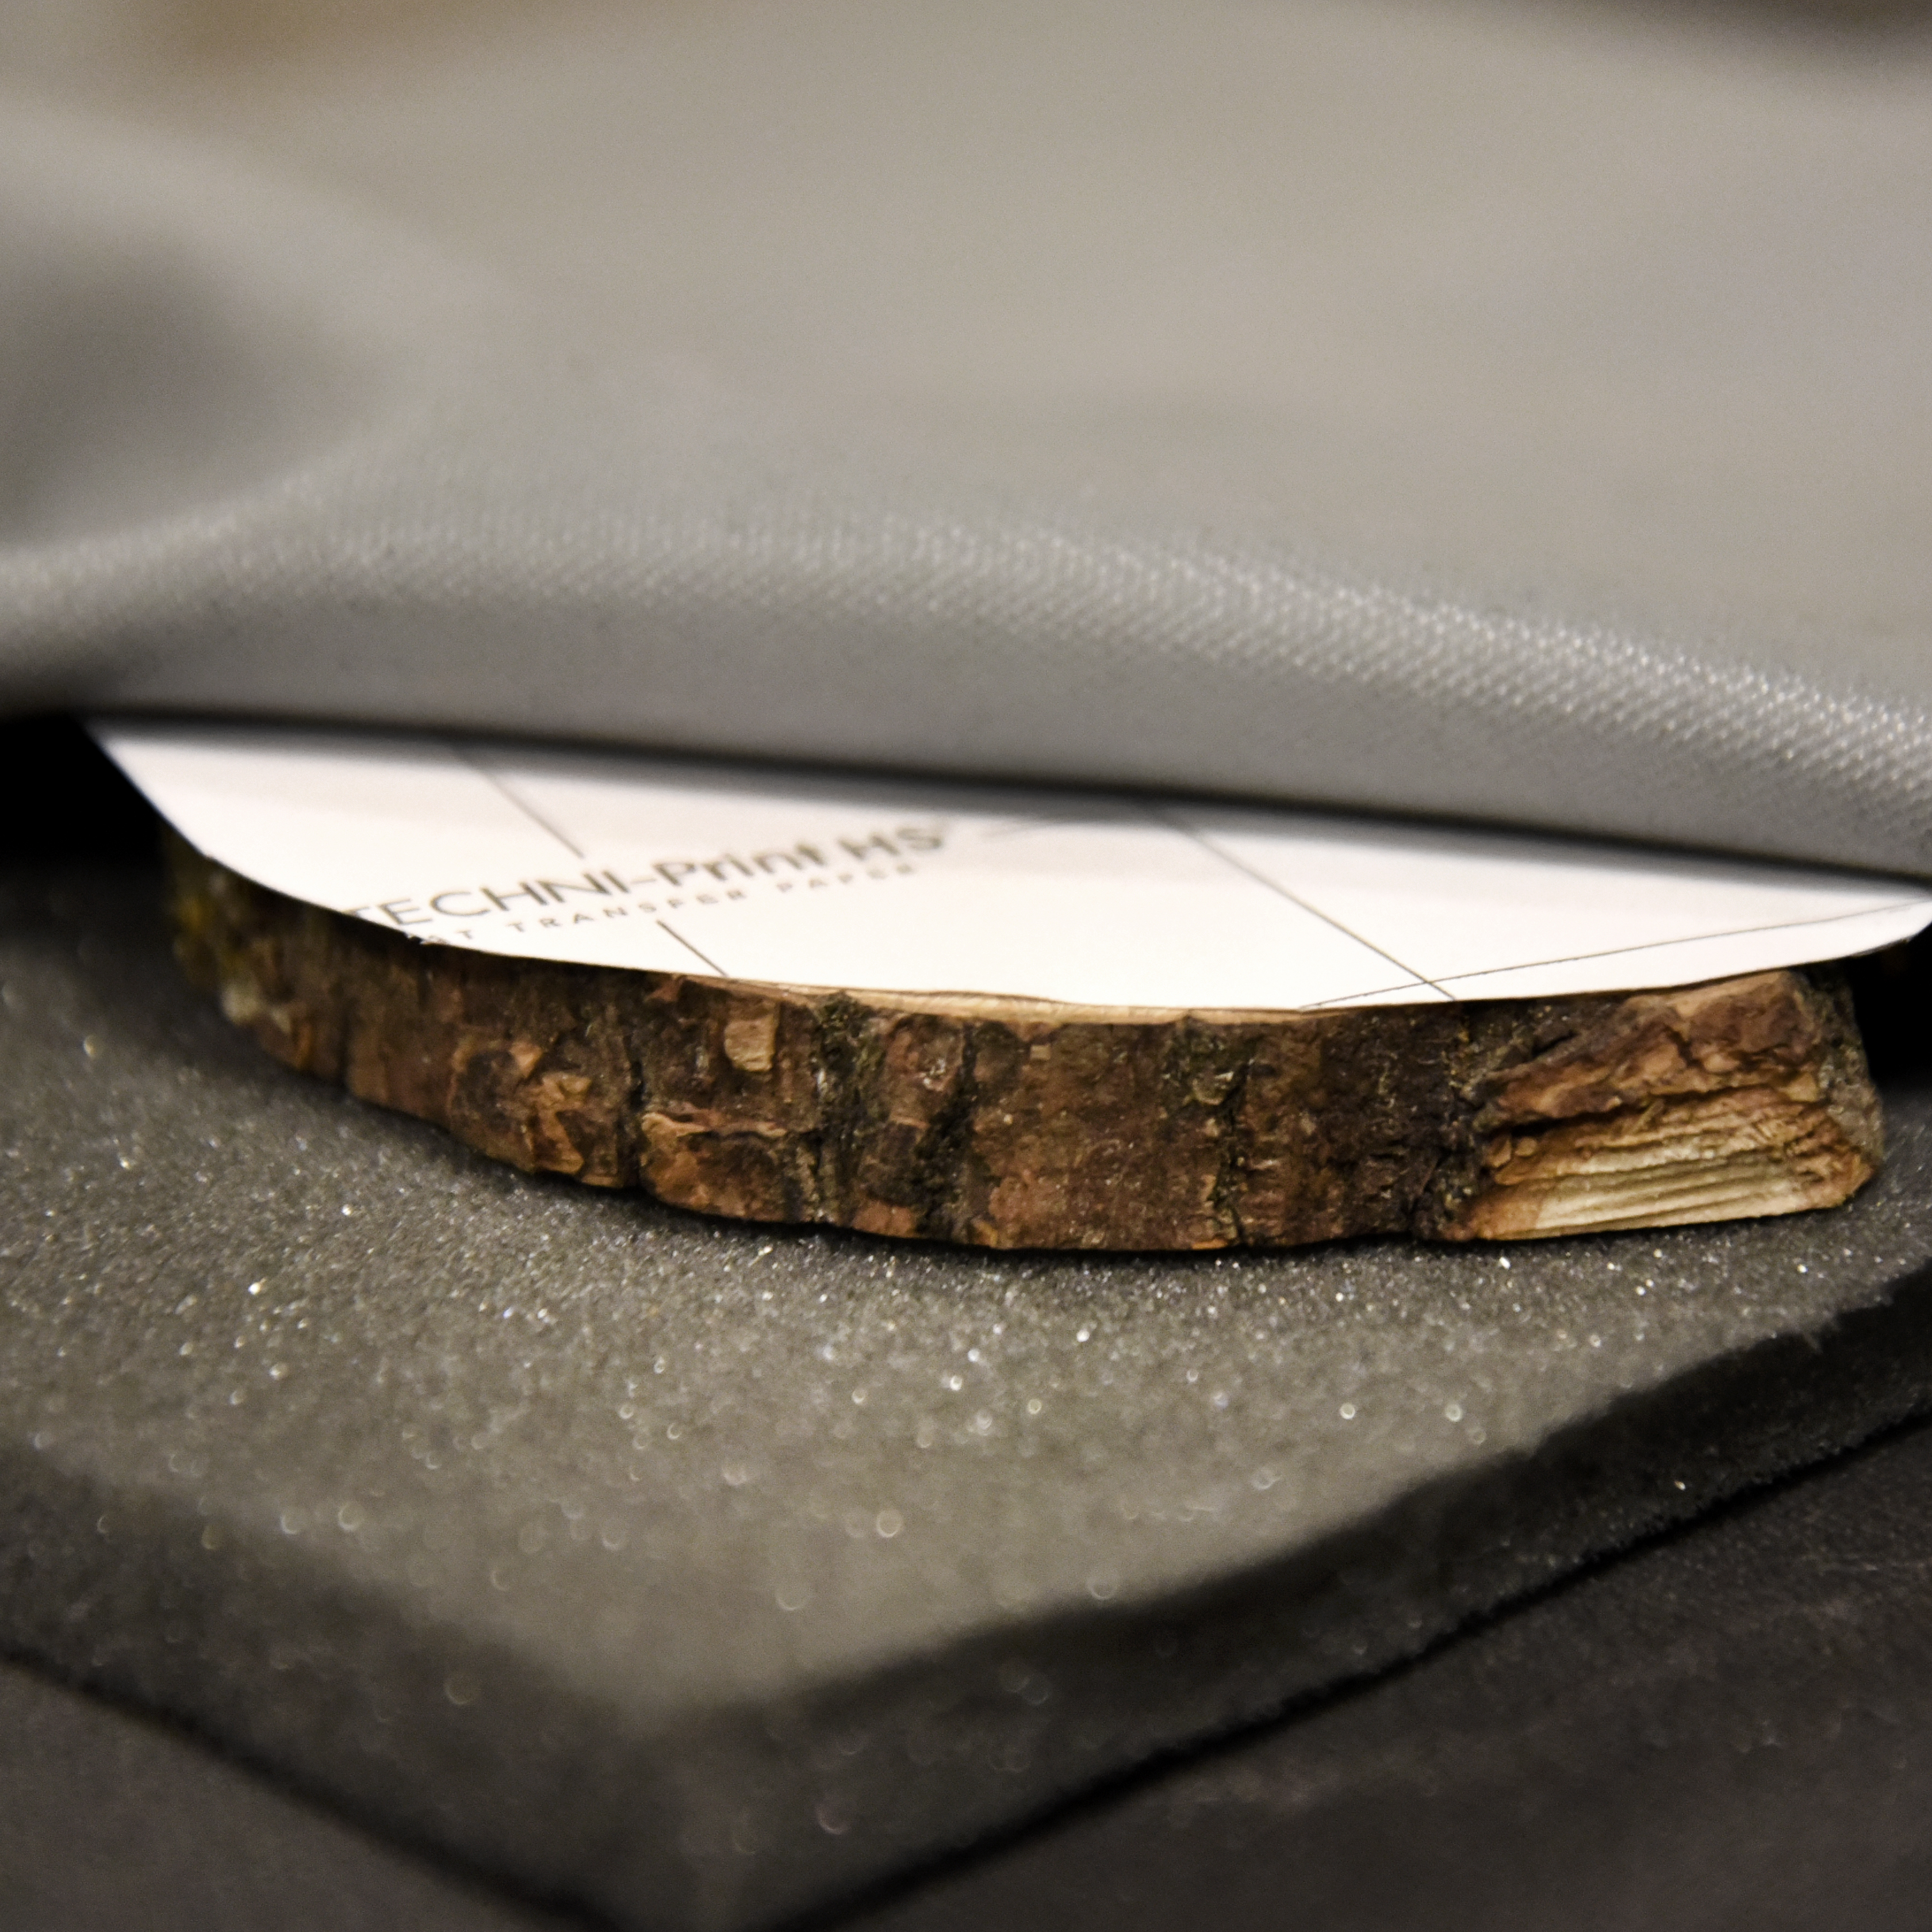
Note: This paper can be transferred on hard surface substrates and other materials as well. Proceed with the recommended printed instructions and follow “Step 3” to apply foil as the final additional step.
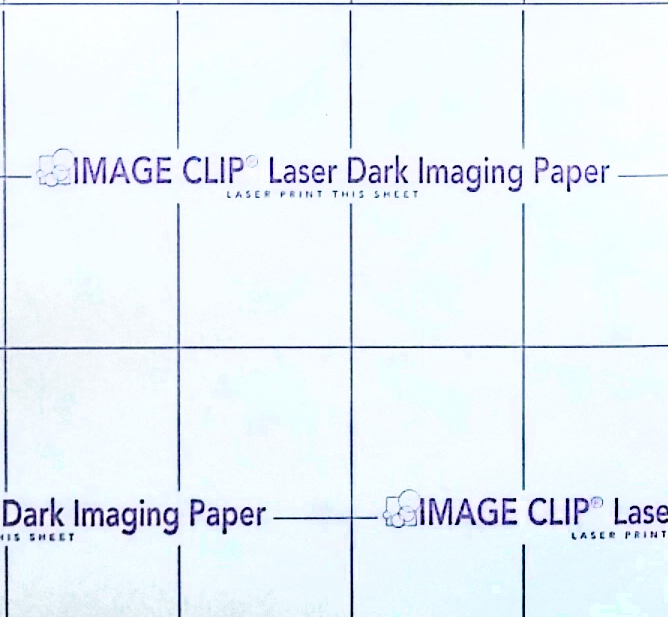
ImageClip Laser Dark Heat Transfer Paper
Instructions for foiling:
Print image mirrored horizontally in all black or solid dark color
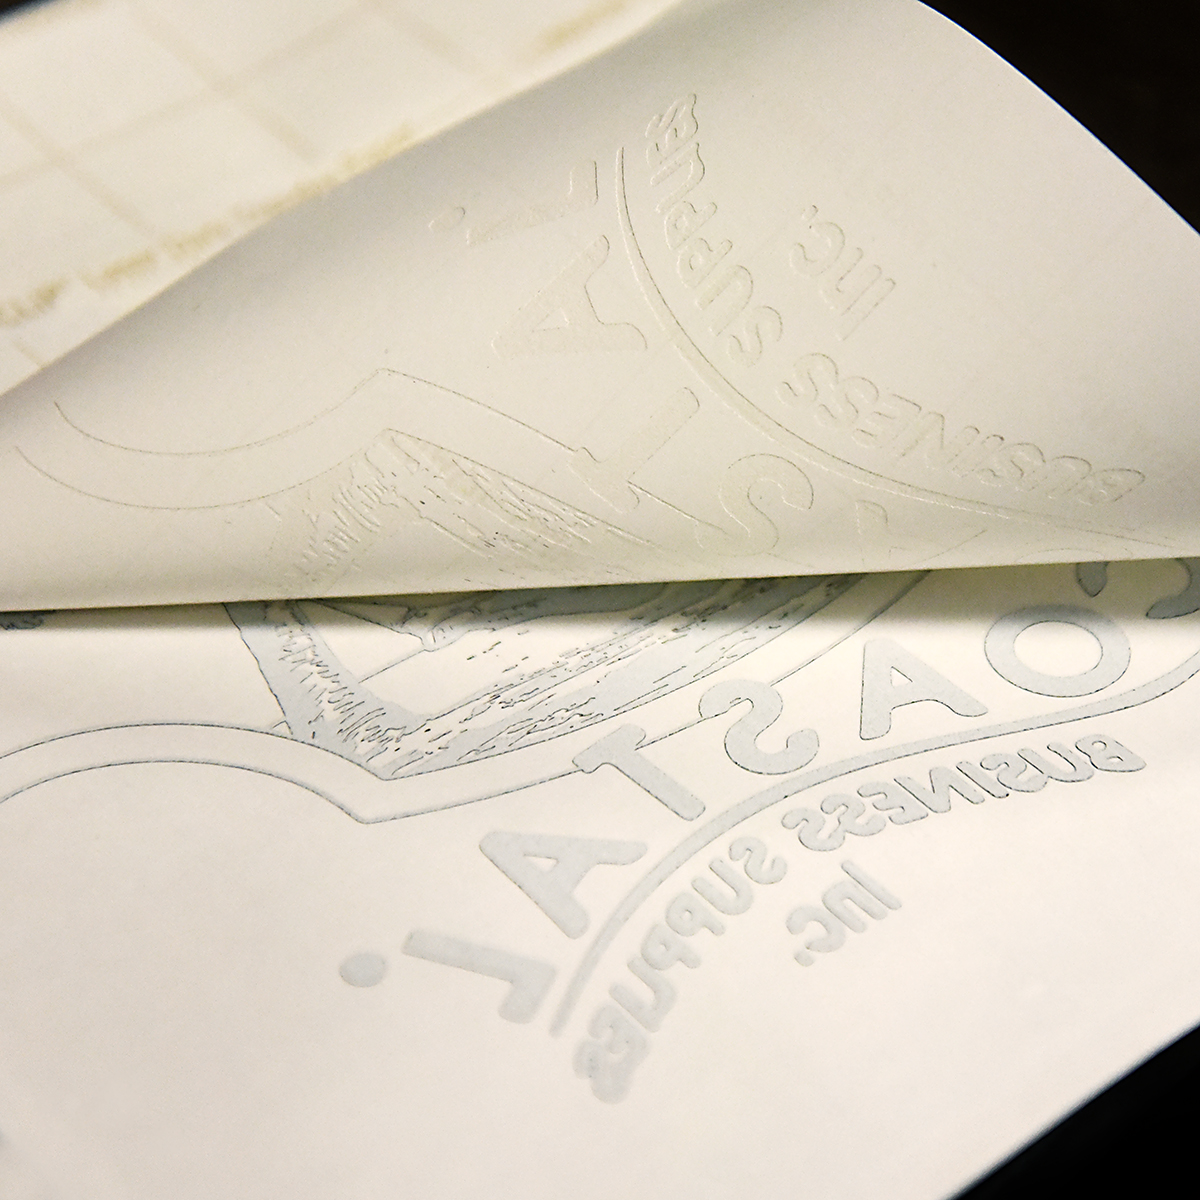
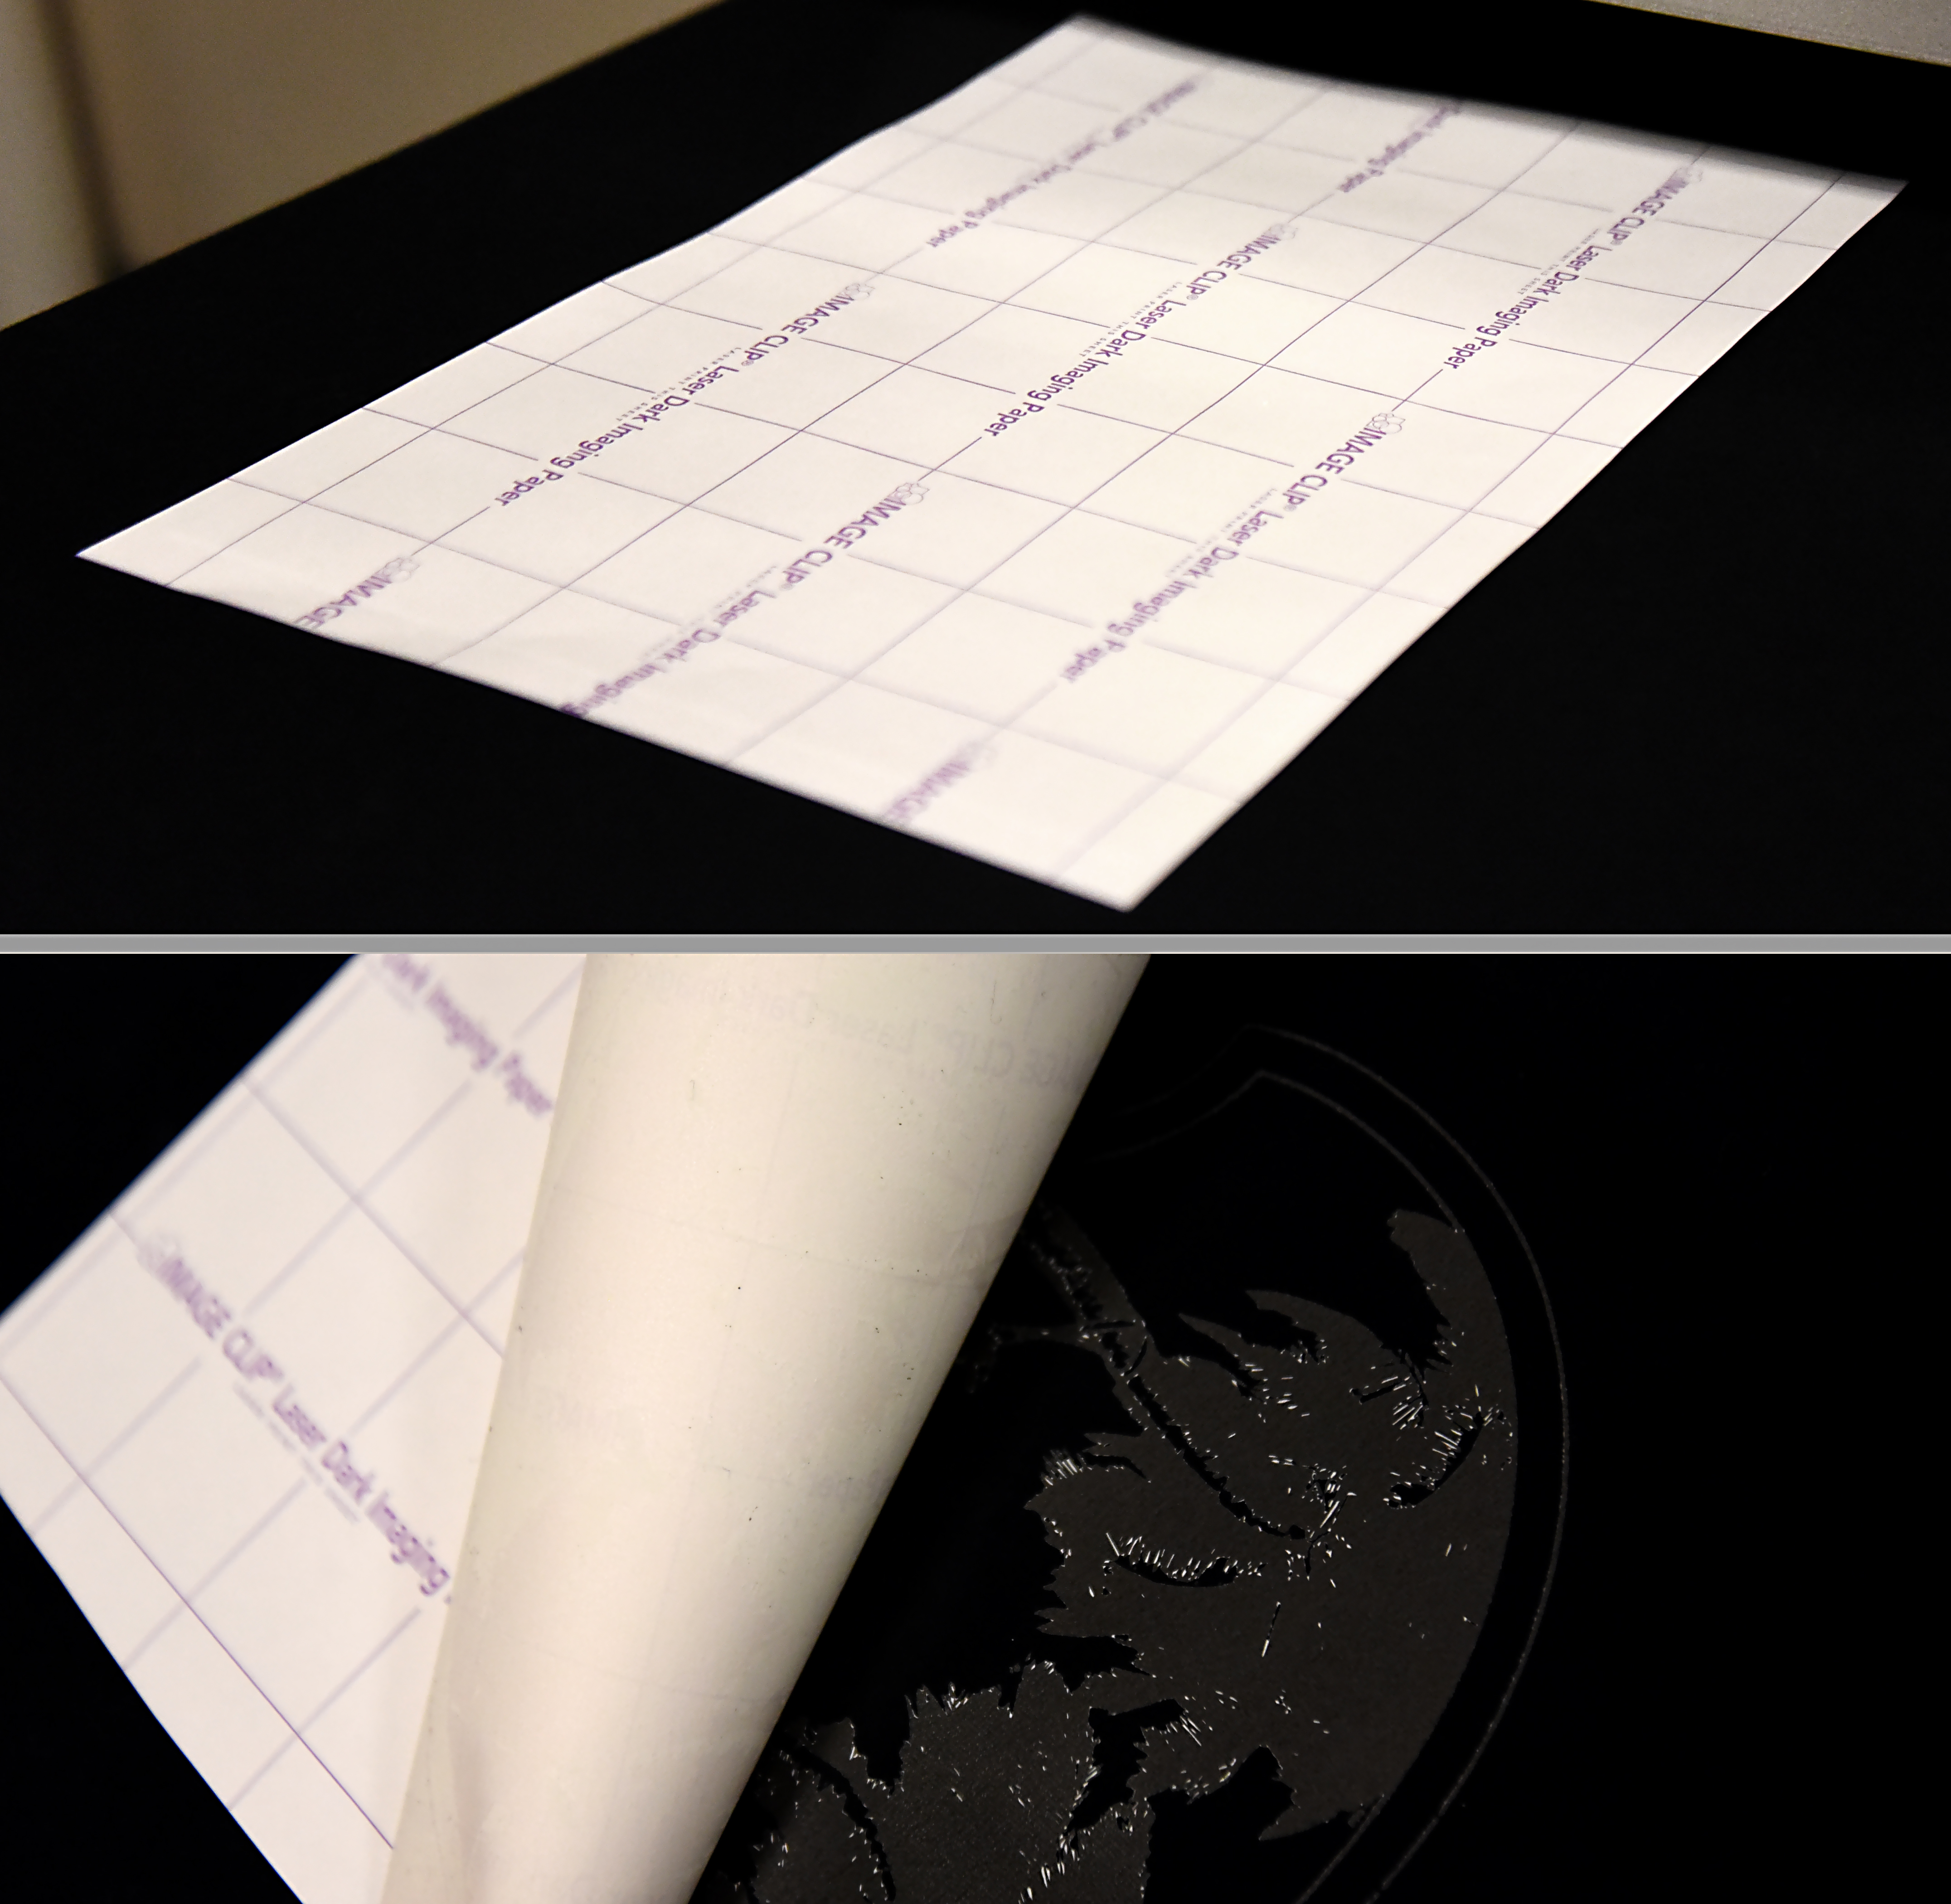
Step 1- Marry the printed A sheet (purple back imaging paper) with B sheet ( tan back transfer paper) together to transfer glue to the A sheet per normal instructions
Step 2- Transfer image onto shirt at 375F for 20 seconds at medium pressure (4-5 bar). Peel cold.
Step 3- Place foil on top of design with the foil color face up and press for 35-45 seconds at 350F with heavy pressure (6-8 bar). Peel cold.
Click HERE to visit our step by step tutorial on how to use the Foiling sheets with Image Clip Laser Dark.
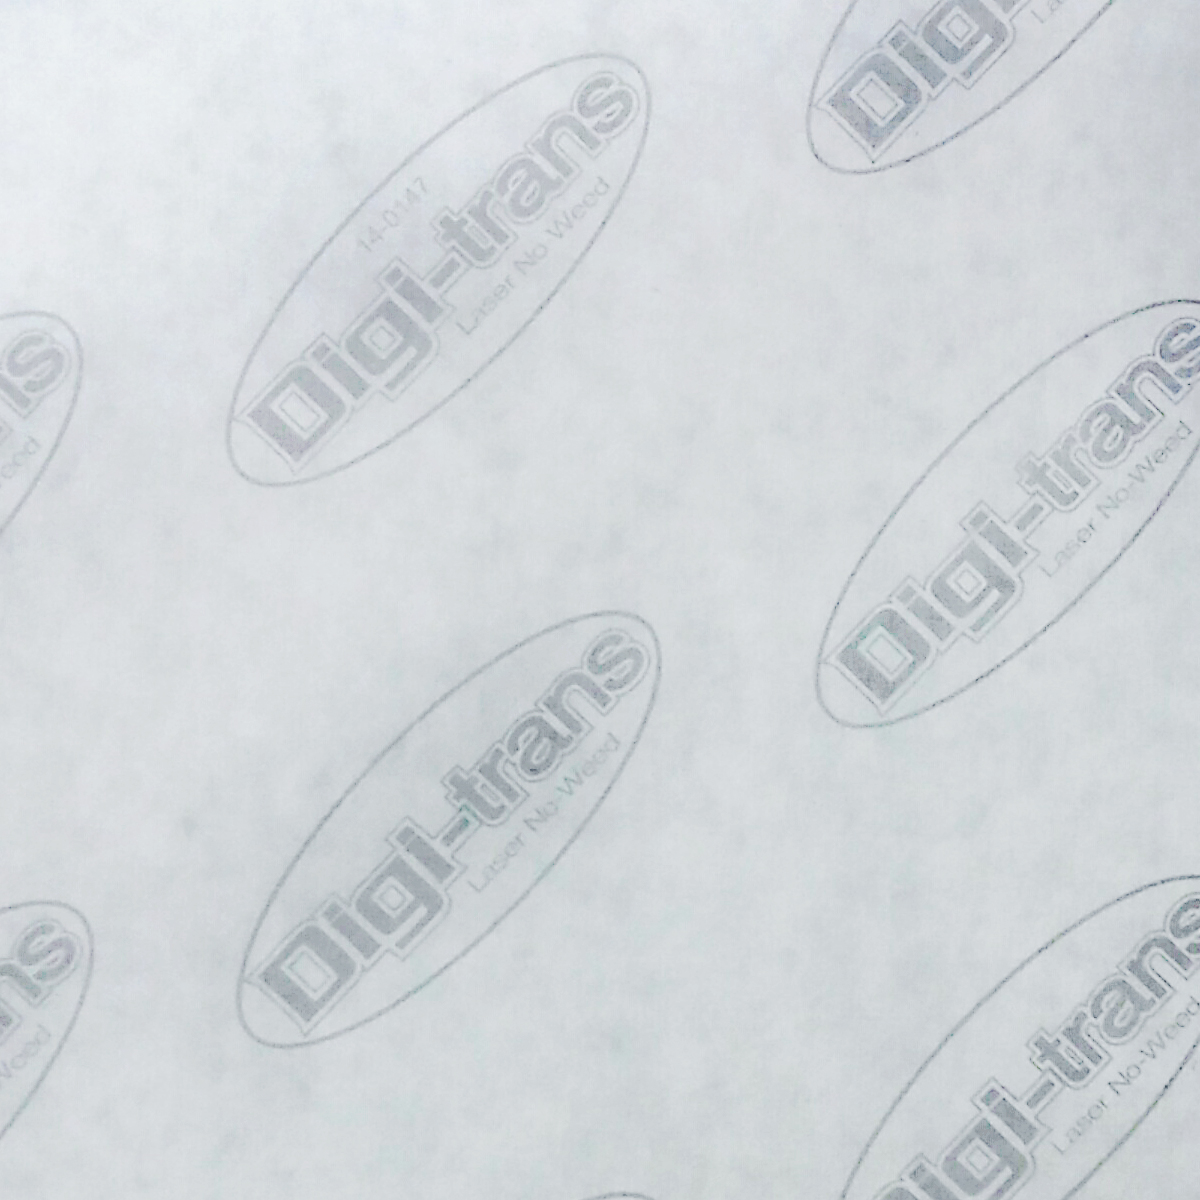
Digi-Trans No Weed Laser Transfer Paper
(for light fabrics only)
Instructions for foiling:
Print image mirrored horizontally in all black or solid dark color.
Follow normal pressing instructions to transfer to fabric but decrease pressure to a medium (3-5 bar) to avoid transferring excess glue from the sheet.
Once image is transferred, place foil on top of design with the foil color face up and press for 35-45 seconds at 330F with heavy pressure (6-8 bar). Peel cold.
Note: Using Digi Trans with the foiling sheets may result in uneven transfer, irregular foiled edges, excess glue that picks up foil in undesired areas and is overall more difficult to work with.