
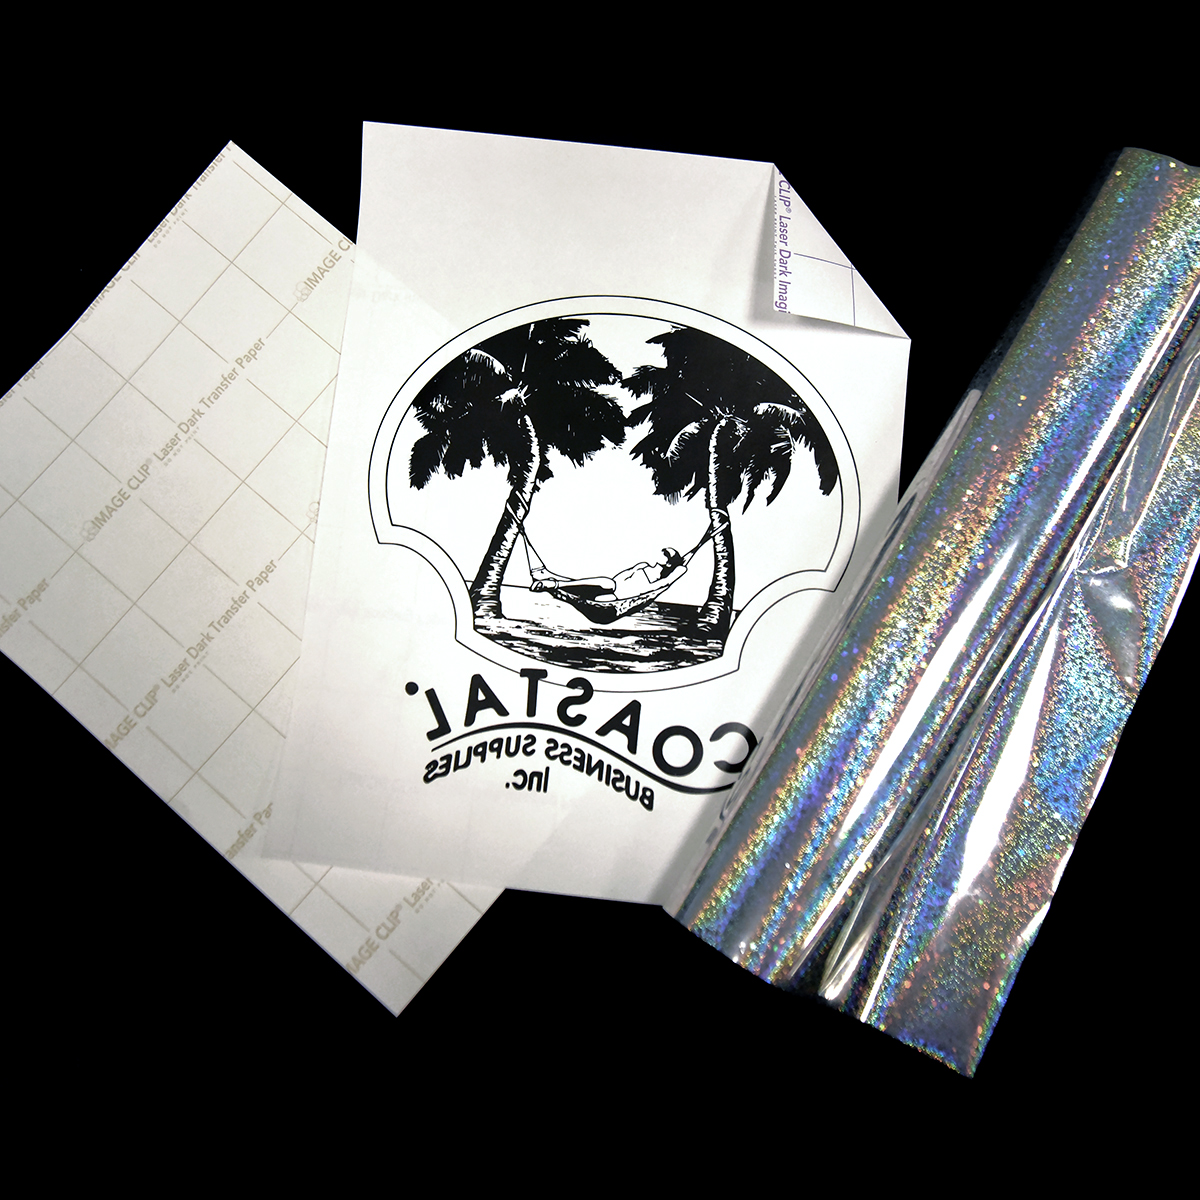
Foiling is a heat transfer paper finishing technique that is not only eye catching, but also fairly easy to do. The foil comes in a variety of metallic colors, such as silver, gold, blue, red, and more specialized shimmery color combos like confetti gold, glitter red and dust gold (check out all of our available colors HERE).
In this tutorial, we used the “glitter silver” metallic foil which has a great multi-color finish and illusion of texture and Image Clip Laser Dark two step paper. Image Clip Laser Dark is a popular paper compatible with both CMYK and white toner printers and its self-weeding properties make it possible to transfer complex and detailed designs hassle free: no cutting or masking required.
Printing
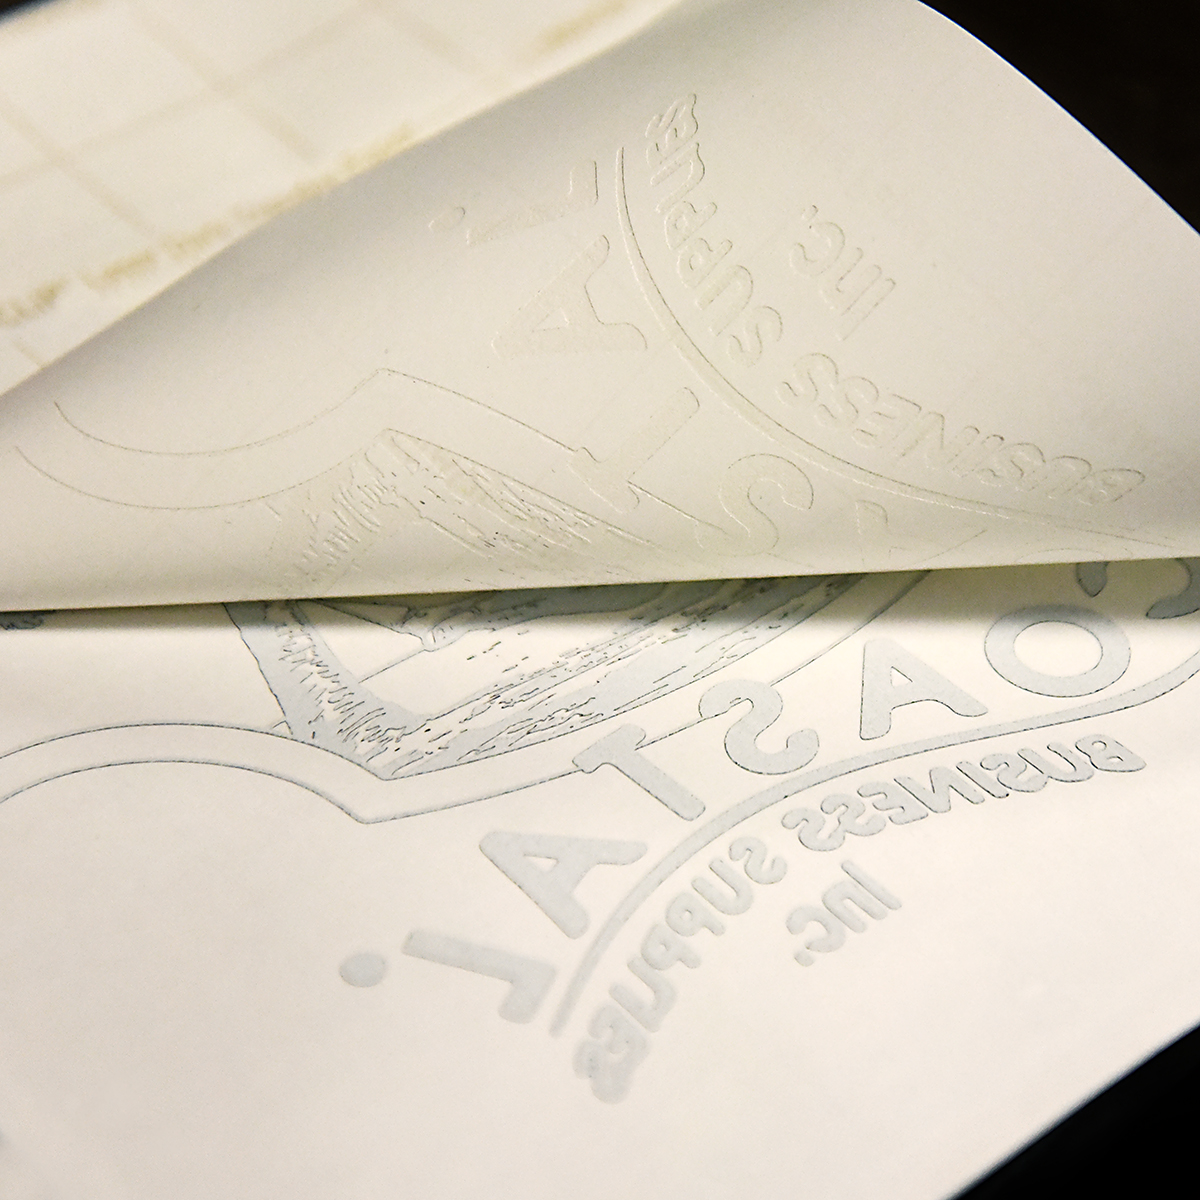
Print your image in a solid black color, mirrored horizontally. You may also print your design in a very dark color such as a dark blue or red to match the foil color, but in most cases black works best. It provides great toner density for a more durable transfer and helps create a distressed look once the foil starts fading over time.
When using Image Clip Laser Dark, make sure you are printing on the sheet with the purple grid backing also marked as IMAGE CLIP Laser Dark Imaging Paper.

Step 1
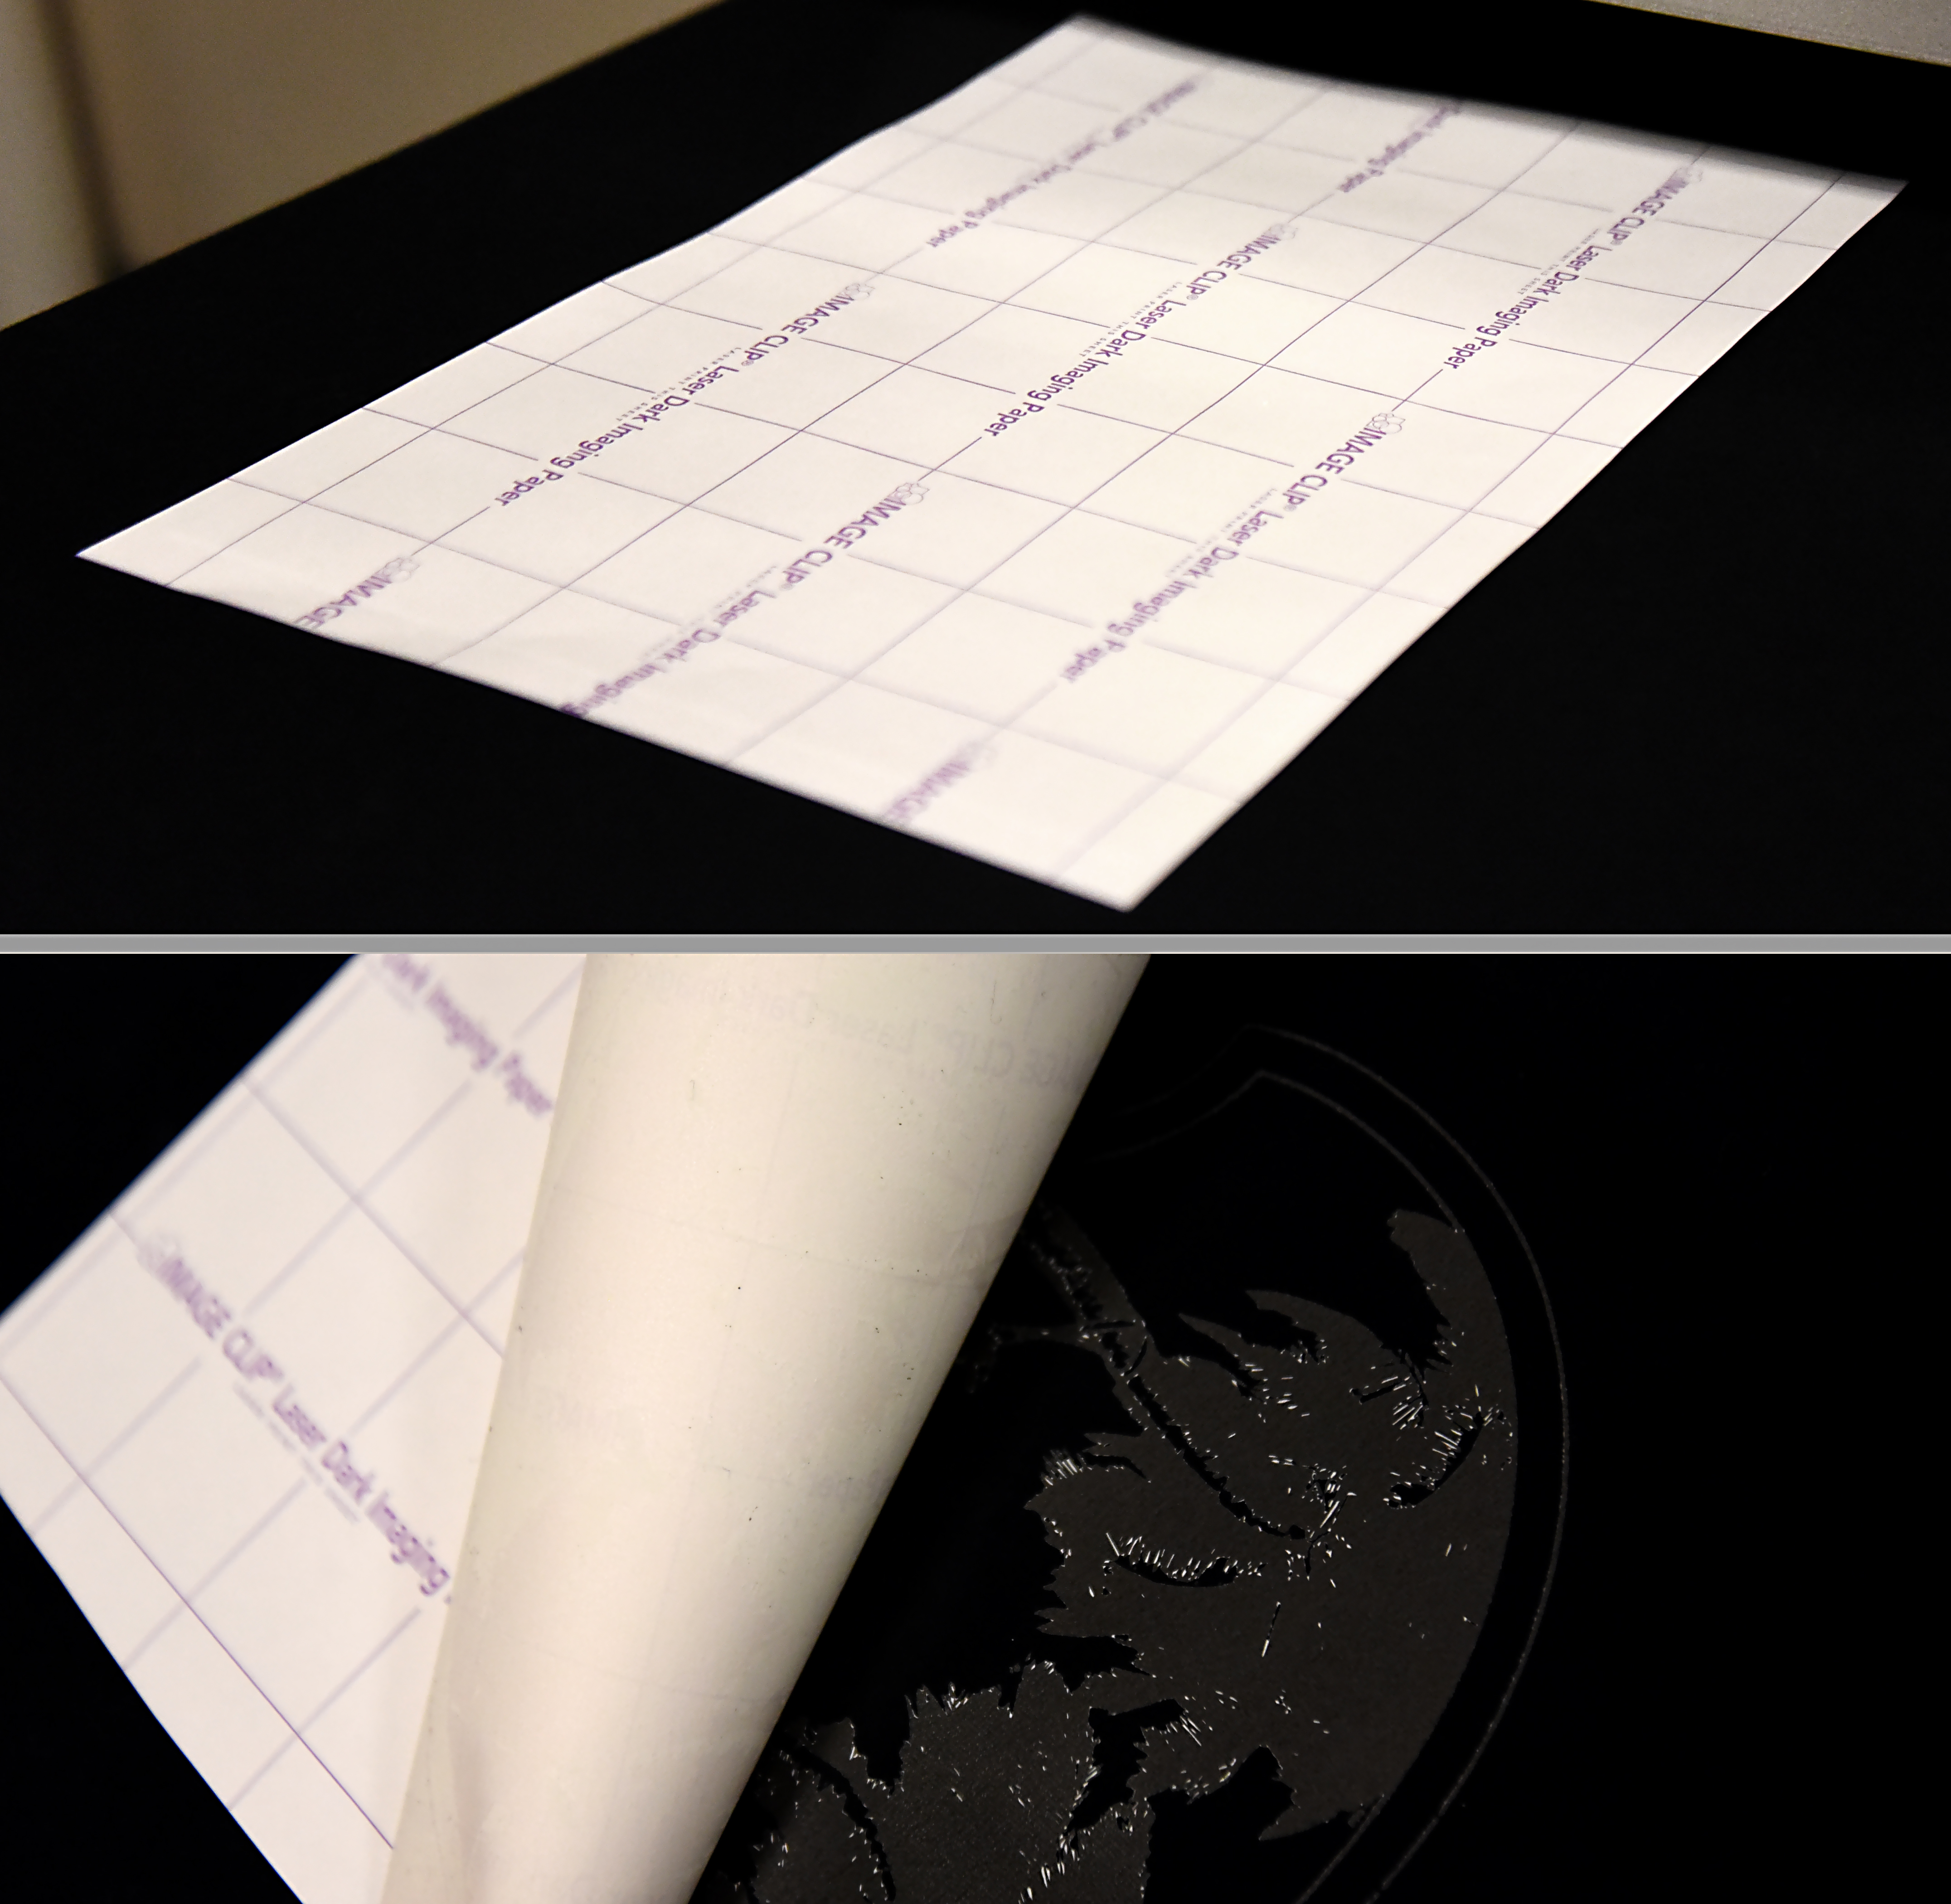
During this step, you will be adding a layer of glue on your already printed design. Lay the printed imaging sheet on the press facing up and place the second sheet of paper that has a tan (light brown) grid back and is marked as IMAGE CLIP Laser Dark Transfer paper on top of it with the blank side face down. This process is called “marrying” the two sheets together.
We recommend pressing the two sheets together at 225F for 20 seconds with medium pressure (4-5 bars).
Once the 20 seconds elapse, open the press and peel off the top transfer paper immediately while still very hot in one quick, smooth motion.
After the glue sheet has been removed, your black design should now have an opaque layer of white glue transferred evenly across the page. Inspect both the imaging sheet and the glue sheet for any inconsistencies. On the imaging sheet, any parts that are missing glue will not transfer on the shirt well or at all. Make sure there isn’t excess glue anywhere else on the page: glue should adhere to toner only and not on the blank paper itself. If any of the black is transferring over to the top glue sheet, decrease the pressure.
Step 2
Once glue has been successfully added to the purple imaging sheet, place the sheet with the design face down onto the shirt. We used a 100% black cotton shirt for this tutorial.
We recommend doing this step at 375F for 25 seconds at a medium pressure (4 to 5 bar).
After pressing, move the shirt off to the side and let it cool completely. Once it is cooled, peel away the paper to reveal the black design.
 You may notice some white spots, especially in really small detailed areas. With such tiny detail, that is normal as the glue tends to spread out a little due to the pressure and heat applied during pressing. The foiling sheet will cover up all these areas.

Step 3
For this final step, place the shirt back on the press and put a piece of foil on top of it, cut down to size, with the whiter opaque side facing down. The color of the foil itself should be facing up as that is the side you will be looking at once the transfer is complete.
The foil can be pressed at anywhere from 300F to 350F. For this tutorial and paper, we pressed the foil at 350F for 35 seconds with heavy pressure (6-8 bars).
Let the foil completely cool down before peeling.
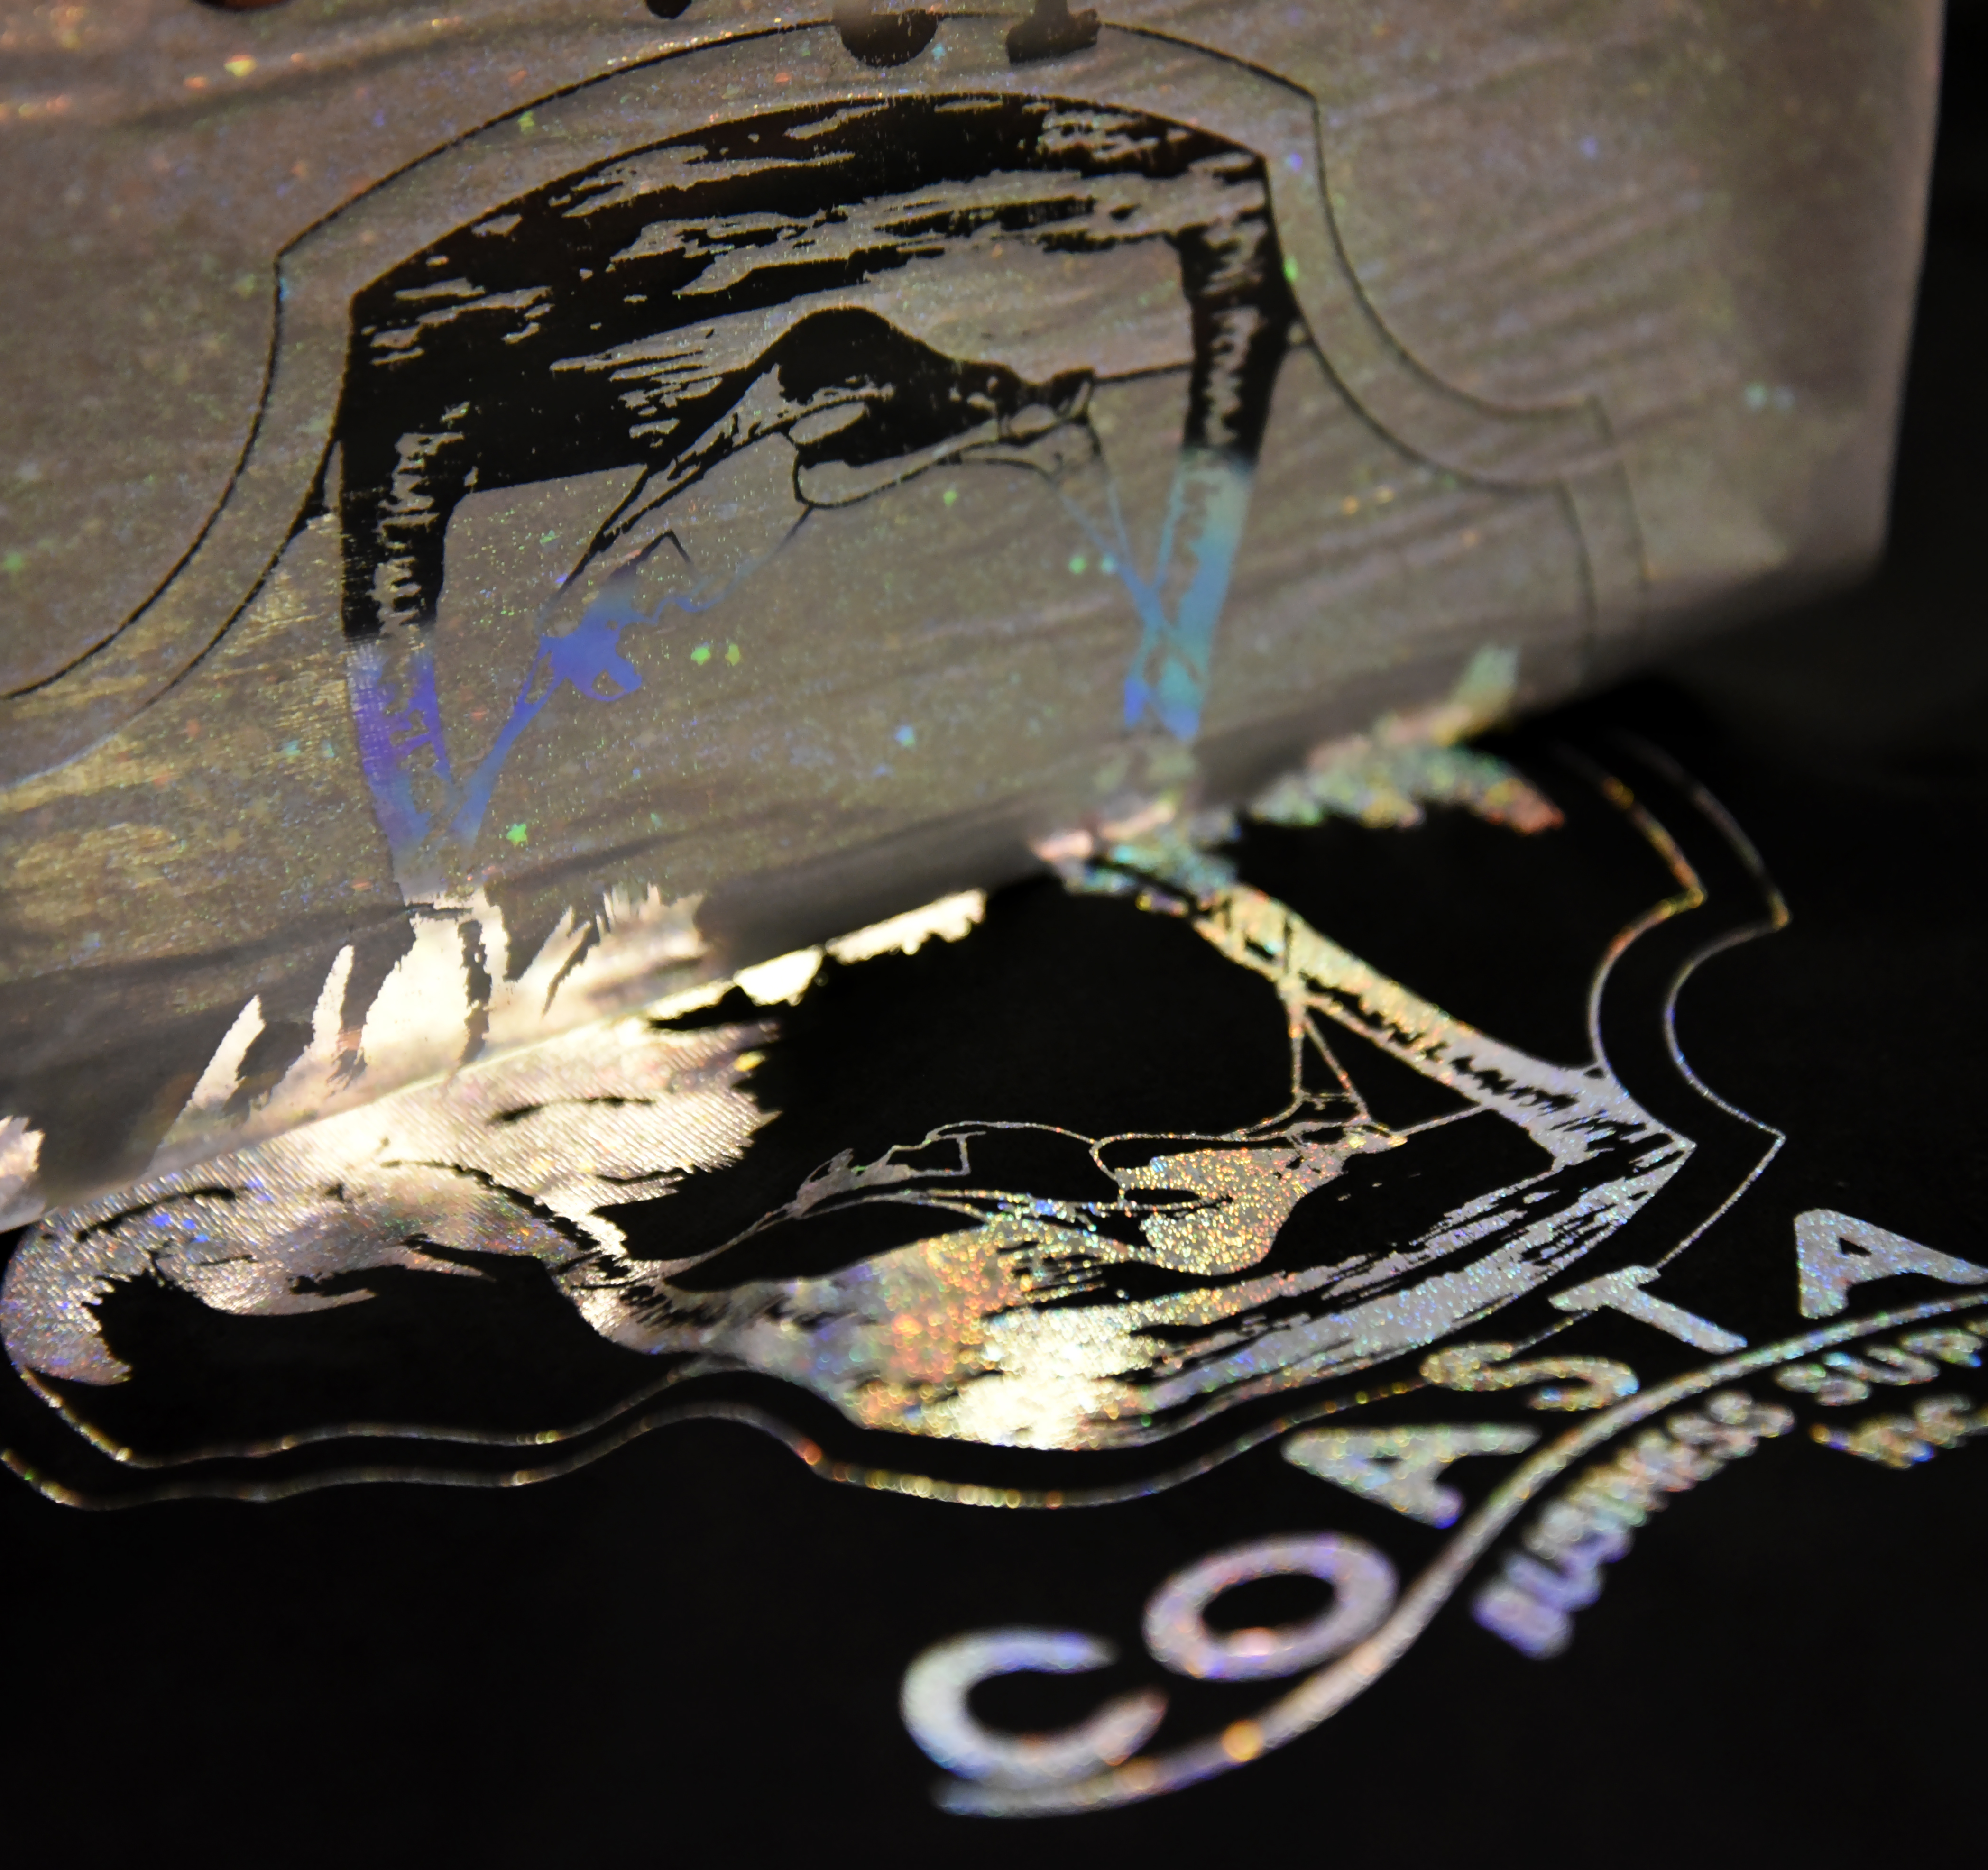 Once the foil is cold to the touch, peel away in a smooth motion. You will notice that the foil has completely adhered to your previously black design, leaving a transparent image on the foiling sheet where foil once was. All of the white glue areas should be gone at this stage. Foil will not adhere to fabric alone which makes this step self-weeding and hassle free as well.
 The finished design is definitely a head turner!