The Hows & Whats of Decorating Apparel

There is a huge range of different decoration methods available to the average user to create their own custom printed and designed apparel. What decoration method is best for you and your print shop? See some creative examples below with an explanation of the production process behind each to get some new ideas and inspiration!

Commercial methods

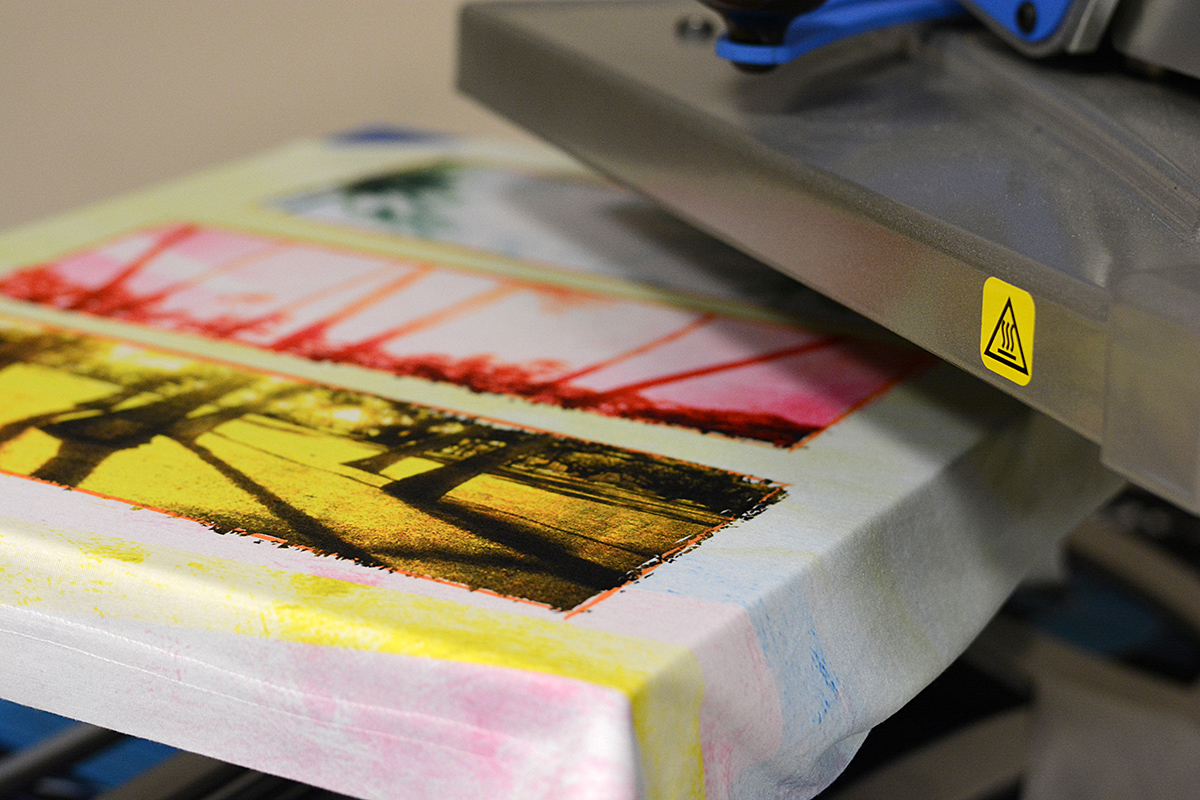
  • Sublimation– A digital printing process that transfers special sublimation dye-based ink printed designs onto garments using high heat and a commercial press. This process works only on white/light polyester garments or polyester coated items and is the most permanent transfer since the dye ink becomes part of the garment. It literally dyes the fabric, therefore there is no weight or texture to the transfer. No limitation on design: transfer photographs, full color designs, bright or light colors and gradients.

sublimation tank top


  •  Heat transfer paper– Process in which the design is printed on a transfer paper through inkjet or laser printer and then pressed onto a shirt. Designs are easy as print and press for transfers onto white/very light colored garments, and with the addition of a vinyl cutter, transfers for dark or color fabrics can also be done with a very professional quality after contour-cutting and weeding the excess white background! Plus, with new technology, laser printers now allow for self-weeding transfer papers which only transfer the design on the shirt with no need to cut it out!

transfer


FOREVER Laser Dark  No-cut printed with White toner OKI printer and transferred on black shirt.


  • Heat transfer vinyl– This is a simple process of cutting designs out of heat transfer vinyl, a one-color/one-material on a roll and liner, weeding away the material that you do not want in your transfer design, and simply pressing them onto a shirt! There is a huge variety of vinyl, far beyond just standard colors: sparkly glitter, soft flock, shimmery metallic, and more! Vinyl transfers are great for lettering jobs and simple clipart/graphic designs, as there is no printing involved and the only machine needed is a vinyl cutter and computer software.

vinyl


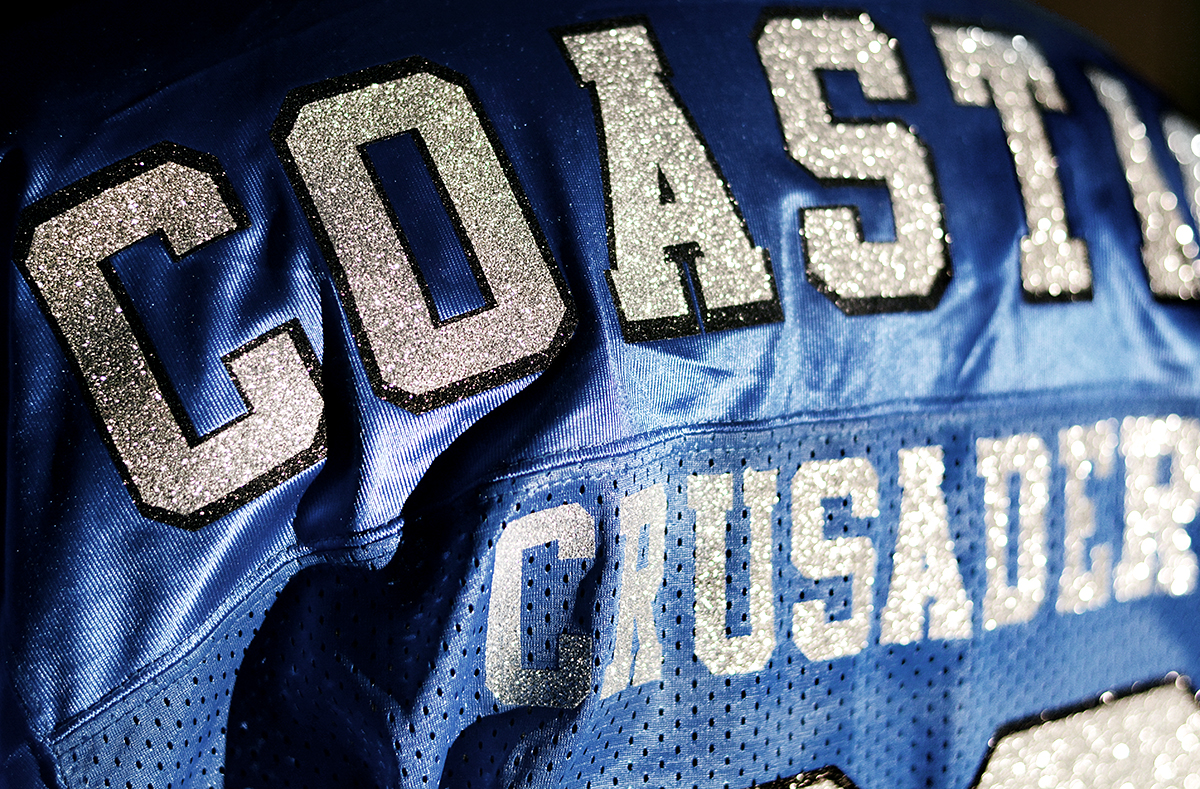
Glitter flake transfer vinyl in silver and black

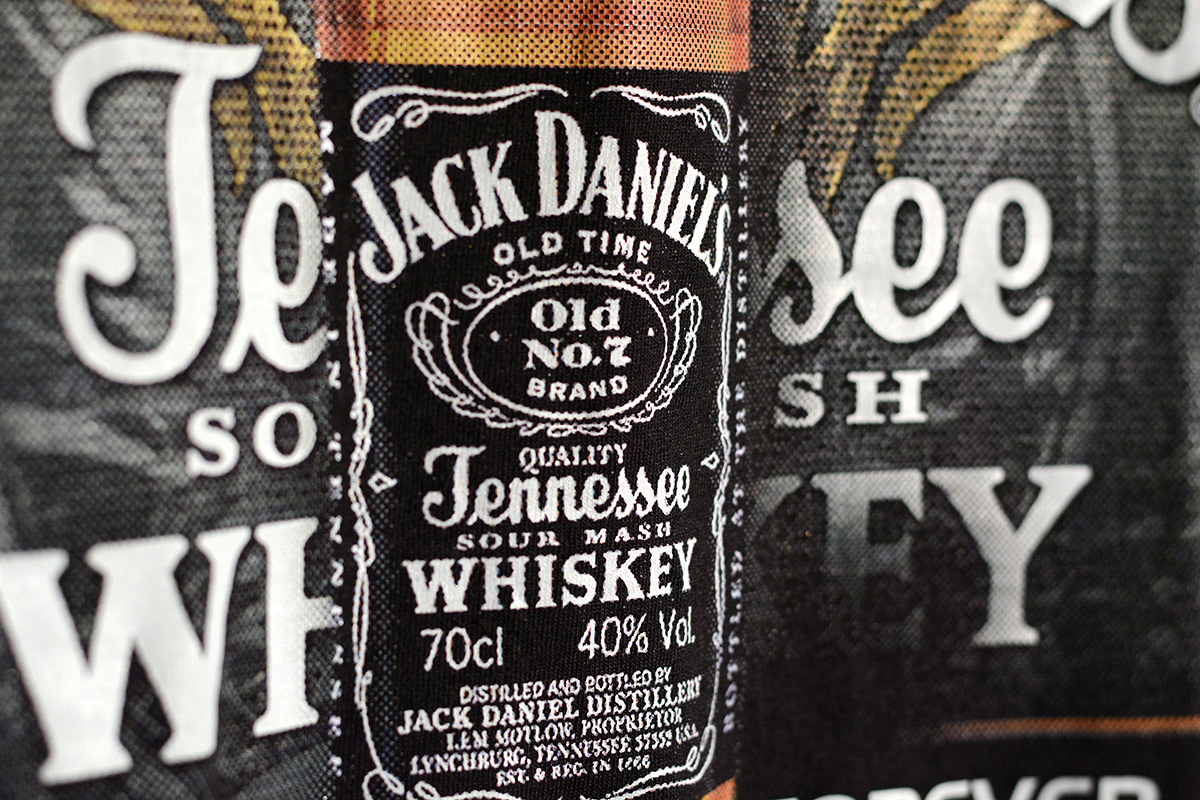
  •  Solvent printing– Digital printing process that requires a special solvent printer (generally wide format) which then prints on specialty solvent-design paper or vinyl. This is often the process used for water proof or weather resistant signage, car decals, stickers, wallpapers, window decals, but is also used for t-shirt transfers. It is highly durable and very rarely results in fading or cracking.
  • Direct to garment– This is the only process that involves a printer directly printing on the shirt. The printer has a flatbed on which the shirt is placed and using a computer software, the design is printed directly on top of the flat fabric surface. Dark color t-shirts are coated with a special pretreatment coating that allows for bright vibrant prints onto dark colors.

DTG


  • Silk Screen printing– The old school and proven stencil method that uses a mesh screen which is coated with a light sensitive solution and exposed to light with a stencil that results in open areas of the screen through which the ink is pressed onto the garment with a squeegee. Each color is run through its own screen which can be a lengthier process however this works great on any color or material shirt since the ink is opaque and sits on top of the fabric. Since multiple screens must be set up for each color, the limitation of this tried and true printing method is that it’s not best for true photographic or full-color output, and smaller orders are nearly impossible to make profit on after set-up time is considered.
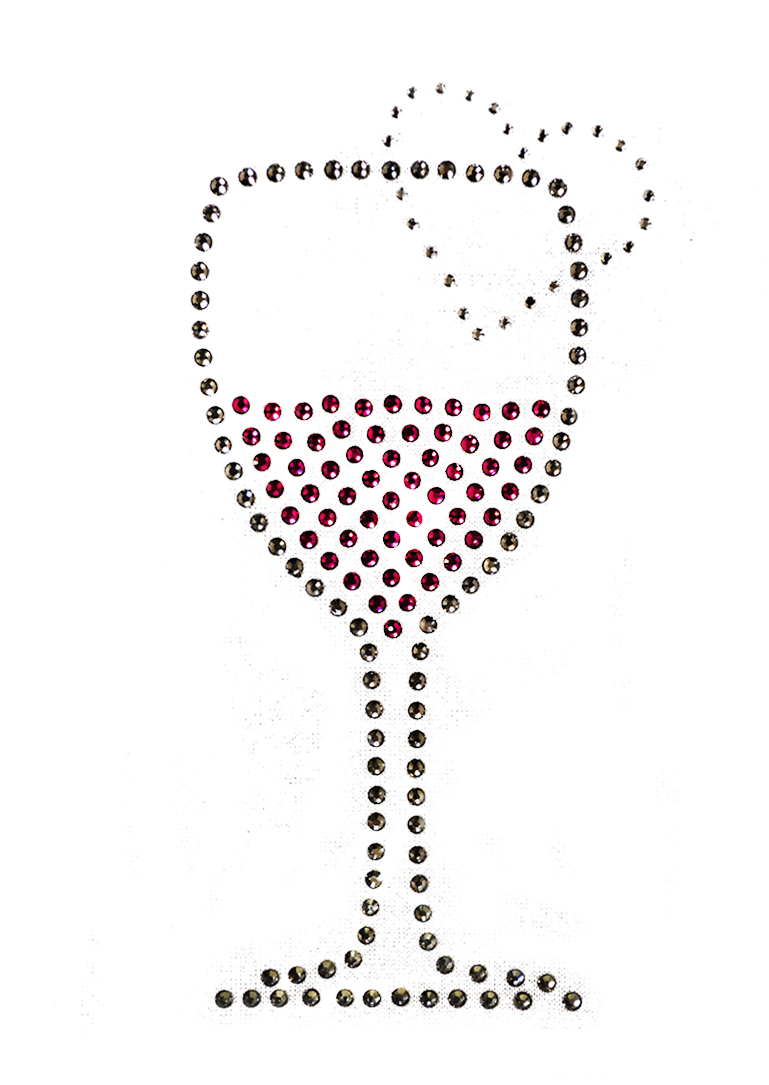
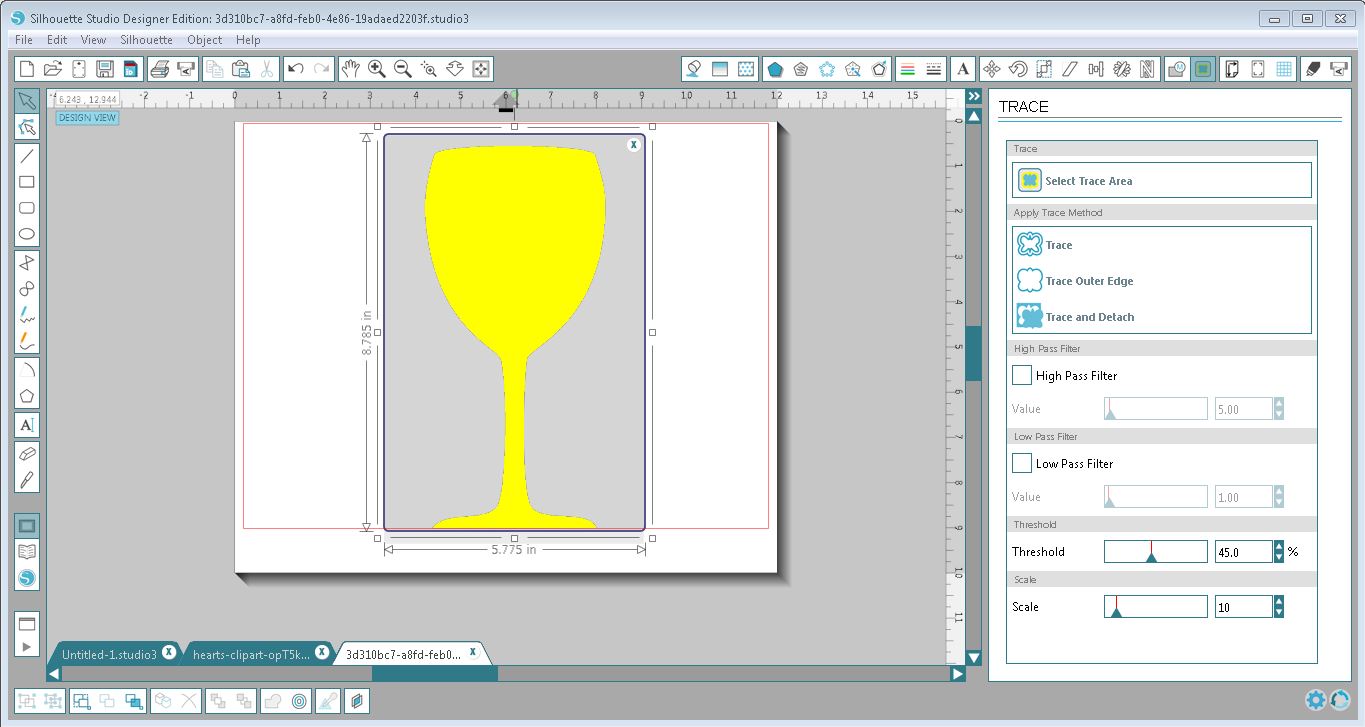
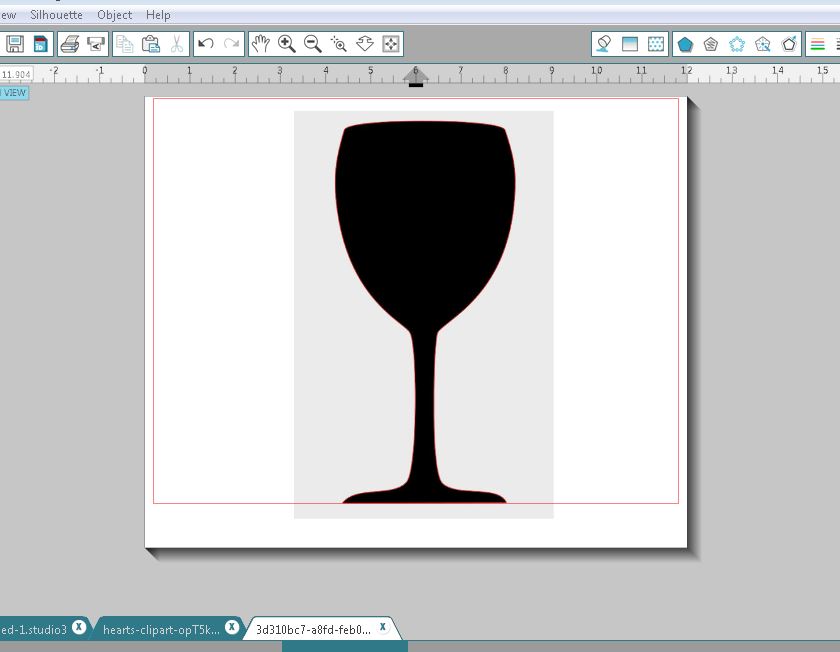
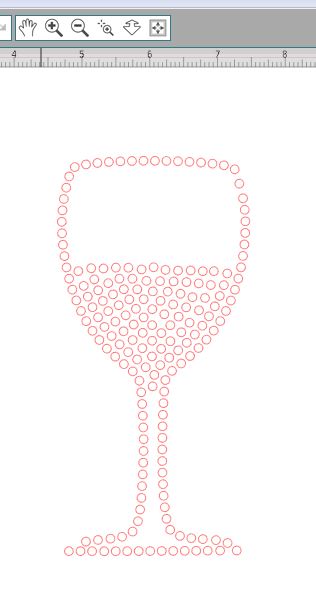
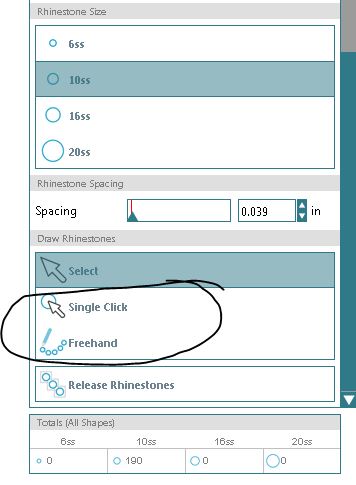
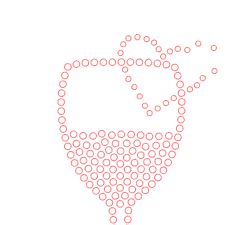
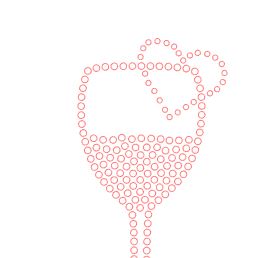
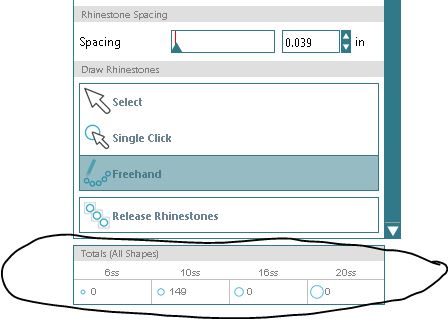
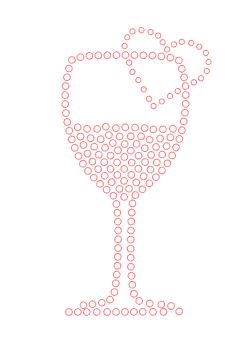
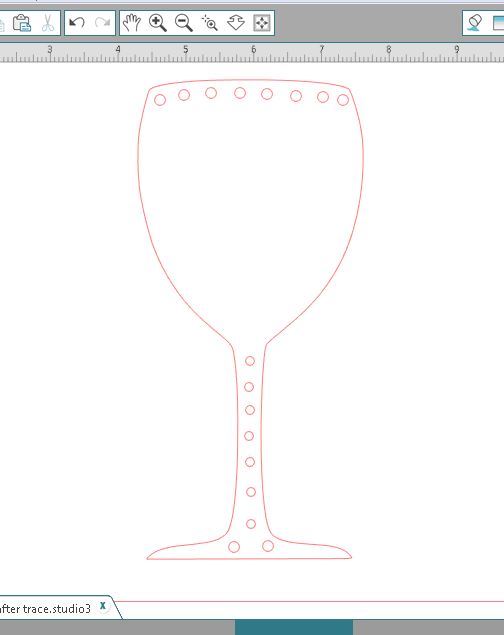
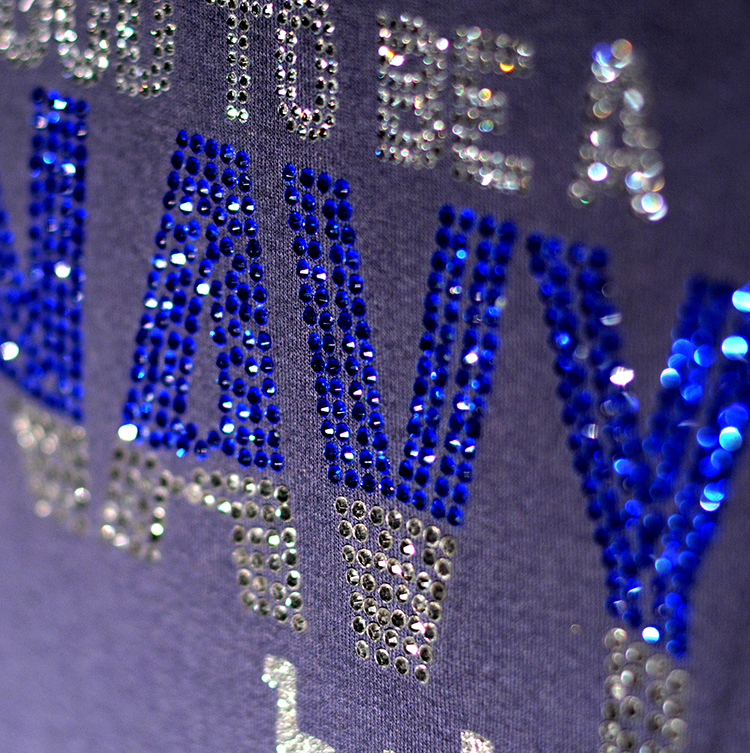
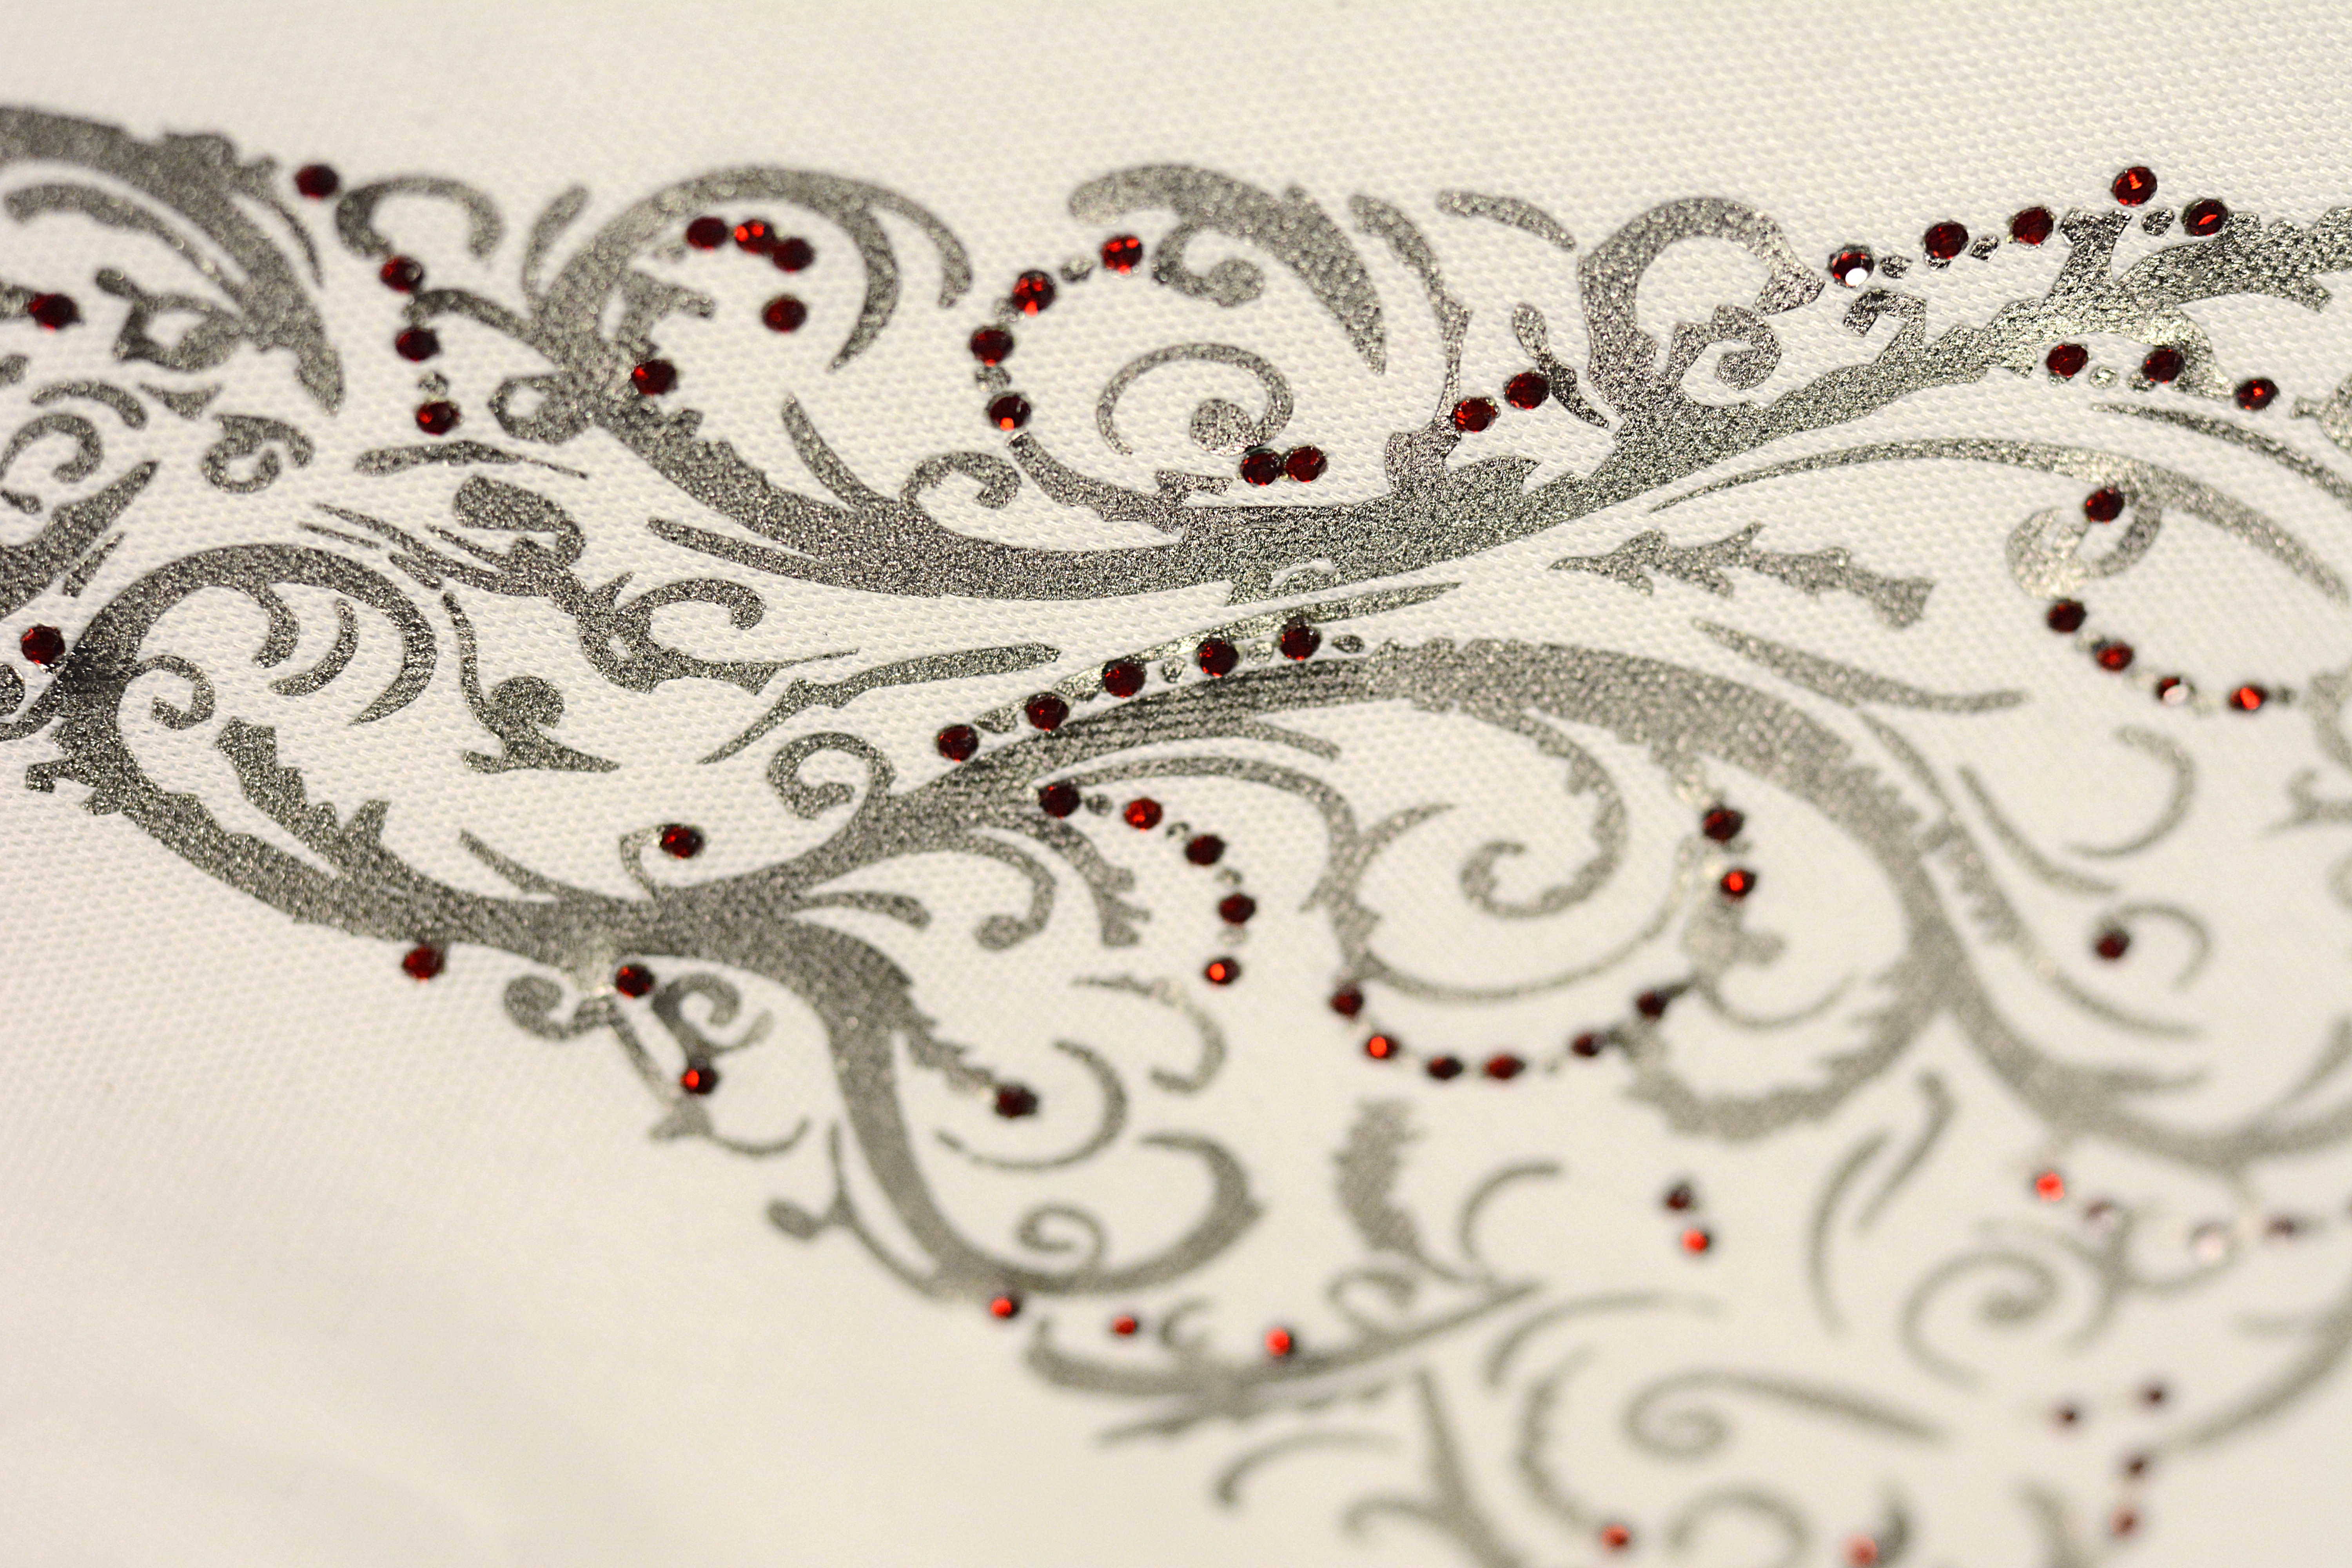
  • Rhinestones– Add sparkle and shine to your designs by using rhinestones that look like small diamonds. A cutter with a vinyl software equipped with rhinestone tools and design cutting capabilities is required. Sizes and colors of rhinestones vary giving you freedom to create, mix and match, and with custom bling designs, a huge profit potential is possible with your ability to deliver a truly one-of-a-kind product!

rhinestone DSC_0158


  • Embroidery– Using a needle and thread/yarn on an automated machine to decorate garments. Other materials could be incorporated into the design such as beads, but the process in general involves stitching the design. While embroidery can be done on nearly any and all apparel products and fabric types or colors, investment and learning curve in this process can be huge!

Handmade methods

  •  Cyanotype– a photographic process that uses a light sensitive solution that can be coated on most porous materials and results in a cyan/blue print. For photographs, s greyscale image is printed on a transparency and then is laid on top of the coated garment and pressed with a glass to flatten it, then left out in the sun (bright, mid- day is best) for roughly 10 minutes or until blue coating becomes very light and faded. Then the garment is soaked in water so the non-exposed areas wash out. Other techniques include laying out leaves or other shapes to block out the sun from areas of the garment. Different colors can be achieved by using different additives or chemicals in the cyanotype coating. Print fades over time.

cyanote cyanotype2


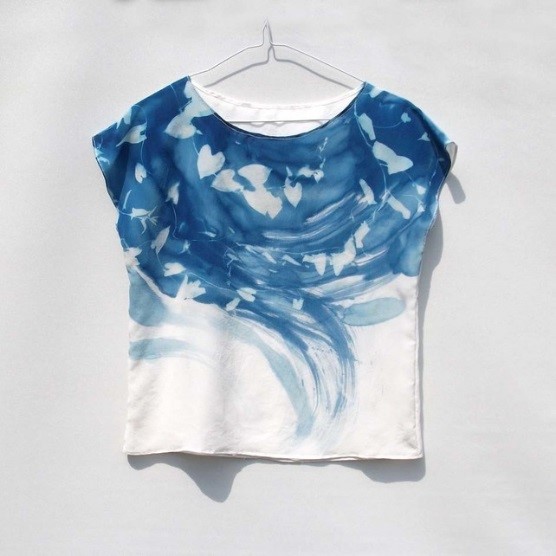
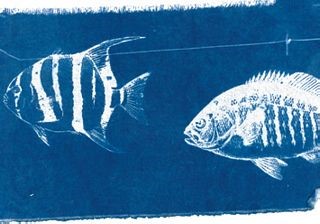
Image source: Pinterest/ freestylephoto.biz


  • Stamping– a method that uses a hand-made stamp to transfer an image/design. Stamps can be carved out of wood or rubber or objects can be used as stamps such as one’s own hands or just everyday objects. There are variety of inks or paints out there to experiment with and create textures or images on garments.
  • Fabric markers– for those who love to draw, there are markers and pens with inks designed for garments! This creates unique, 100% hand drawn apparel.


Creating Rhinestone Templates in Silhouette Studio

finishedIt is February and Valentine’s theme is all around us. With that in mind, we are bringing you detailed instructions on customizing and creating your own rhinestone template designs that you can fall in love with! All you need is the Cameo, Silhouette Studio Designer edition, Sticky Flock, and of course – rhinestones!

To install the Designer edition- open the Silhouette Studio® software program, go to the “Help” menu, select” Upgrade Silhouette Studio”, enter the following: Designer Edition license key, Silhouette account email address, Silhouette account password. Click on the “Submit” button. The license key will then be applied and the software will be upgraded immediately. If you need to locate this number, you may find it by signing into your account either in the Silhouette Design Store in the software, or by signing into your account through the website. Once logged in, you may go to the My Account page. Your license key code will be listed under Silhouette Studio Keys. In the Silhouette Design Store, the number is listed at the bottom of the main account page. The Silhouette Studio Designer Edition code can only be applied twice.

You can create designs in Silhouette Studio’s Designer Edition by converting simple images to rhinestones, by point and click or completely freehand drawing. In our example, we have combined all three options.

Open your image by going to File, then Open:

screen1

A simple silhouette or an outline is easy and more flexible to work with for rhinestones.


page settings
In the page settings window, adjust the size of your rhinestone template material (StickyFlock). We are not using a cutting mat for our example so our setting is “none”, however if using a cutting mat, select the cutting mat size from the drop down menu. It is important to do these steps in order to size and place your design correctly based on the cutting area you are dealing with. page settings If you are working with JPG, BMP, PNG or another type of raster file, you will have to trace the image to create a vector version of it. Refrain from scaling up the image for now. NOTE: Raster graphics can typically be scaled down with no loss of quality, but enlarging a raster image causes it to look blocky and “pixelated.” Because vector-based images are not made up of a specific number of dots like rasters are, they can be scaled to a larger size and not lose any image quality. Raster files: BMP, .TIF, .GIF, .JPG Vector files: .AI, .EPS, .SVG, .DRW


If you don’t know how to trace an image, please visit our Print and Cut tutorial and see steps 2 to 12 for detailed instructions. http://blog.coastalbusiness.com/print-and-cut-tutorial/

traced glass
For our example, we traced around the wine glass silhouette, unchecked both High Pass and Low pass filter and selected Trace Outer Edge since we don’t have any details. Your object should be completely yellow to tell the program what it is tracing around. traced glass Before selecting Trace Outer Edge- object is all yellow


beforetrace
After selecting Trace Outer Edge- there is now a red outline around the object. We moved the image slightly to the right to see if we are satisfied with the result. The black silhouette layer is the raster image and the red outline layer is the vector image. 4. You can go ahead and delete your raster image as you don’t need it anymore. What you should be left with is just your traced outline (vector). With the image selected, you can comfortably size your vector image bigger or smaller by dragging one of the four corners in or out.

after trace


rhinestone window
Once you have the size you want, click on the “Rhinestone Window” button.


rhinestone fill
With the image selected, click on one of the options on the right under Rhinestone effect. The four options are None, Edge, Linear Line and Radial Fill. The Edge option lines your design edge with rhinestones, while the Linear and Radial Fill fill the design with various patterns. Play around and see which one produces your most desired effect. Then under Rhinestone size, select the size of rhinestone you would like. Smaller sizes result in more detail. rhinestone fill For our design, we selected radial fill and 10 ss.


Selected area for deletion by clicking and dragging
At this point, we are ready to customize our design. The first step in our design is to remove half of the rhinestones in the glass so it looks like there is liquid about halfway up. Also there are some details at the bottom of the glass that we want to remove as well. To do that, have your image selected and on the right within your settings, scroll all the way down and click on Release Rhinestones. Now you have each individual rhinestone separated from the others. By clicking on one, you can move it or delete it and by clicking in an empty area and dragging, you can select multiple rhinestones.


before rhinestone
Before (click and delete)
rhinestone after
After


Finished
Finished


single click
After removing the desired areas, you can then place rhinestones by hand using either the Single Click or Freehand option on the right.


detail1
We created the heart on top of the wine glass by drawing it in that position using the Freehand option and selecting the 6ss size rhinestones. After what roughly looked like a heart, we selected all newly created areas, clicked on Release Rhinestones and moved around the rhinestones to shape them into a perfect heart. If there are gaps, you can add a single rhinestone at a time by selecting Single Click.
detail 2
If you have overlapping sections, you will have to delete extra rhinestones by individually selecting them. You may have to move a few or add an extra one here and there to make the design more complete. 10. Once you have your design finalized, you have the option to leave it as is or group all the rhinestones back together to have one cohesive piece that you can move. Click and drag around all elements, then right click and choose “Group.”


DO NOT resize your design once it has been converted to rhinestones. The rhinestone size has been set and drawn exactly as is, so if you resize and run it through the cutter, the holes will not match the rhinestones.

rhinestone count
You can find out how many rhinestones your design requires once finished. In the Rhinestones settings page, all the way at the bottom there is Totals (all shapes) section. That shows the total number used from each size.


Design
Enjoy your design! Here is ours!


Mix and Match Idea!

vinyl mix
You can mix in rhinestones with a vinyl cut design. Just use the Single Click option to add exact size rhinestones to any design. The cutter will cut them out and once you press your vinyl on your material, you can then place your rhinestones in the sized holes within the design and press again.

Blinging Up Your Business!

Rhinestones are an incredibly popular method to create and sell unique items – from t-shirts to tote bags and even tennis shoes! Everybody wants to add a little bling to their products to make them memorable. Use rhinestones to spell out names, embellish images and create a sparkly splash of color on almost anything! It’s a great and simple addition to bring more diversity and revenue to any business. 

With such a great profit-making opportunity right in front of you, you may be wondering, “How do I get started?” It’s easy…get started with Coastal! Continue reading “Blinging Up Your Business!”