5 Custom Gifts to Create for Father’s Day

It’s time for Father’s Day, yet another gift-giving holiday full of potential for personalized merchandise to offer your customers. This opens up new sales opportunities and a time to get creative with your products you sell.

We offer a variety of blanks ready to be personalized for your customers. Offer gift packages or sell individual products as stand-alone gifts.
Products Perfect for Fathers

Father's Day Gift Guide - Coastal Business Supplies
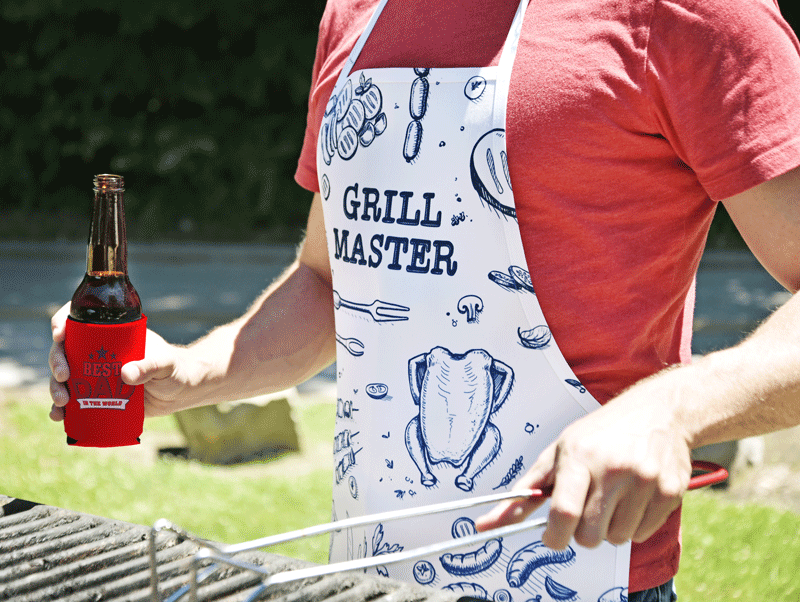
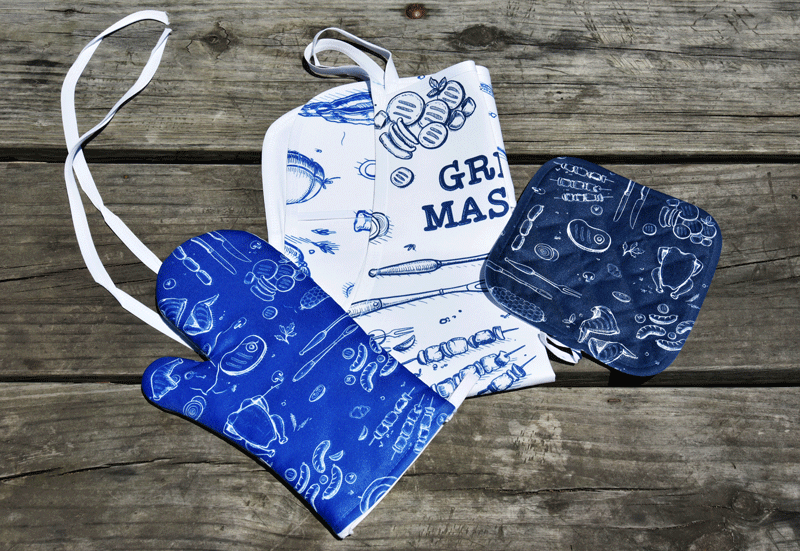
For the Grilling Master

Sell a grilling essentials package including our sublimation apron, pot holder, and  oven mitt. Also, consider using our sign vinyl to customize any set of grilling utensils.

For the Beer Lover

When it comes to products perfect for beer lovers, we offer all the blanks you need. Consider packaging our metal bottle opener with our frosted glass beer stein.

Sublimation Bottle Opener - Coastal Business SuppliesFor Those that Prefer it a Little Stronger

Create custom shot glasses to compliment your customer’s favorite man cave. Sell in sets of four or six to bring in more profit for your business.

For the Golf Lover

Offer custom golf towels, with clever quotes or a message of love from the family.

For the Outdoor Adventurer

Offer your customers what they need to prepare their fathers’ to hit the trail. Create custom water bottles, t-shirts, and hoodie’s to use year round.

For the Lake Lover

Gear your customers up to cool off at the lake, pool or beach with a “Summer Essentials” bundle, including a custom designed towel, koozie, and flip flops.

Create Custom Mugs for Father's Day - Coastal Business Supplies
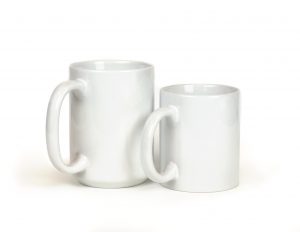
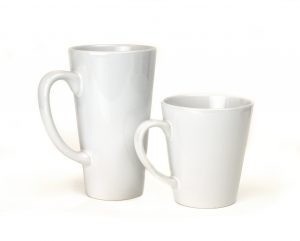
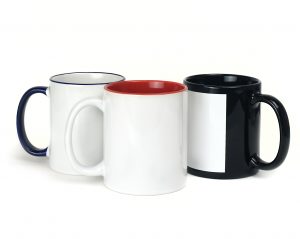
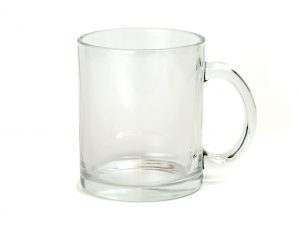
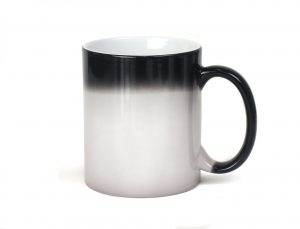
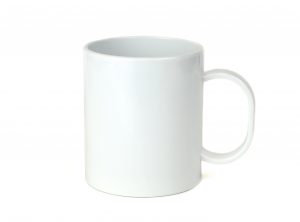
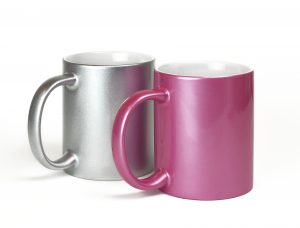
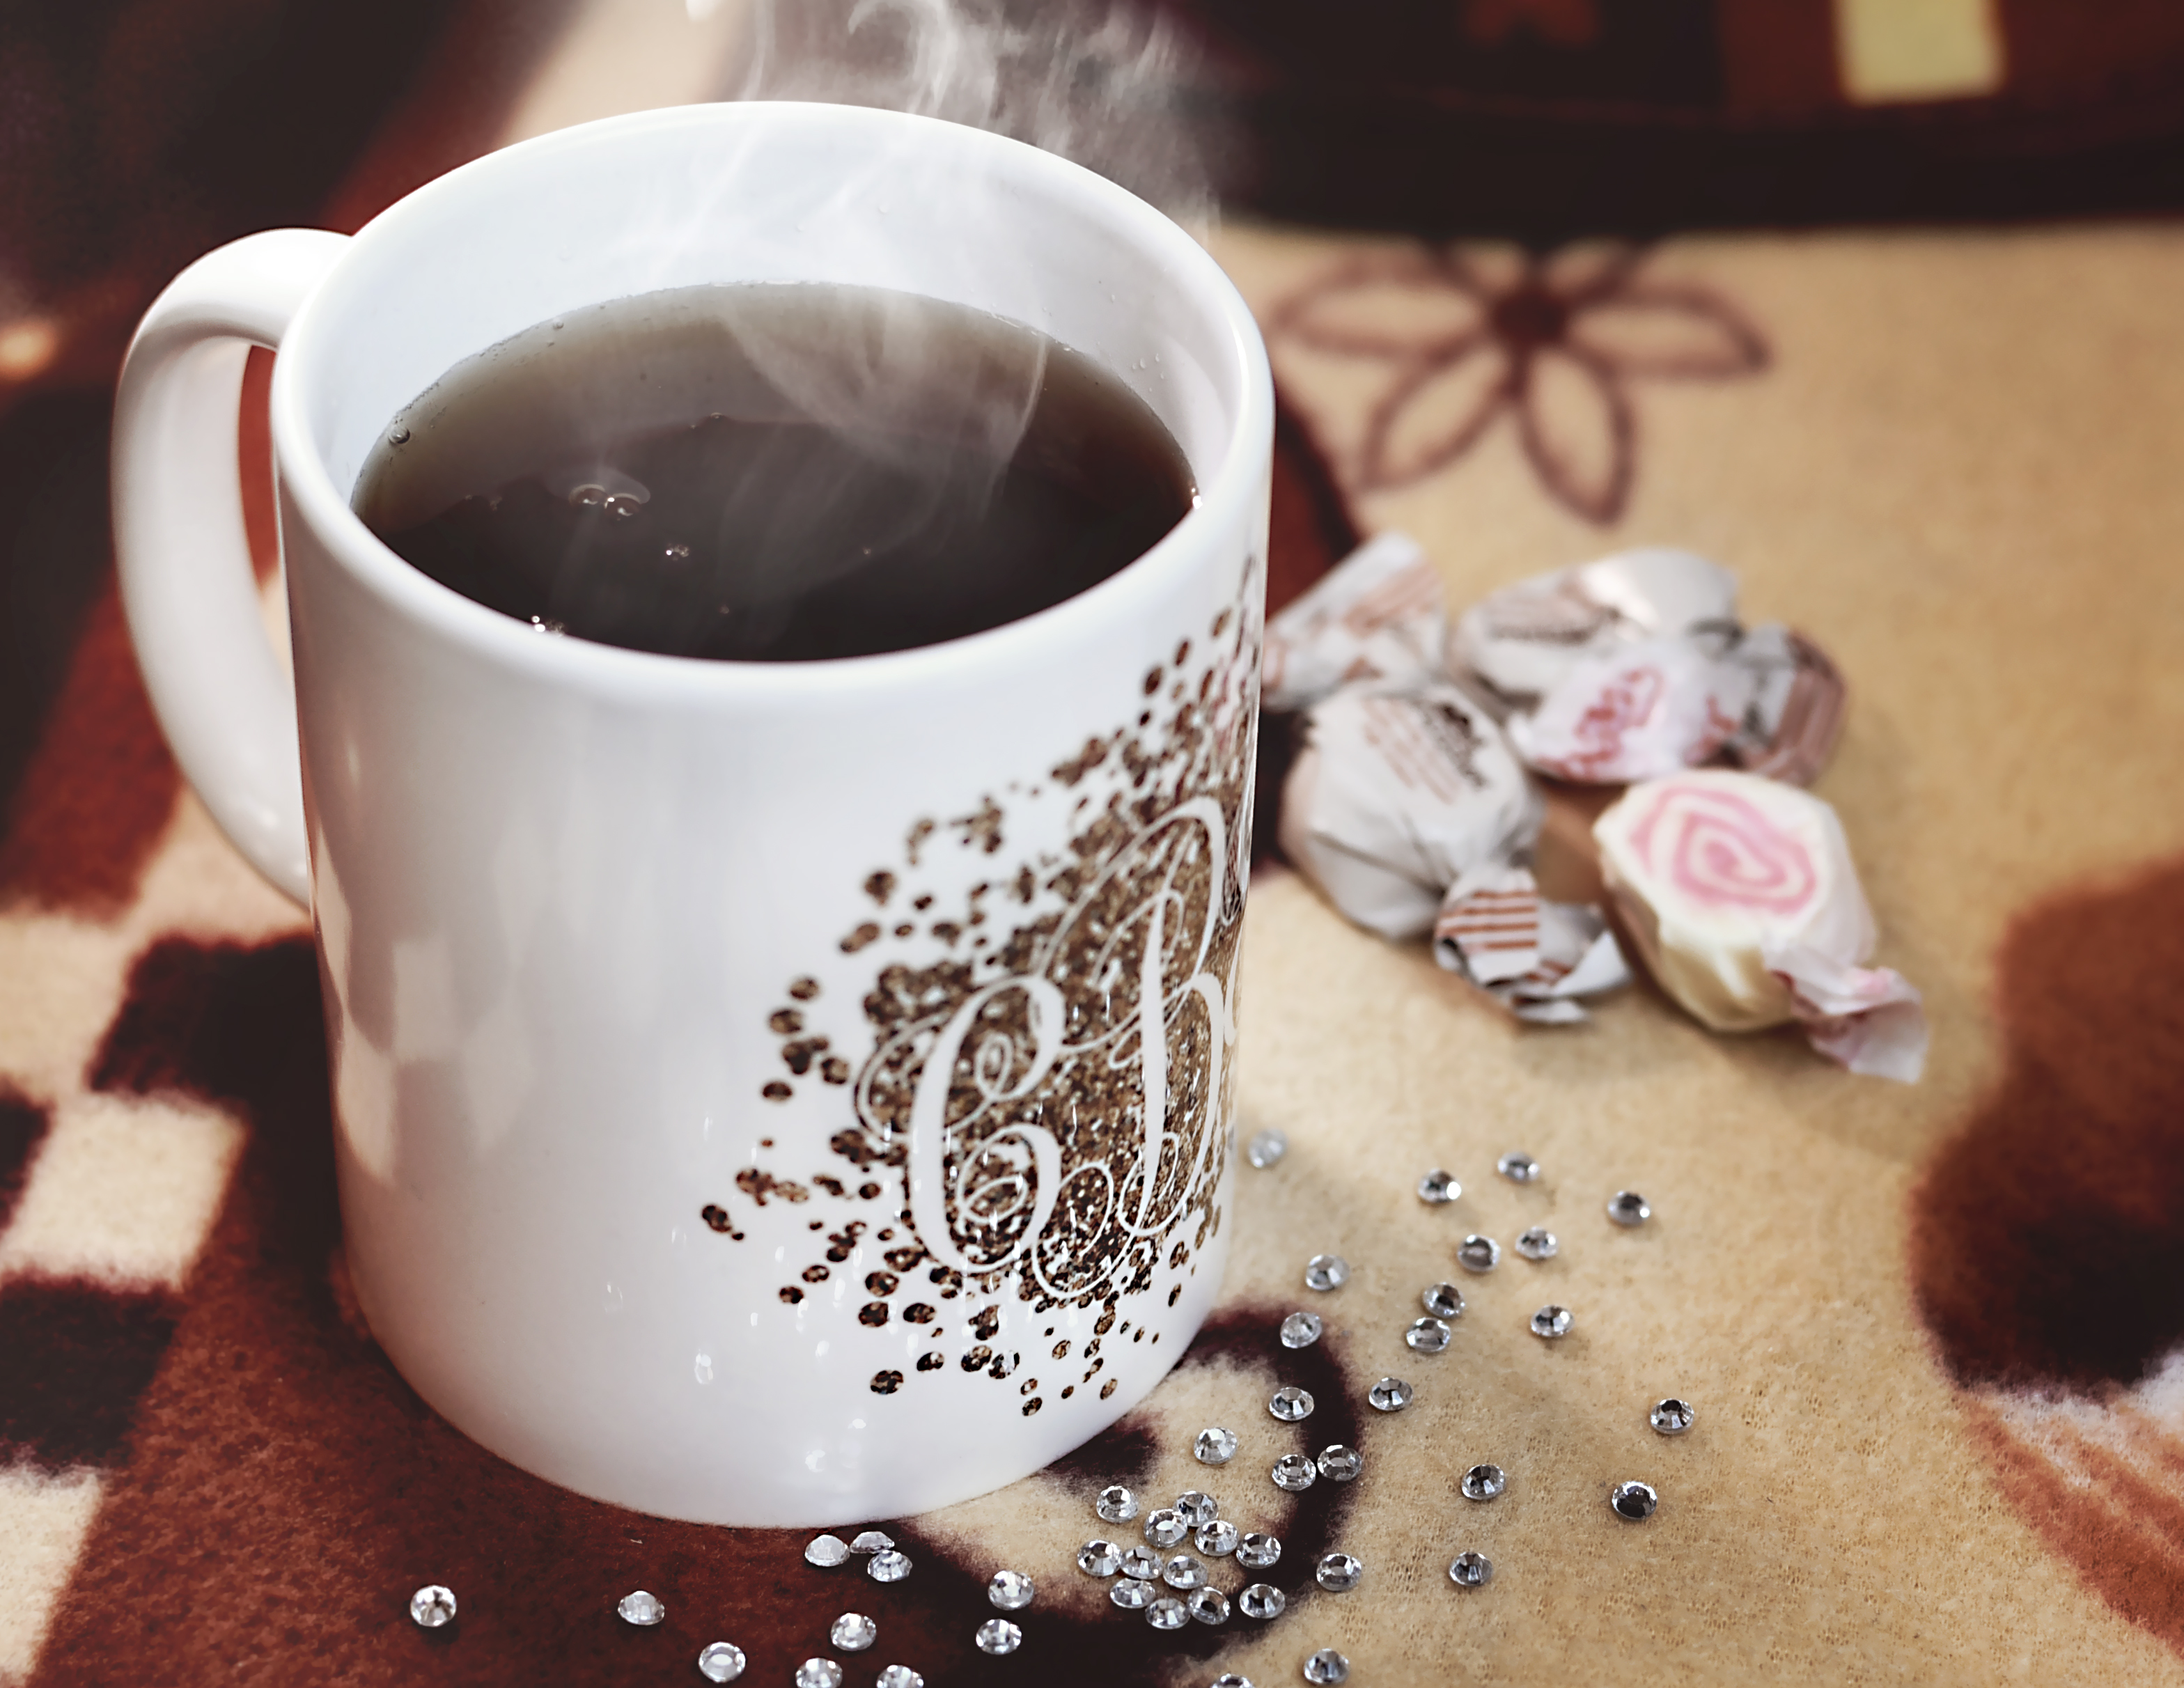
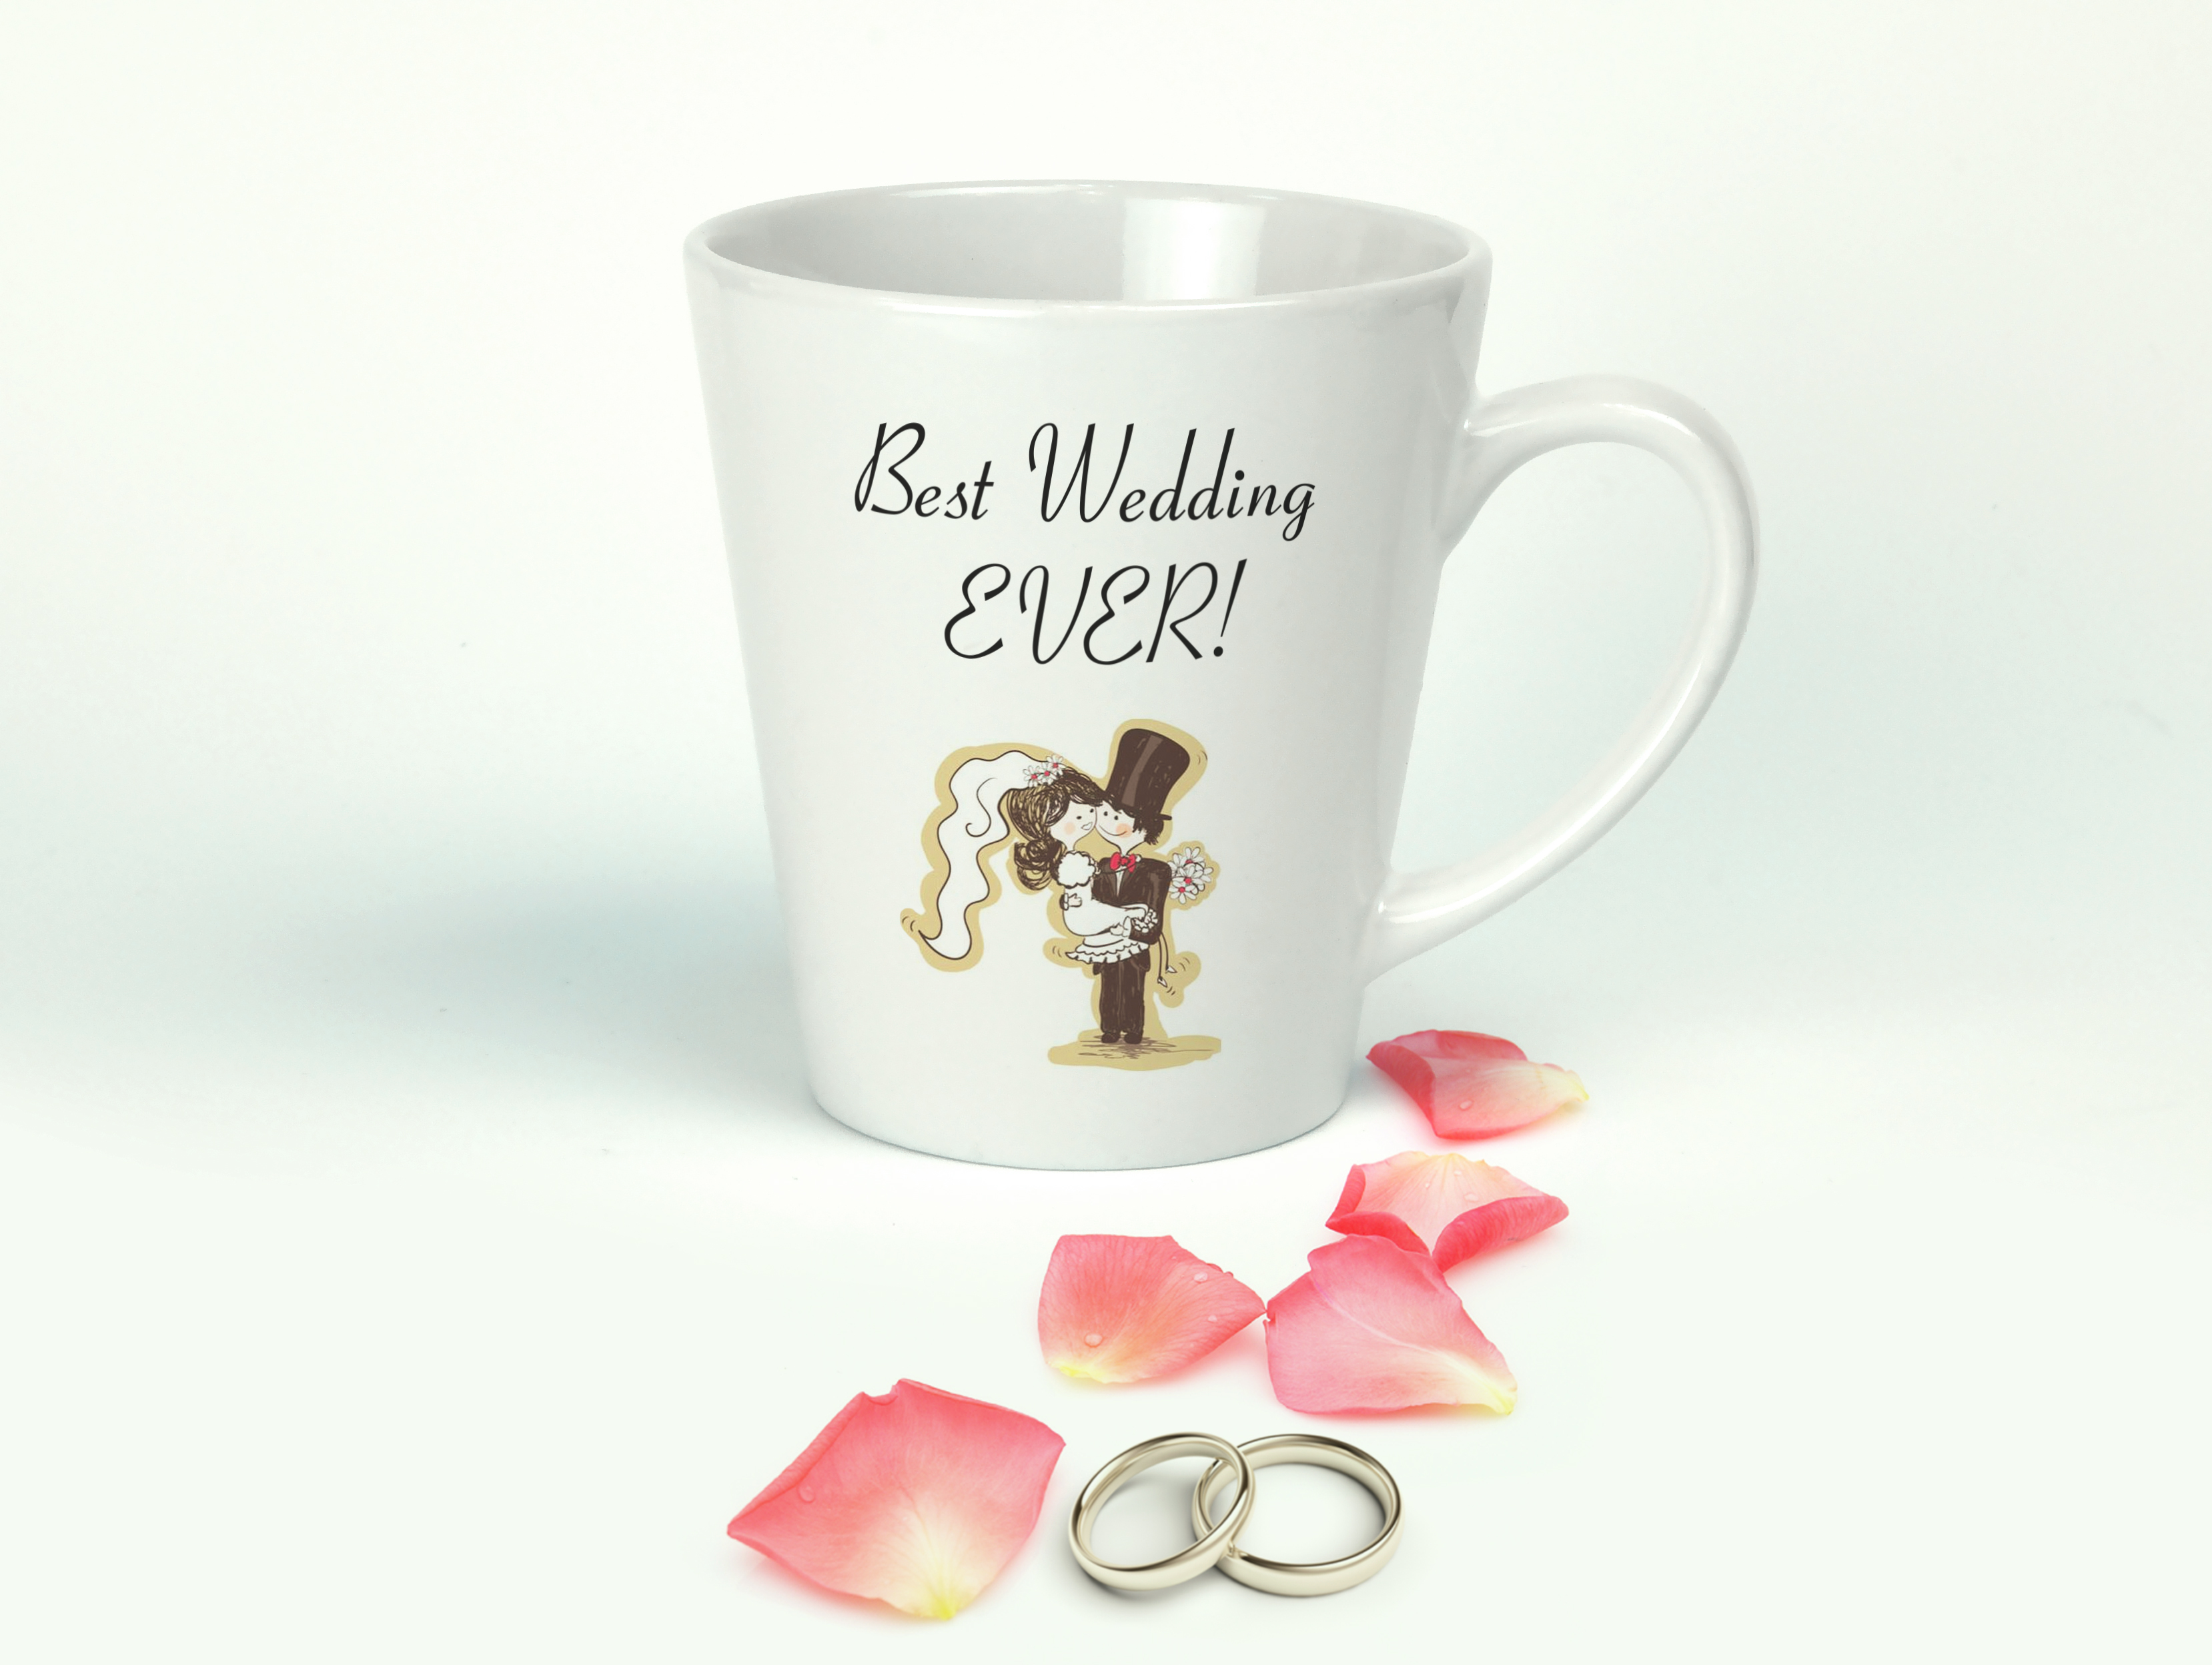
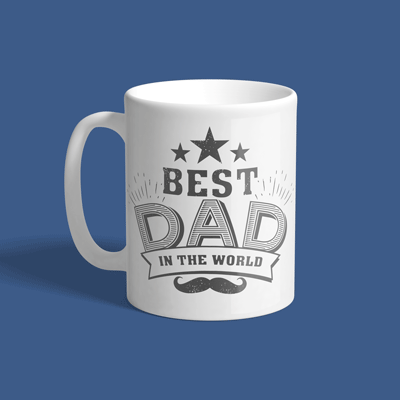
For the Coffee Lover

Every father needs the essential “#1 Dad” Mug. Offer these mugs pre-made or promote custom mugs with popular quotes.

Our Favorite Father’s Day Sayings to Use*
Dad:

  • A son’s first hero, a daughter’s first love.
  • The best dads get promoted to grandpa.
  • You’re our favorite (don’t tell mom)
  • Who needs a super hero when you have a dad
  • Yoda best daddy
  • Go ask your mother
  • Father Fuel

*From unknown sources 

5 Ways to Use a Decorated Mug

Mugs are one of the top holiday purchases. Who doesn’t want a customized mug? Mugs can be used for everyday use, to save as a keepsake, put a variety of items in to showcase (flowers, writing utensils, home goods, etc. ), and to give as a gift with an added special gift inside. Another great bonus if you are transferring with sublimation is that your image will never fade, even when you wash it over and over again.

We have a few styles to choose from that are fully sublimatable in a mug press or with a mug wrap for oven use.

11_15oz_mugs
11oz/15oz Ceramic Mugs
12_17oz_latte
12oz/17oz Ceramic Latte Mugs
color_mugs
Multicolor Ceramic Mugs
glass_mug
Glass Mugs
colorchanging_mug
Color Changing Mugs
plastic mug
Plastic Mugs
metallic mugs
Metallic Ceramic Mugs


1. Personal drinkware

Mugs are perfect for coffee, tea, water, juice and even food items such as cereal or yogurt when a bowl is not available. Add some fun quotes, photographs and graphics to make it your own!

drinkware_mug


2. Personalized gift

A mug with the receiver’s name or image that means a lot to them is simple but thoughtful.

giftmug


3. As holders for flowers, pens, home goods, etc.

Mugs are not limited to just liquid. They can be used in more unconventional ways as pen holders and flower vases among other things.

flowermug


4. Give a gift inside a mug

Instead of using a gift box or a bag for a small gift, get creative with a ceramic or a glass mug to use as clever packaging for presents like gift cards, chocolates, candy, jewelry and other small items. Once the gift has served its purpose, the recipient gets to keep a mug that can be re-used as drinkwear or pen holder.

chocolates_glass_mug


5. Commemorate an event

Highlight an event or a moment with a special keepsake.  Add an extra spin to birthdays, weddings, graduation and more by personalizing mugs that can be taken home and serve as a reminder of the good times!

mug_wedding


How To Press Our Photo Plaques

Our MDF sublimation photo plaques are incredibly popular, especially with photography and awards, but some questions do arise with the nature of the material and shape. Below is a step by step guide on how to press a 5″ x 7″ in plaque with black edge.

step1 - Copy


Step1

Set up your work space. Size your design by using one of our templates or by simply making sure it is a little bigger than 5″ x 7″ and print it out on sublimation paper. Make sure you have thermal tape ready as that will be the best way to attach your paper to the photo plaque and avoid shifting.


2


Step 2

Peel away the plastic film from the photo plaque. That will reveal your beautiful glossy sublimation surface.

These plaques are made of medium density fiberboard, therefore hold A LOT of moisture. We strongly advise pre-pressing them to eliminate as much  moisture as possible.

To do that, place your plaque in your press face up and add a cover sheet on top (copy paper, silicone sheet or polyester fabric is best) and close the press for a total of 40 seconds.  The temperature should be between 385-400F.

Repeat the process if a ton of steam is coming out after the 40 second pre-press.


3


Step 3

After the photo plaque has COOLED completely from the pre-press process, place it face down on top of your design and line it up.

To apply the tape, start from the back of the plaque and attach it to the paper while trying to avoid the tape touching the beveled edge of the plaque itself. Fairly often we see problems with the tape taking off some of the black coating on the plaque.


4


Step 4

Flip the photo plaque over together with the taped paper and carefully place it on the lower platen. Double check that it is still lined up correctly and a major shift of the paper hasn’t occurred.

Once satisfied, press the photo plaque at 385F-400F for 35 to 45 seconds (variations in presses account for the difference in temperature and time) with medium pressure.


5


Step 5

Immediately remove the sublimation paper away from the photo plaque in one quick motion to reveal your transferred image. We like to pull the paper up and away from the item and not sliding it sideways as that may cause ghosting, simply from just removing it improperly.


6 - Copy


Step 6

Check for any imperfections such as inconsistent color/fade along the edges or the center of the plaque. Those are the most common areas, usually due to uneven pressure activating the ink in some areas more than others.