
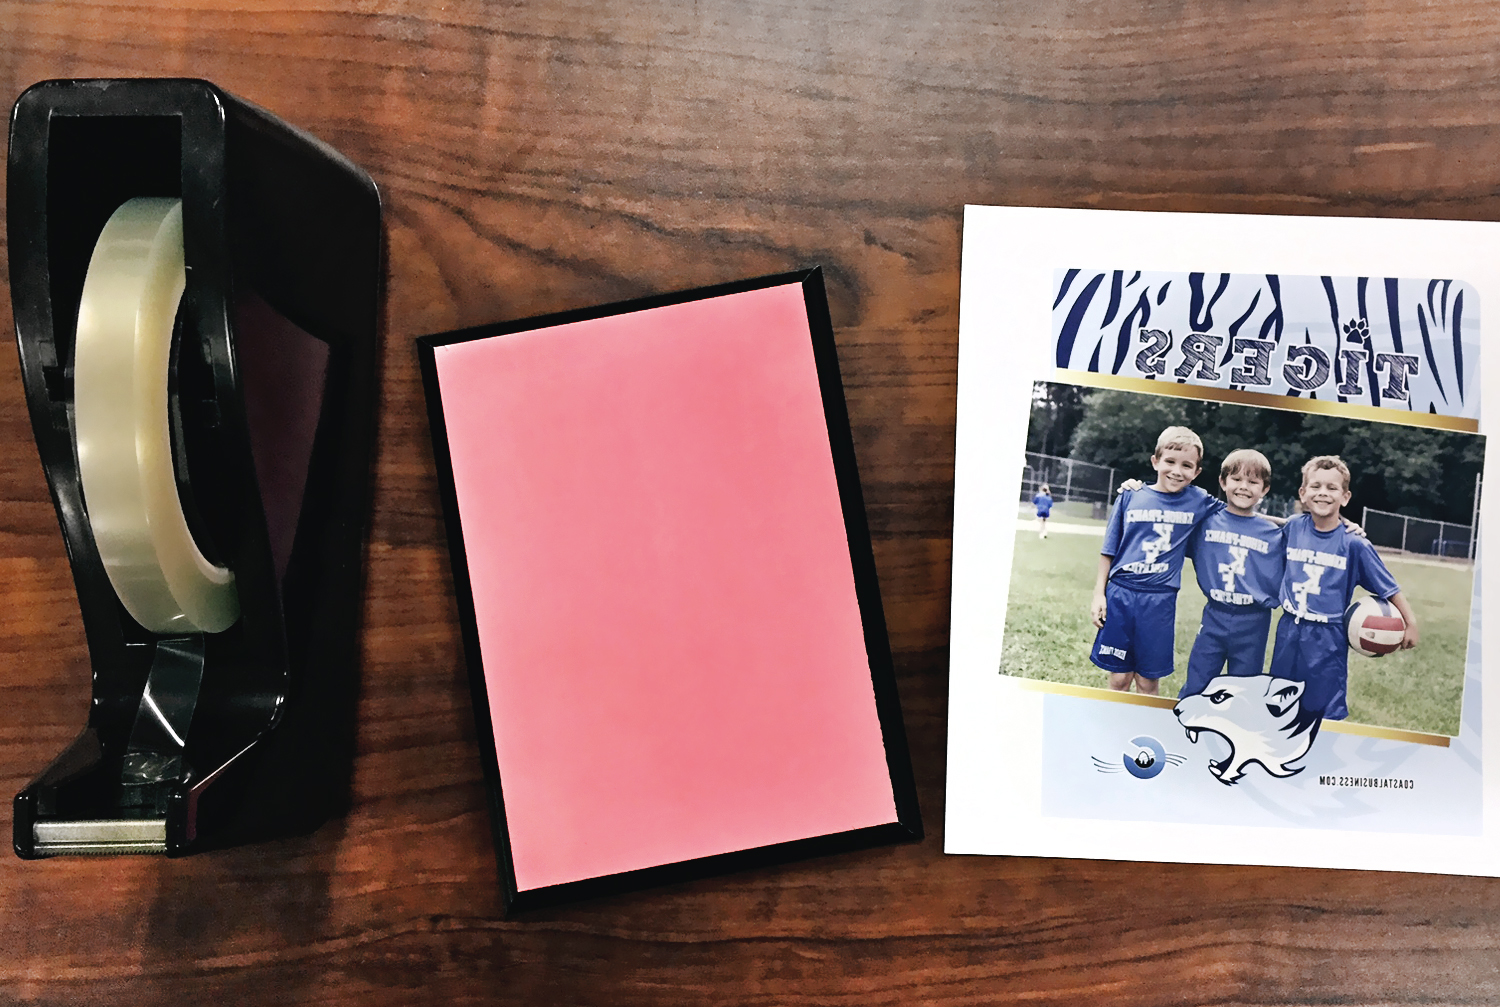
Our MDF sublimation photo plaques are incredibly popular, especially with photography and awards, but some questions do arise with the nature of the material and shape. Below is a step by step guide on how to press a 5″ x 7″ in plaque with black edge.
Step1
Set up your work space. Size your design by using one of our templates or by simply making sure it is a little bigger than 5″ x 7″ and print it out on sublimation paper. Make sure you have thermal tape ready as that will be the best way to attach your paper to the photo plaque and avoid shifting.
Step 2
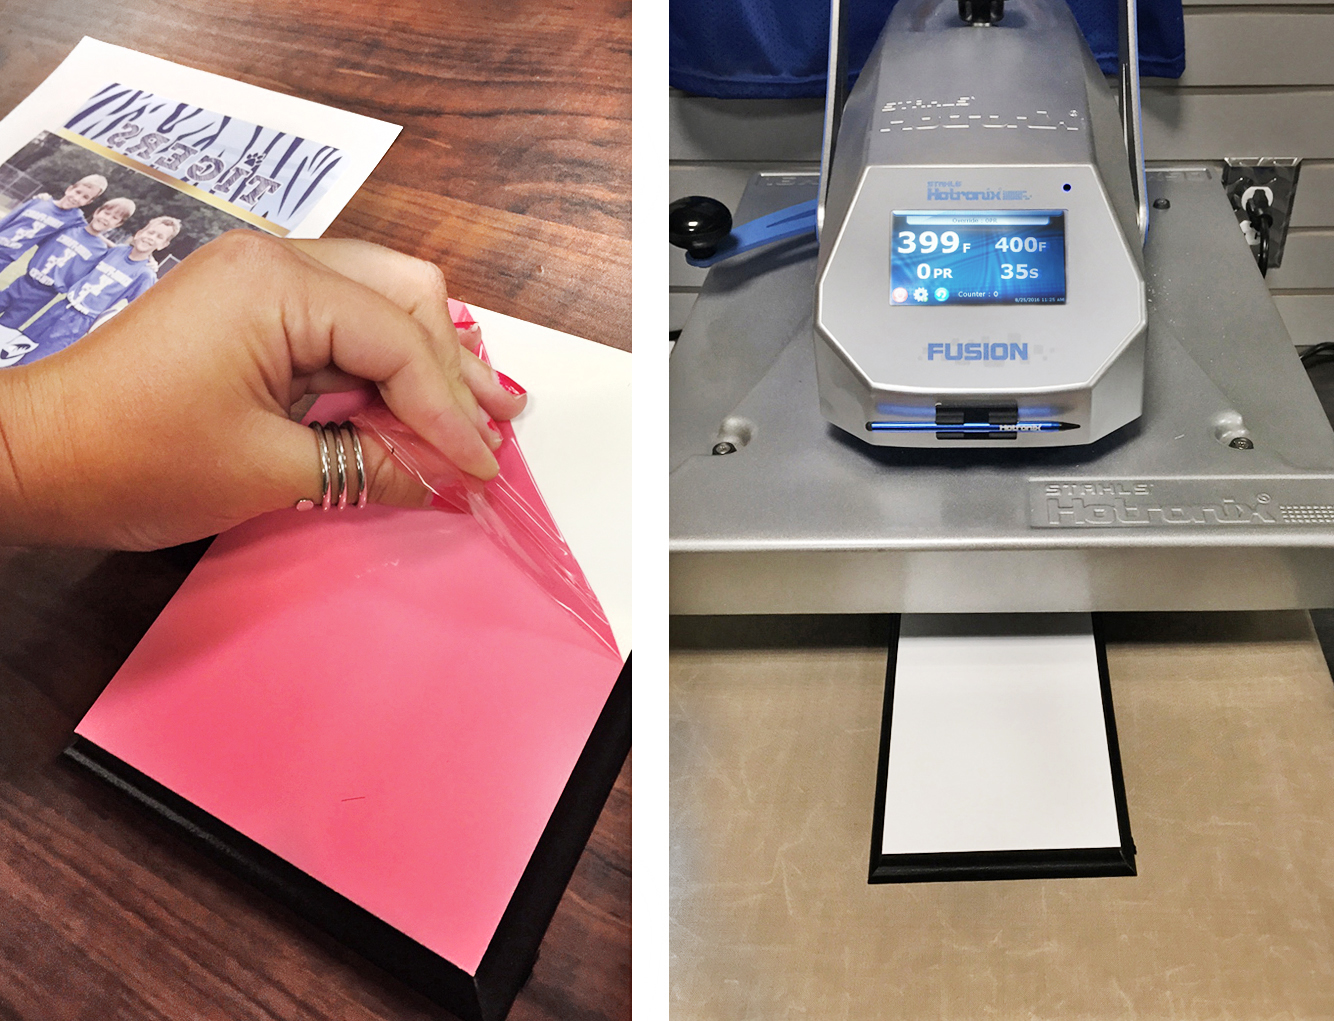
Peel away the plastic film from the photo plaque. That will reveal your beautiful glossy sublimation surface.
These plaques are made of medium density fiberboard, therefore hold A LOT of moisture. We strongly advise pre-pressing them to eliminate as much moisture as possible.
To do that, place your plaque in your press face up and add a cover sheet on top (copy paper, silicone sheet or polyester fabric is best) and close the press for a total of 40 seconds. The temperature should be between 385-400F.
Repeat the process if a ton of steam is coming out after the 40 second pre-press.

Step 3
After the photo plaque has COOLED completely from the pre-press process, place it face down on top of your design and line it up.
To apply the tape, start from the back of the plaque and attach it to the paper while trying to avoid the tape touching the beveled edge of the plaque itself. Fairly often we see problems with the tape taking off some of the black coating on the plaque.
Step 4
Flip the photo plaque over together with the taped paper and carefully place it on the lower platen. Double check that it is still lined up correctly and a major shift of the paper hasn’t occurred.
Once satisfied, press the photo plaque at 385F-400F for 35 to 45 seconds (variations in presses account for the difference in temperature and time) with medium pressure.

Step 5
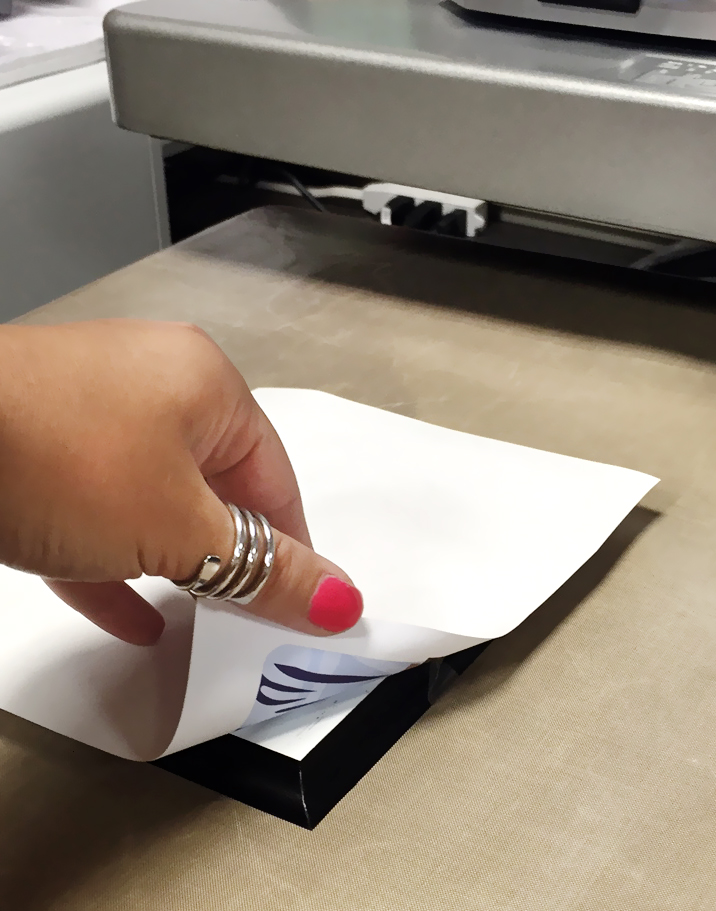
Immediately remove the sublimation paper away from the photo plaque in one quick motion to reveal your transferred image. We like to pull the paper up and away from the item and not sliding it sideways as that may cause ghosting, simply from just removing it improperly.

Step 6
Check for any imperfections such as inconsistent color/fade along the edges or the center of the plaque. Those are the most common areas, usually due to uneven pressure activating the ink in some areas more than others.