Drawing on Heat Transfer Paper

Every once in a while we get to experiment with some of our products and come up with new and crafty ways to use them that we love to share with you!

Do you have inkjet transfer paper but want to do something more creative and fun with it? Do you have some pens and markers and a passion to draw? Or maybe you are bored with hanging your kid’s drawings on the fridge and want to make something more memorable and interesting like a T-shirt. This blog is for you!

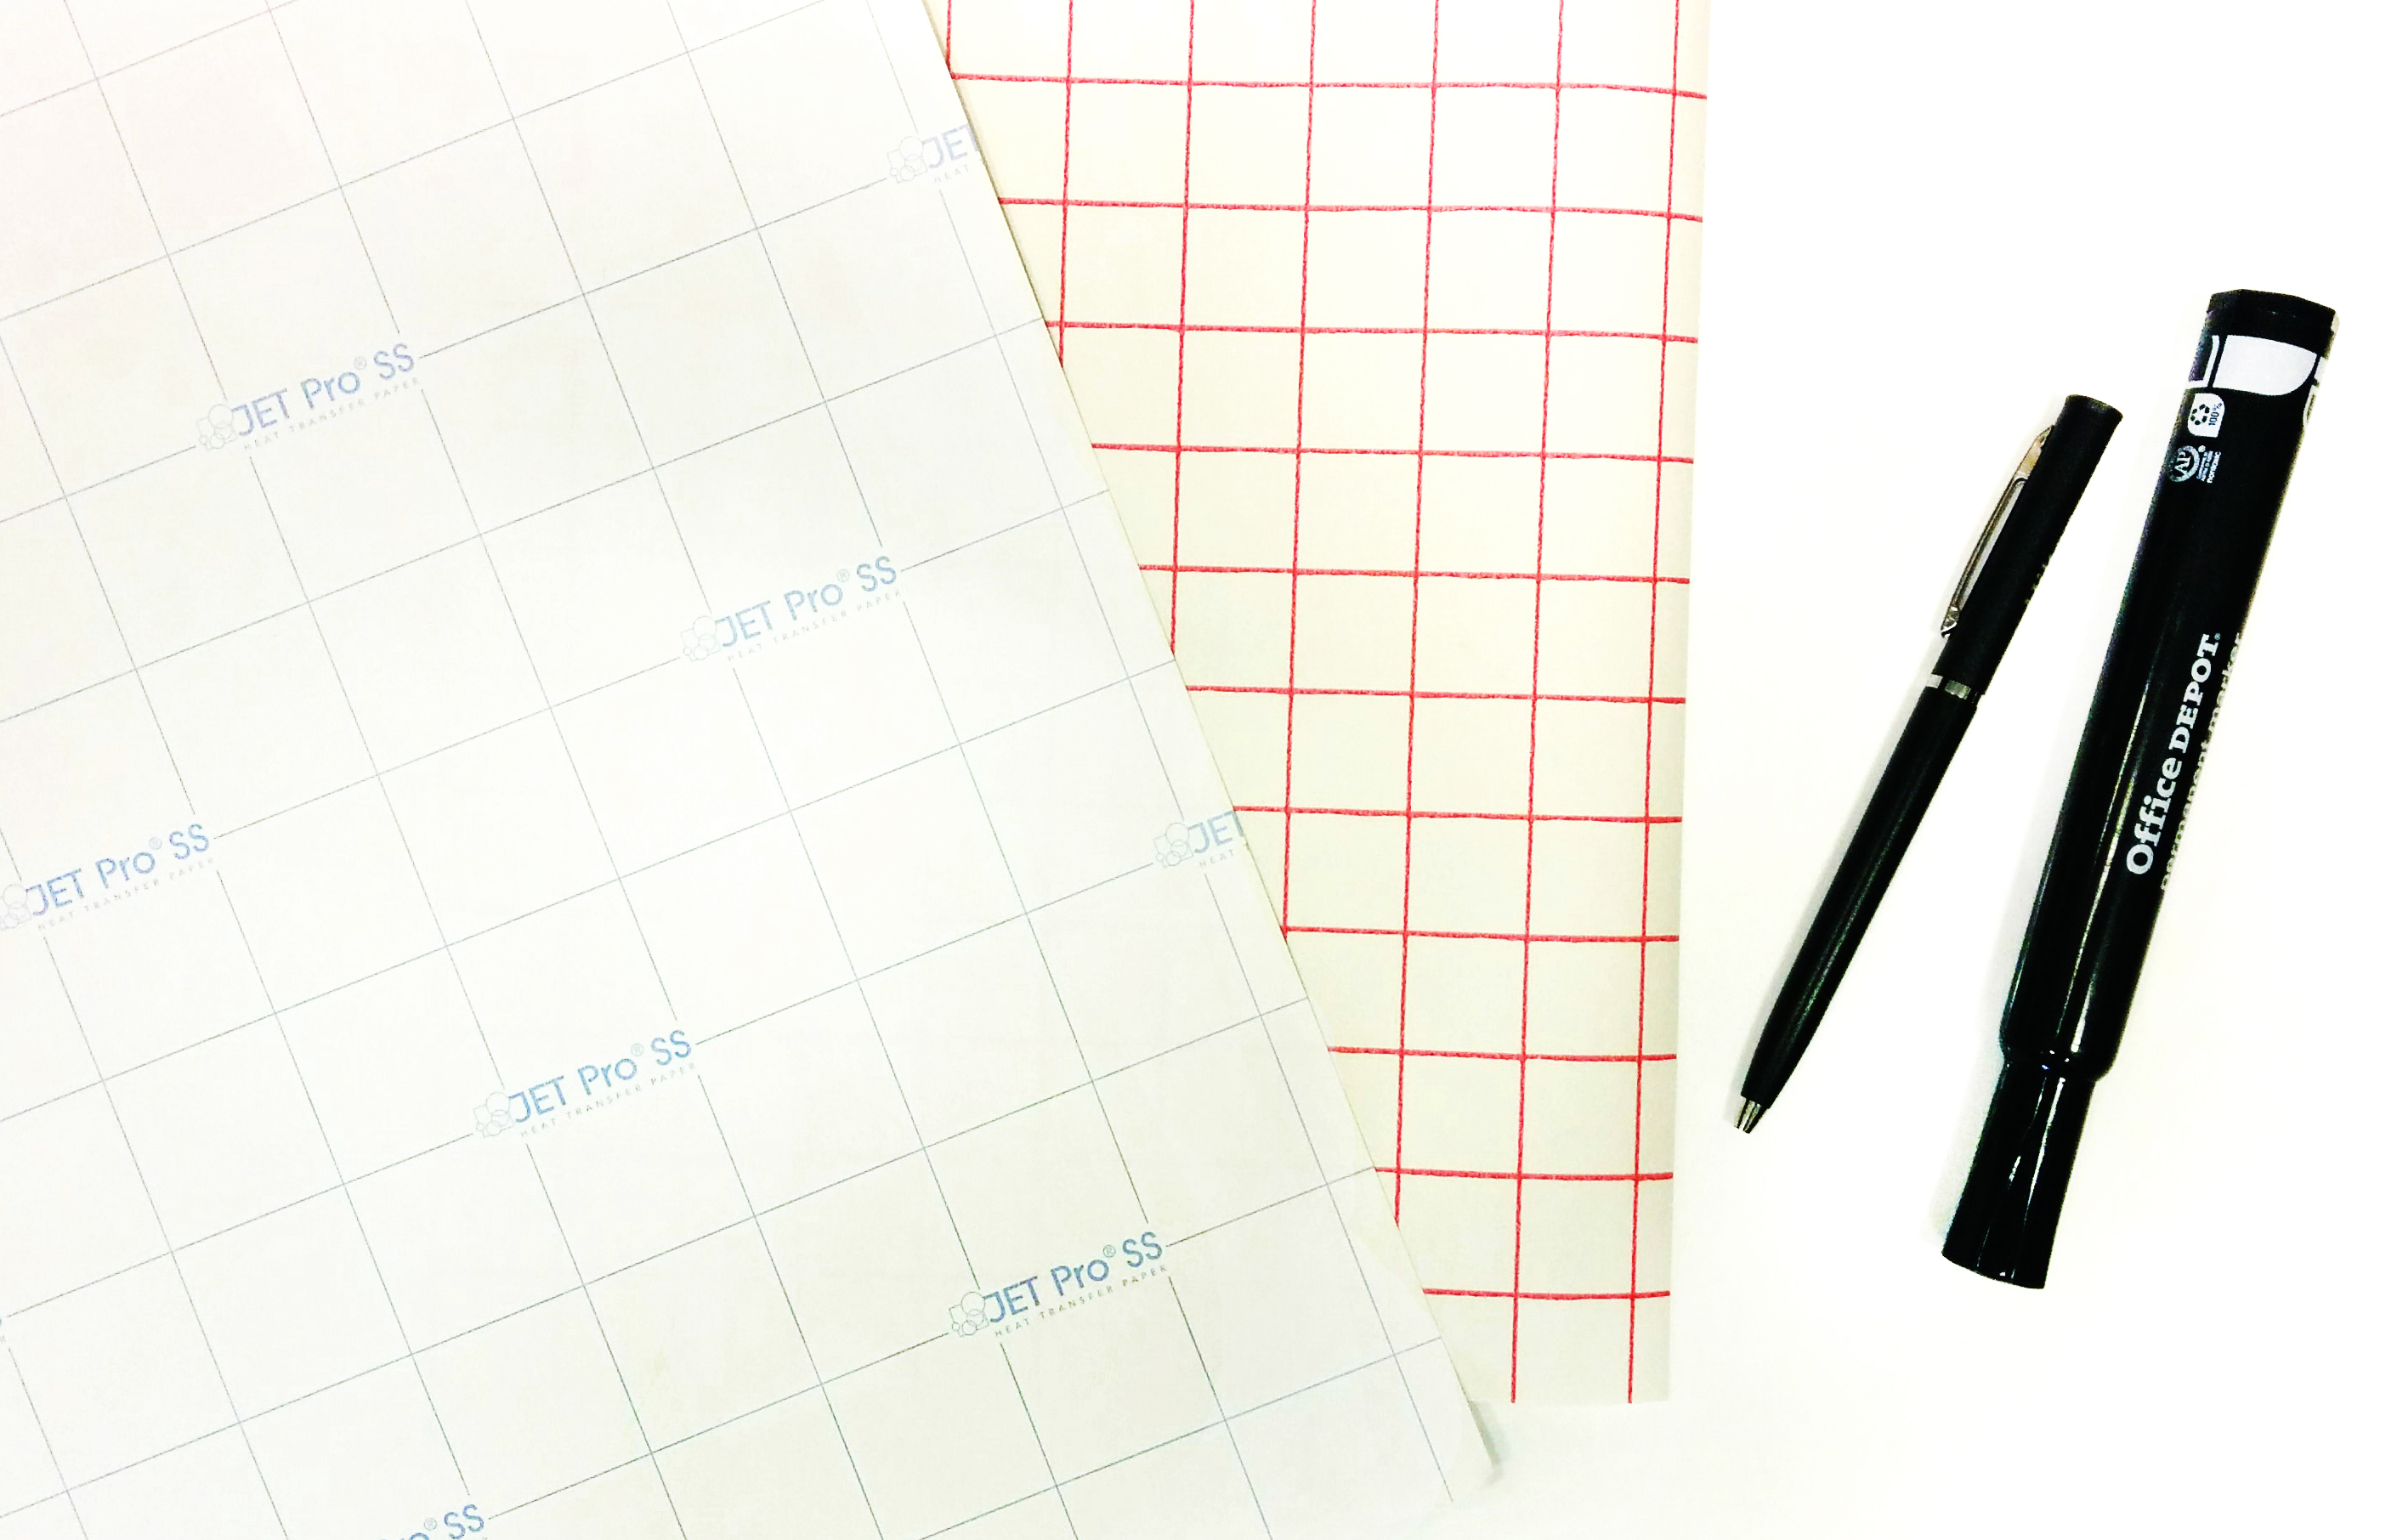
For our final shirt test, we used Jet Pro SofStretch inkjet paper for lights and RedGrid inkjet for lights, a regular black permanent marker and a ballpoint pen.

things1


Note: Be careful with the amount of pressure you are applying when drawing as the surface of the paper is very sensitive and thin and can be scratched off easily with a pen. The trickiest part is the shading as repetitive strokes on one spot can result in damaged surface, but if you are using saturated markers and ink pens, you shouldn’t have to press at all to get a drawing done.

steps


As long as the ink is permanent, it will not run in the wash. We washed our shirt inside out with cold water and regular liquid detergent without a problem. If you want to be extra safe, look for markers/pens that are waterproof and pigment based to get the cleanest transfer (most brands in art stores), but as you can see in this example a regular ball point pen was used that didn’t cause major issues other than slight smearing during the transfer process, due to the heat. We will most likely use pigment ink pens from now on but it was a fun experiment.

IMG_20150911_171541


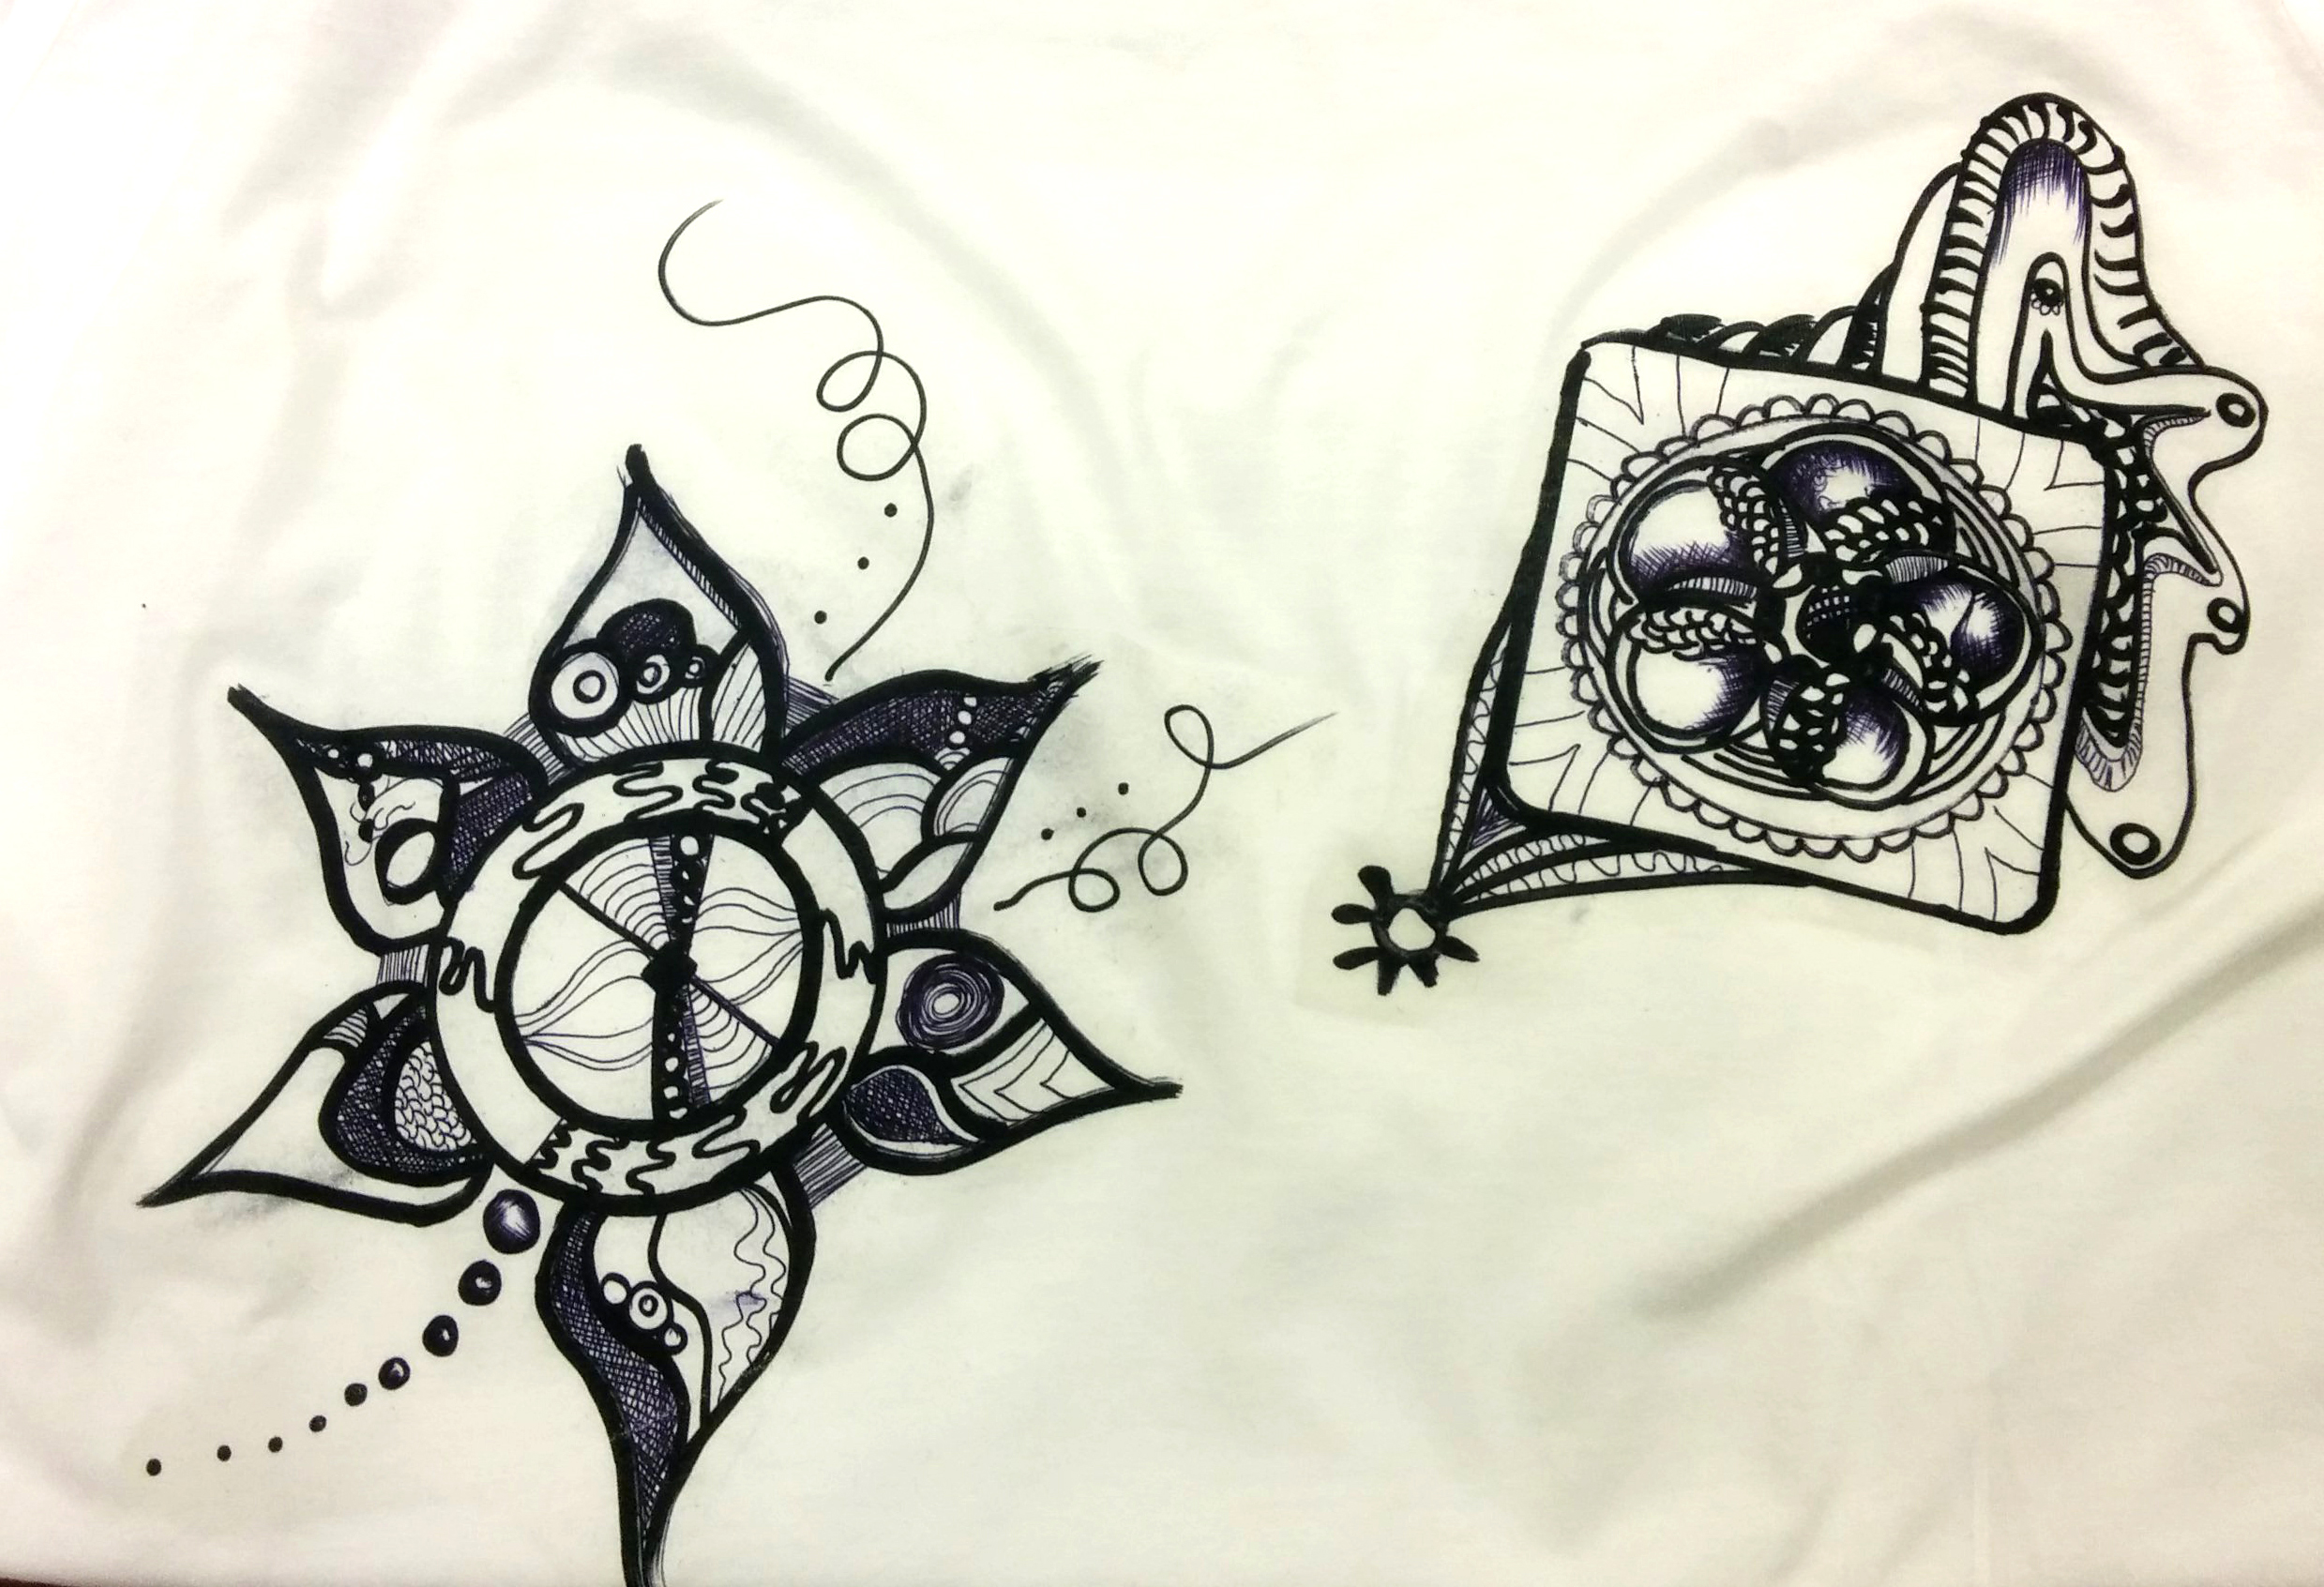
Voila, you have a T-shirt with one of a kind artwork transferred on it! Durable, washable and fun!

The following papers were tested with decent results:

Inkjet Papers

JetPro SofStretch, Red Grid, 3G Jet Opaque, Jet Dark

Laser Papers

Laser One Opaque and Techniprint EZP (bleeding or imprinting may occur)

This process doesn’t work on self-weeding laser papers.

Please remember that these are commercial heat transfer papers for printers and heat press application, and we cannot support or guarantee a perfect result when used otherwise.

Enjoy!

Sublimation Tips & Tricks: Blotchy Results

Regardless of whether you are new to the process of sublimation or have been doing it for years, blotches and spots in your transfers can happen to anybody at any time. Often times, this is a problem caused by excess moisture in the environment or on the substrate – when it’s outside of more common user/machine error issues like insufficient time/temperature or uneven pressure.

blotchiness
Left: Perfect transfer result. Right: Blotches and spots in a poor sublimation transfer.

Common sublimation materials like polyester fabric, hardboard, plastic and even metal materials like aluminum and stainless steel can hold moisture! What happens when there is moisture on a substrate? When water is heated it turns into steam vapor which starts to escape upward – however, since dye-sublimation ink also turns into a gas, the steam vapor from the areas that have even the smallest amounts of moisture clash with the sublimation gas which can prevent a full and consistent transfer. In really bad results, you would have a finished transfer that looks like a watercolor-painting-gone-bad, but most of the time, the result is some blotchy spots throughout the transfer and faded/streaky areas.

moisture
Photo panel transfer ruined by excessive moisture.

So how to resolve a nearly invisible problem? The quick solution is to pre-press substrates immediately before applying & heat pressing the sublimation transfer. Pre-pressing is done by placing the item in the heat press (without the printed transfer on it), covering it with a protective sheet such as silicone or Teflon to avoid scorching or getting it dirty. Only a fraction of the time is necessary, generally about 10-20 seconds for most items. The temperature and pressure should follow the recommendations for the particular item. If you see steam, that is a sure sign there is moisture. With larger or more expensive substrates, we recommend pre-pressing closer to the full amount of time per the instructions to avoid potential failed results. For additional protection, you may use a layer of polyester fabric which will wick away the escaping moisture. Allow the item to cool before moving onto the actual transfer to avoid sublimation being activated too soon which can result in ghosting (blurriness).

To avoid moisture becoming a problem, there are a few things to take into consideration. Generally, the larger the item is in both dimension and thickness, the more problematic it can become as it can hold in more moisture. Anything about 11″ x 14″ in  or larger and 1/2″ in or more thick should always be pre-pressed just to make sure moisture doesn’t affect your workflow.

Consider the seasons of the year… moisture is present year round, but especially in the summer months,  and substrates travel though different areas that may be more humid or hotter than your location, so a general rule of thumb is to always pre-press. It will add a little bit more time to the process but save you money and a headache at the end of the day.

For more tips, tricks, and all-around breaking edge industry news, click here to check out ARA’s issue which features our technical support specialist Kristen Harvey describing the moisture problem in great detail as well as more specialists, their suggestions and experiences.

Heat Transfer Metallic Foil- Multiple colors!

FF12100_foil


Heat transfer metallic foils are a simple and awesome way to add an extra bling effect to laser transfer t-shirts that can only be replicated with metallic foils – but not with the ease or fine detail possible with heat transfer foils!

Using your favorite foil-able heat transfer paper (consider the Forever Laser Dark for white toner printers or ImageClip Laser Dark for standard laser printers), just print, press, and apply the transfer to be colored with foil, then add the foil finishing sheet on top of the transfer to apply, and voila! Beautiful, dazzling t-shirt transfers with nothing more than a laser printer and press!

Our foil effect finishing sheets are available in a wide range of pearlescent, shimmery, and foil effect colors and are held on a thin clear liner for simple handling and pressing. The foil layer adheres to the raised toner transfer and does not require cutting or weeding for a contoured, detailed design!

Basic info:

  • Size: 12.5″ x 100′ rolls
  • Compatible with: Forever Laser Dark No-Cut and ImageClip Laser Dark
    May be compatible with other heat transfer papers – test to find out for sure!
  • Cannot be printed/cut
  • For best fabric durability, wash inside-out cold only with no aggressive detergents or bleach

To learn more or to purchase heat transfer foil, click here!